Easy Razor Clams
on Nov 04, 2023, Updated Nov 19, 2023
Steaming to achieve a tender and juicy texture is the easiest and quickest way to cook Razor Clams! It also has a festive look and will certainly impress your dinner party! Apart from the time spent cleaning this shellfish (which you cannot avoid regardless), the actual cooking time is less than 10 minutes!
Watch How to Cook Razor Clams
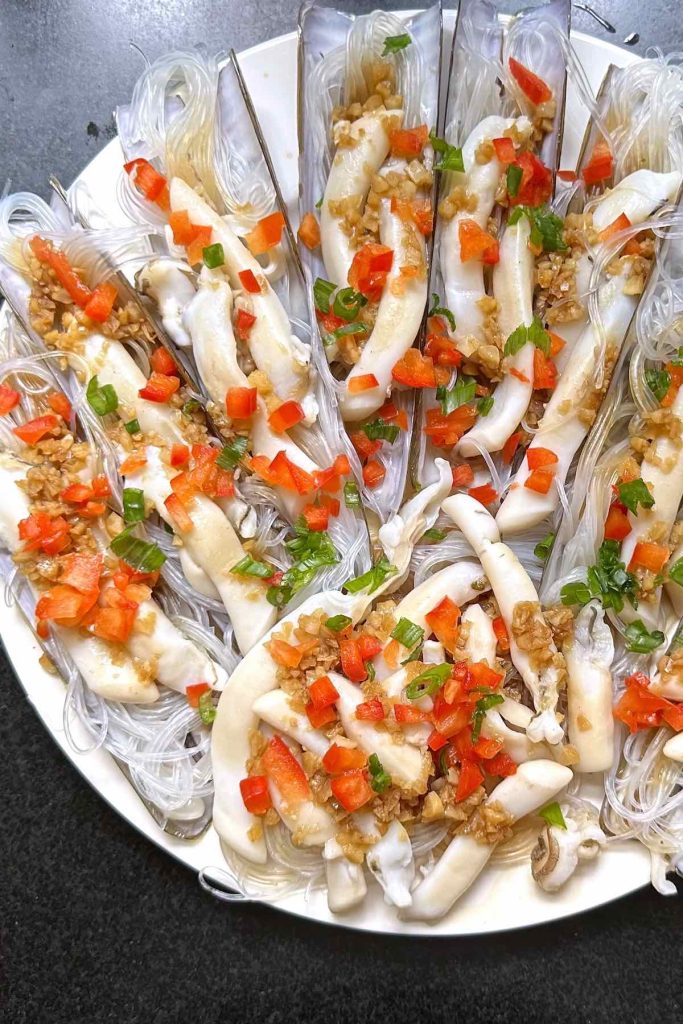
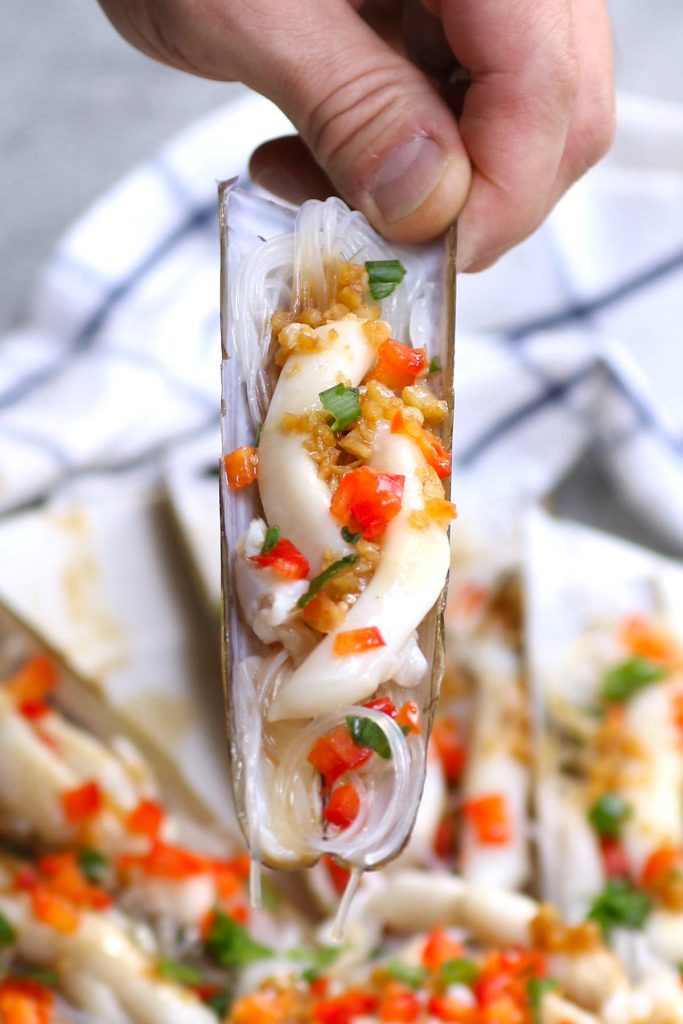
These restaurant-quality razor clams are coated with delicious and savory garlic sauce, sitting on nicely chewy vermicelli noodles. Serve as a starter or main, nothing melts in your mouth like these juicy razor clams.
When I saw these fresh razor clams at my local store (see the photo below ⬇️), I realized that it’s the best time to buy them 😋, as the razor clam season is between October and mid-March!

Razor Clams
Razor clams, also known as Pacific razor clams, get their name because they have a long and narrow shape that resembles straight-edged barber’s razors. The shells of razor clams are also quite sharp.
The cooked razor clams are more meaty and slightly sweeter than other clams, with a flavor and texture that are similar to scallops or squid.
With this in mind, this recipe uses the savory garlic sauce to complement the unique flavor of razor clams and the slightly chewy vermicelli to enhance the texture. This perfect combination works pretty much with any seafood! In addition, adding bright red bell pepper and green onions before serving really makes the colors POP! 😍
How to Clean Razor Clams
Believe it or not, the MOST challenging part of cooking razor clams is the cleaning process! The goal is to remove the sand – once they’re cleaned, it only takes less than 10 minutes to cook!
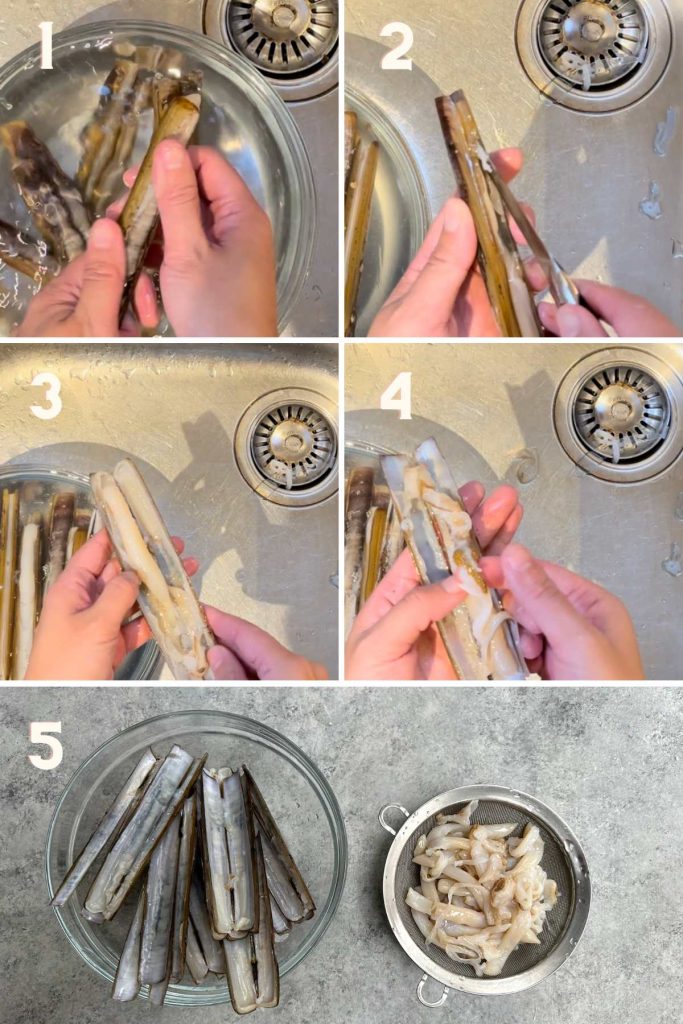
If you’ve heard about shortcuts to clean razor clams, such as the blanching method (shocking the clams with boiling water for about 10 seconds) or salt water method to force clams to release the sand out of themselves, let me prove to you (with the photos below ⬇️) that these methods DO NOT work.
As you can see, there is quite a bit of grit in the bellies (image #4) of razor clams, which can make them taste sandy. So the only way to enjoy sand-free razor clams is to remove and clean the meat out of the shells.
- Clean the shells: Start by rinsing the razor clams under COLD running water. Remove any sand or debris from the shells.
- Cut the abductor muscles from the shells: The abductor muscles are the parts that hold the shells together. Use a sharp paring knife to carefully cut through the abductor muscles on both sides.
- Open the shells: Now you can gently open the shells using your fingers. Then cut any other parts that are attached to the shell.
- Remove the stomach and rinse: Inside the clam, you’ll find the meat along with the stomach, which is dark in color and can have a gritty texture. Use your fingers to pull it out. After the stomach is removed, rinse the meat again and make sure all sand or debris is cleaned.
- Drain the meat: Drain the meat properly and pat dry with paper towels. At this point, the cleaned razor clam meat is ready to use.
How to open the shells easily? When you try to open the shells, the razor clam will use its muscles to keep the shell shut. If you force it open, you are likely to break the shell. So disconnet the abductor muscles from the shells BEFORE trying to open them.
Other Ingredients
Here’s what you need to make this razor clams recipe. These ingredients can also be used with other seafood such as scallops and shrimp.
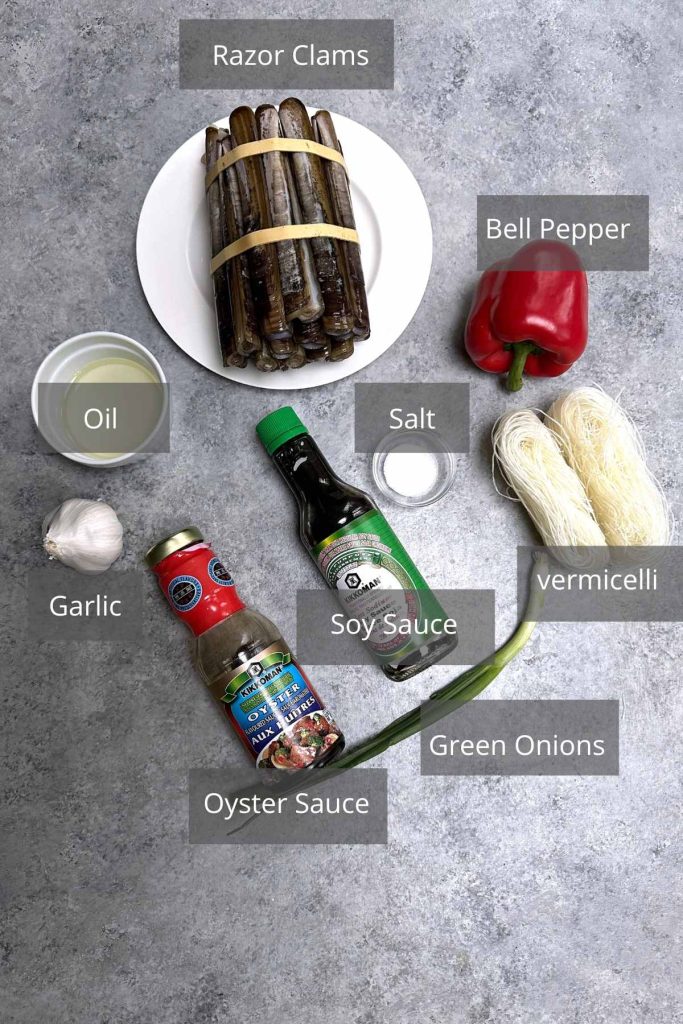
- Vermicelli noodles: Use the thin ones as they cook quickly.
- Garlic sauce: The sauce is made by sauteing minced garlic in oil briefly, and then mixing it with soy sauce, oyster sauce, and salt. It adds that nice savory and garlicky flavor to your clams.
- Red bell pepper: It serves two purposes: 1) adds a bright red color; 2) adds a nice freshness. Make sure to finely chop it.
- Green onion: For the extra color. You’ll only need the green part. You can save the white part for other recipes.
- Vegetable oil: Heat the oil and drizzle over the dish before serving will enhance the flavor further!
How to Cook Razor Clams
Steaming seafood and vermicelli noodles with garlic-infused sauce is the restaurant trick that transforms an otherwise simple dish into something very special! But you won’t believe how easy it is to make it at home, especially compared with other razor clam recipes such as razor clam chowder or fried razor clams.
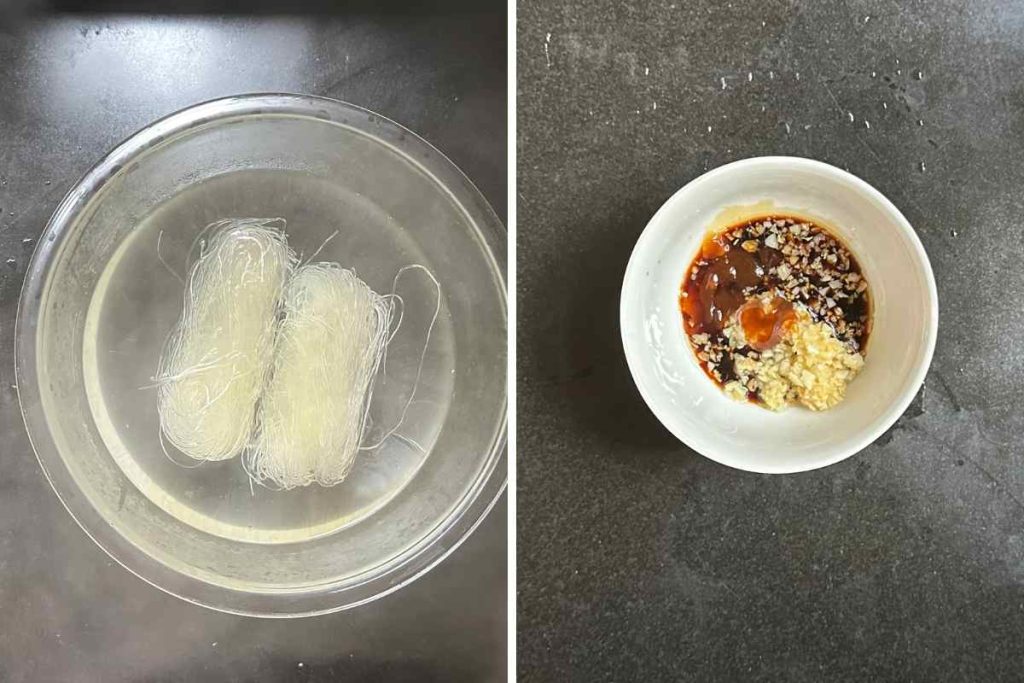
- Cook vermicelli: Prepare the vermicelli noodles according to the package instructions. You’ll only need to cook them to al dente, as they will get steamed with the clams later.
- Make the sauce: Add minced garlic to the skillet with oil. Saute for 1 minute or until fragrant. Mix it with the rest of the sauce ingredients.
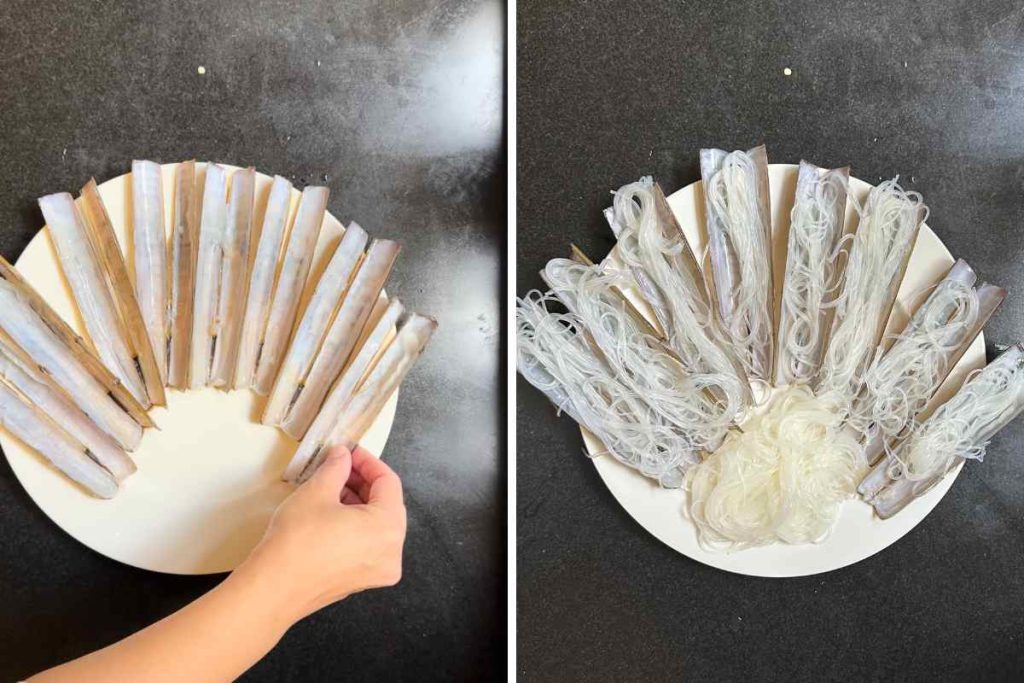
- Arrange the shells: For some extra space that’s not big enough for more shells, you can add vermicelli to the plate directly.
- Add vermicelli noodles: Spread the noodles evenly onto the shells.
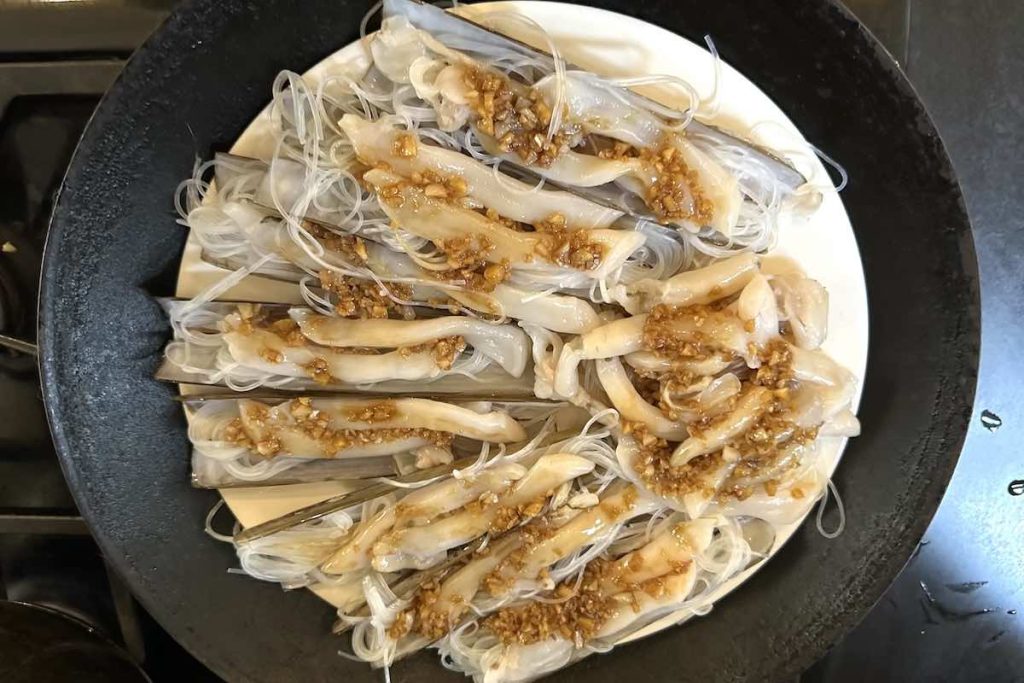
- Add razor clams and the sauce: Add the razor clam meat and use a spoon the spread sauce evenly on top of everything.
- Steam: Place the plate of razor clams into the steamer with boiling water. Cover and steam for 4-5 minutes. ⚠️ Caution! Don’t overcook your razor clams! They only need less than 5 minutes in the steamer!
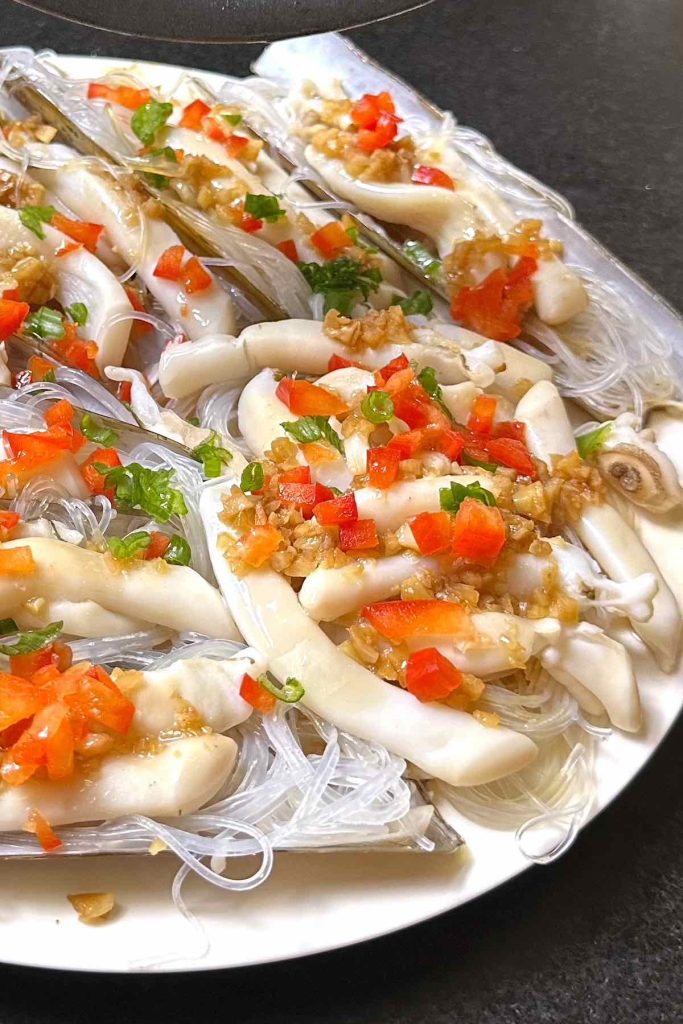
- Finish: Remove the plate from the steamer. Sprinkle minced red bell pepper and chopped green onions on top. Drizzle with hot oil.
Serving Suggestion
One of the unique features of this dish is that you have protein and carbs all in one, in a very convenient way. You can pick one piece, and it has razor clam, rice noodles, veggies, and sauces all in one bite! So good!
This dish is good for a light meal by itself, or you can serve it as an appetizer or main course. Serve it with rice, potatoes, and vegetables.
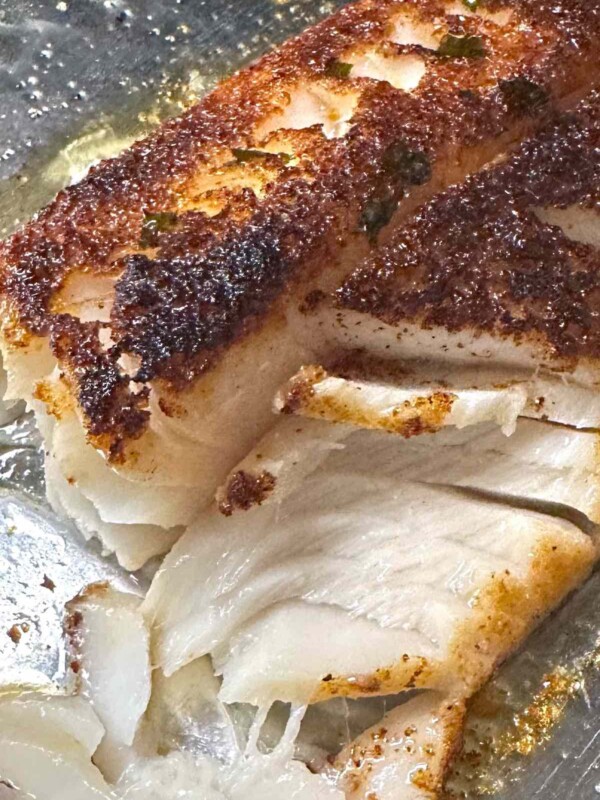
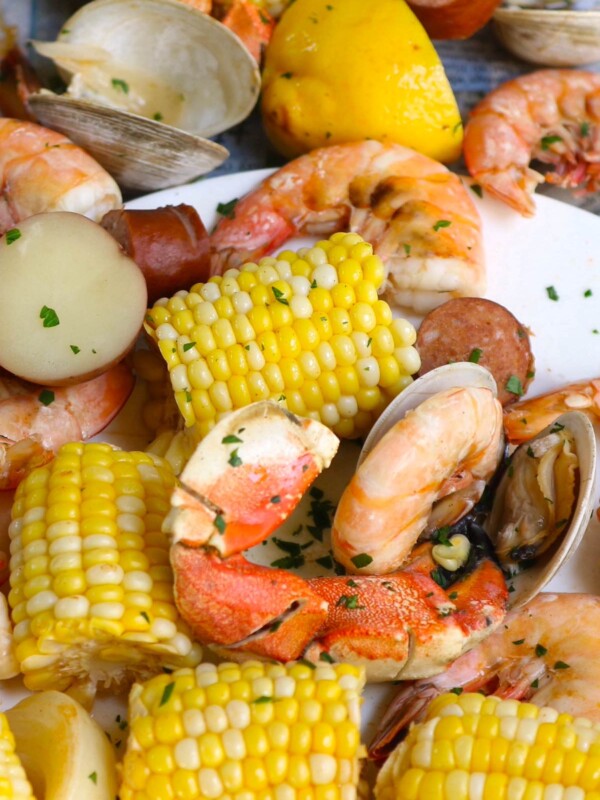
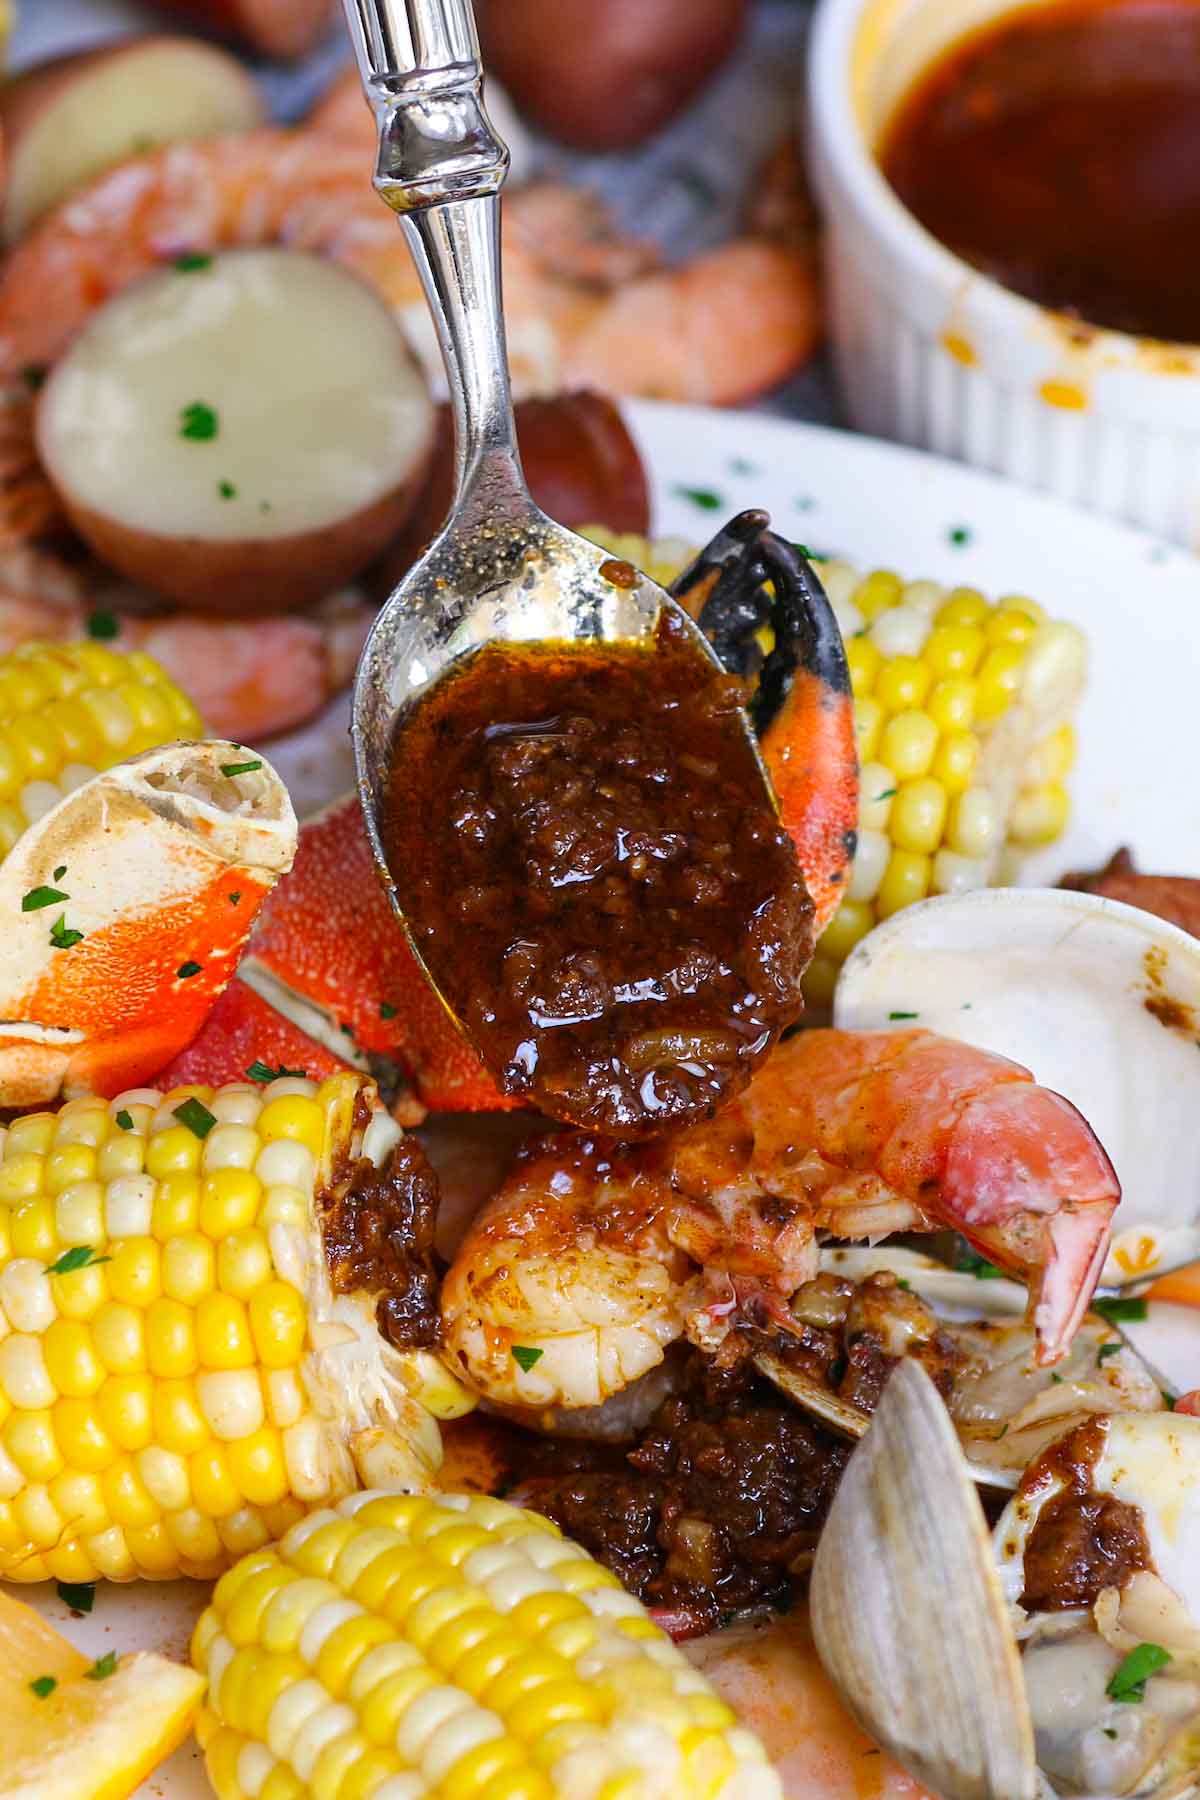
For more delicious seafood recipes, check out my Seafood Boil Sauce, Crawfish Tails, Spicy Crab Rolls, and Salmon Nigiri.

Steamed Razor Clams with Garlic and Vermicelli
Equipment
Ingredients
- 2 pounds razor clams, fresh with shells
- 3 oz dried thin vermicelli noodles
For the Sauce
- 2 tablespoons vegetable oil
- 4 tablespoons minced garlic
- 2 tablespoons light soy sauce
- 1 tablespoon oyster sauce
- ¼ teaspoon salt, or to taste
For Garnishing
- 2 tablespoons finely minced fresh red bell pepper
- 1 green onion, only use the green part, chopped
- 2 tablespoons vegetable oil
Instructions
Soak the Rice Noodles
- Prepare the vermicelli noodles according to the package instructions. I soaked my dry vermicelli noodles in hot water for 4 minutes. Rinse with cold water and transfer to a colander to drain well. Set aside. (Make sure not to overcook your rice noodles, otherwise, they can become mushy)
Prepare Razor Clams
- Clean the Shells: Rinse them under cold water and scrub off any debris on the shells.
- Remove the Meat: Use a paring knife to slide along the inside of the shells to loosen the clam meat. Carefully open the shell and separate the meat from the shells. Note: You’ll need to cut the muscles attached to the shells first BEFORE opening the shells. Don’t force it to open, otherwise, the shell will break. (Don’t throw away the shells)
- Clean the Meat: Pulled out the dark part (stomach) of the meat and rinse to clean. You can also trim the siphon, and cut off any undesirable parts if you prefer. Rinse the meat THOROUGHLY to move the sand. Make sure they are free from grit.
Make Garlic Sauce
- Add 2 tablespoons of oil to the skillet over medium heat.
- Once hot, add minced garlic. Saute for 1 minute or until fragrant. Remove from heat, and transfer to a medium mixing bowl.
- Add soy sauce, oyster sauce, and salt. Mix well. Set aside.
Cook Razor Clams
- Choose a large shallow serving plate that can fit into your pot. Arrange the shells of razor clams on the plate nicely. You probably won’t fit all the shells on the plate. That’s OK.
- Pat dry your vermicelli noodles and spread the noodles evenly onto the shells. For some extra space that’s not big enough for shells, you can add noodles directly onto the plate. (See my photos in the post on how to do this.)
- Place the razor clam meat on top of the vermicelli (I placed two razer clams on each shell.) Then spoon a small amount of garlic sauce on top.
- Place the steamer basket to your pot. Add water and bring to a boil. Carefully place the plate of razor clams into the steamer. Cover with the fitted lid. Steam for 4-5 minutes.
Garnish and Serve
- Once cooked, Immediately remove the razor clams from the steamer.
- Sprinkle minced red bell pepper and chopped green onions on top.
- In a small skillet over high heat, add 2 tablespoons of oil. Once hot, remove from heat and drizzle over the dish. Serve and enjoy!
Notes
- Where can I buy fresh razor clams? When razor clams are in season, from October to mid-March, you can find them at seafood markets, fishmongers, and some well-stocked grocery stores. Look for live clams with tightly closed shells. If the shells are slightly open, they should close when tapped. Avoid clams with broken shells.
- How to store live razor clams before cooking? To keep live razor clams fresh, place them in a breathable bag with small holes. Store them in the refrigerator and they can stay alive for 2-3 days. Don’t place them in fresh tap water.
Nutrition
Nutrition information provided is an estimate only and will vary based on ingredient brands and cooking methods used.
This post may contain affiliate links. Please read my disclosure policy.