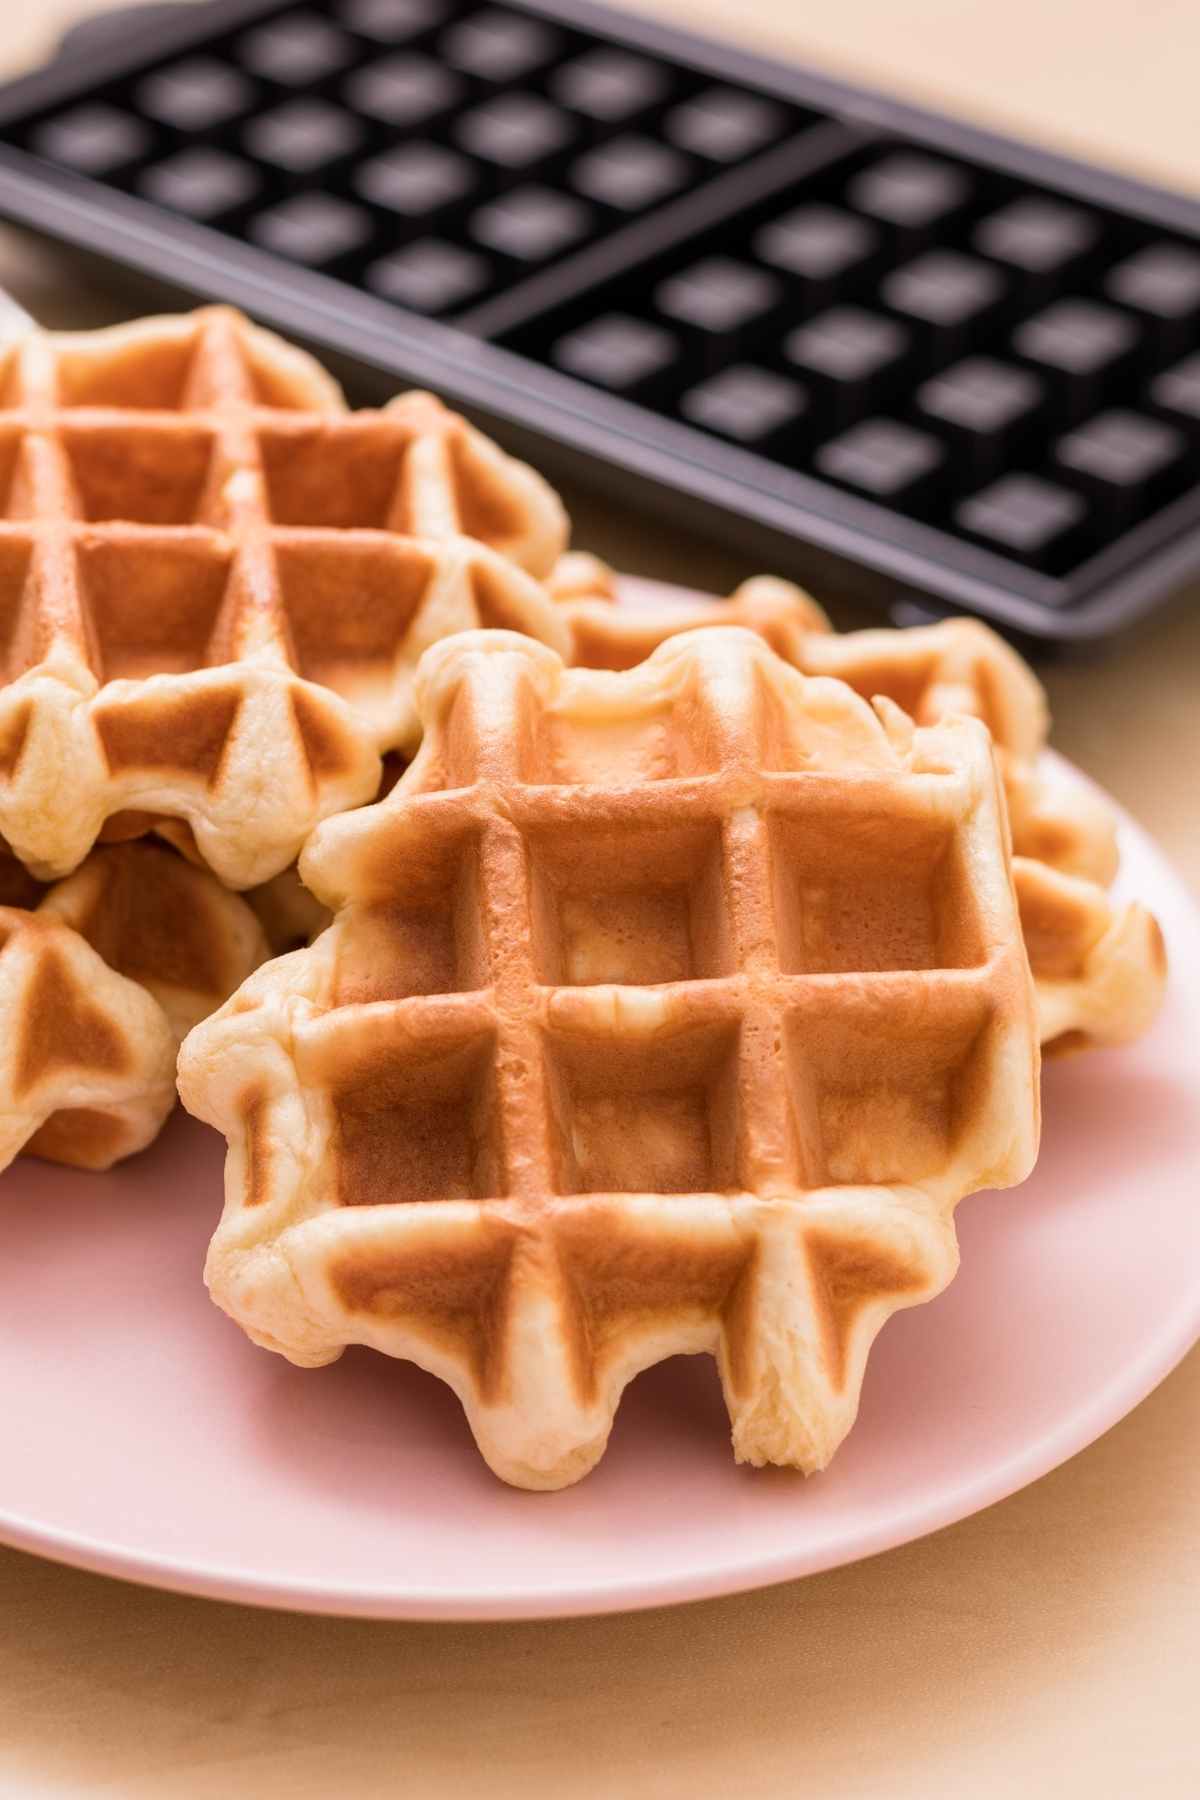
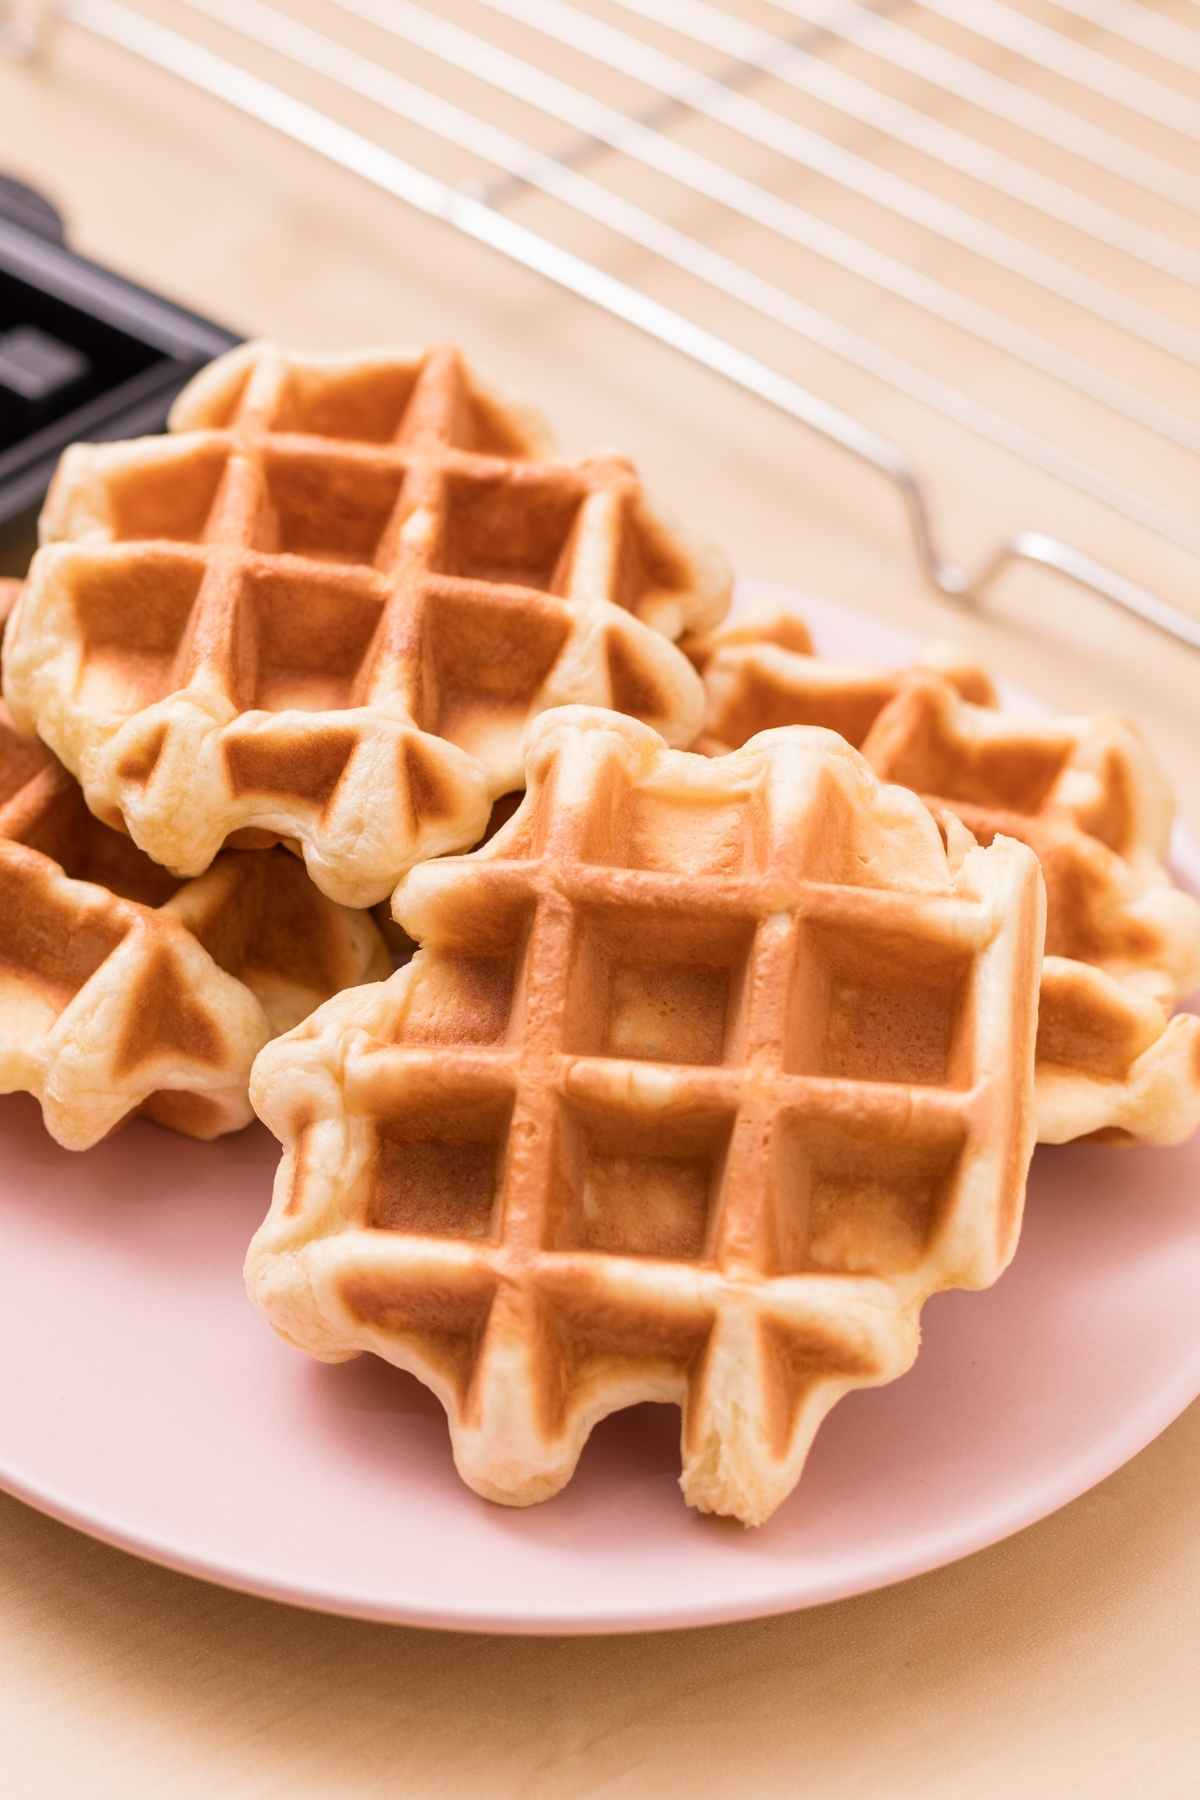
Mochi Waffles
on Jul 26, 2022
If you’ve enjoyed the Japanese rice cakes known as mochi, you know they’re deliciously sweet and chewy. These mochi waffles feature a wonderful chewy texture and are super easy to make!
Treat your family to these sweet mochi waffles. They’re fun to eat and your kids will love them!
What Is Mochiko?
Also known as sweet rice flour, mochiko flour is made from glutinous rice. It’s used in dishes to create a sticky and chewy texture.
Ingredients You’ll Need
- mochiko flour
- all-purpose flour
- salt
- granulated sugar
- baking powder
- cornstarch
- whole milk
- vanilla extract
- eggs
(Note: Full recipe is at the bottom of the post)
How to Make Mochi Waffles
- In a medium mixing bowl with a pourable spout, add the dry ingredients. Whisk together well to combine.
- Add the milk and vanilla. Whisk together until smooth and free of lumps.
- Add one egg at a time and whisk until smooth.
- Pour the batter onto the preheated waffle iron. Close the lid and cook for about 4 minutes in a Belgian waffle iron, or for about 3 minutes in a small waffle iron.
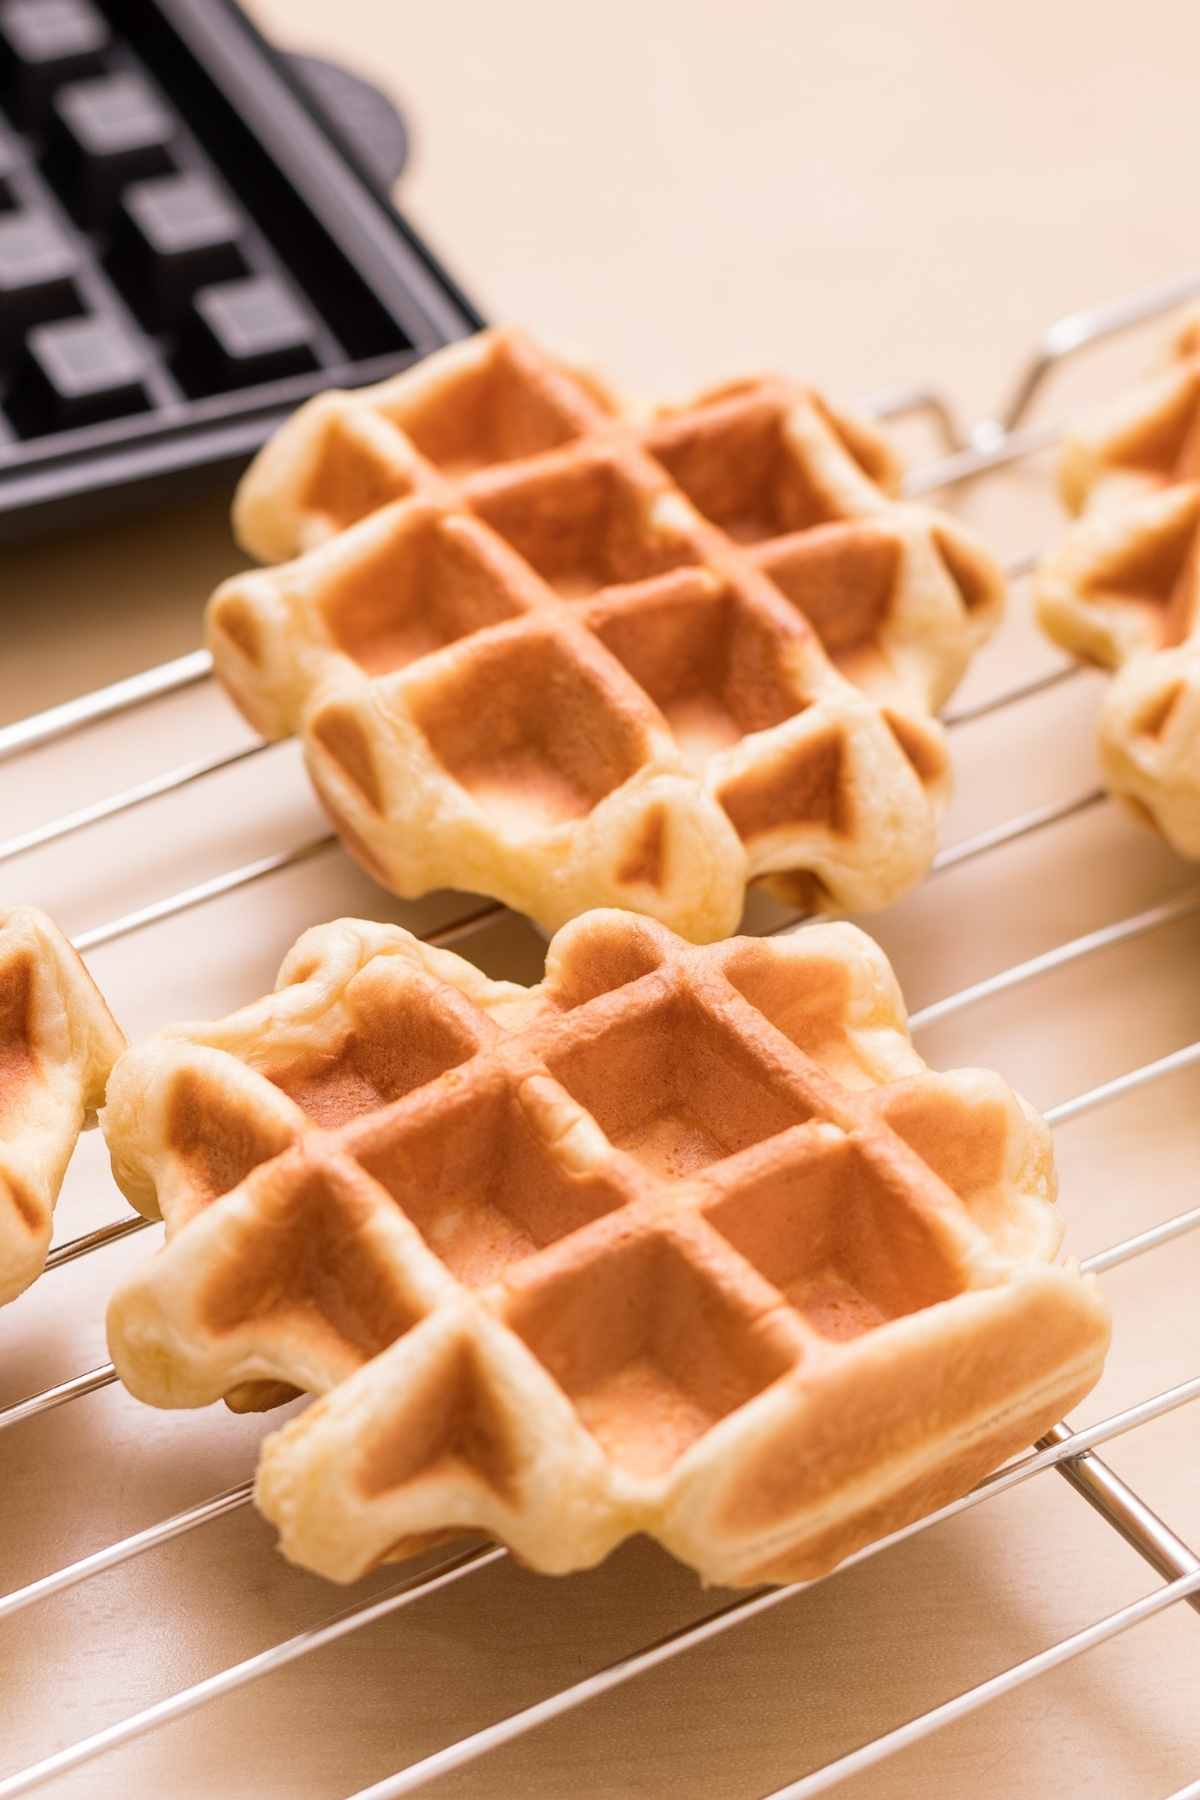
- Use a fork to gently remove the waffle when done.
How to Store Mochi Waffles
Store these mochi waffles in an airtight container in the fridge for 3-4 days. They can be reheated in the oven or on the stovetop over low heat. You can also freeze mochi waffles by placing them in a freezer-safe container and storing them in the freezer for up to 2 months. Defrost the waffles in the fridge and then reheat on the stovetop or in the oven.
What Makes Mochi Waffles Chewy?
The key ingredient that gives mochi waffles their chewy texture is mochiko flour. Cornstarch is added to the flour to make the waffles crispy on the outside.
Is Mochi Waffle Gluten Free?
Mochi waffles are not gluten-free because they include regular all-purpose flour. For gluten-free mochi waffles, replace the all-purpose flour with a gluten-free option at a ratio of 1:1.
For dairy-free mochi waffles, replace the whole milk with an alternative like almond or coconut milk.
Mochi Waffles Recipe
Ingredients
- 1 ½ cups mochiko flour
- ¾ cup all-purpose flour
- ¼ teaspoon salt
- ¼ cup granulated sugar
- 1 teaspoon baking powder
- 1 teaspoon cornstarch
- 1 ½ cups whole milk
- 1 teaspoon vanilla extract
- 2 eggs
Instructions
- Preheat a waffle iron.
- In a medium mixing bowl with a pourable spout, add the dry ingredients. Whisk together well to combine.
- Add the milk and vanilla. Whisk together until smooth and free of lumps.
- Add one egg at a time and whisk until smooth.
- Pour the batter onto the waffle iron. Close the lid and cook for about 4 minutes in a Belgian waffle iron, or for about 3 minutes in a small waffle iron.
- Use a fork to gently remove the waffle when done. Enjoy!
Nutrition information provided is an estimate only and will vary based on ingredient brands and cooking methods used.
This post may contain affiliate links. Please read my disclosure policy.