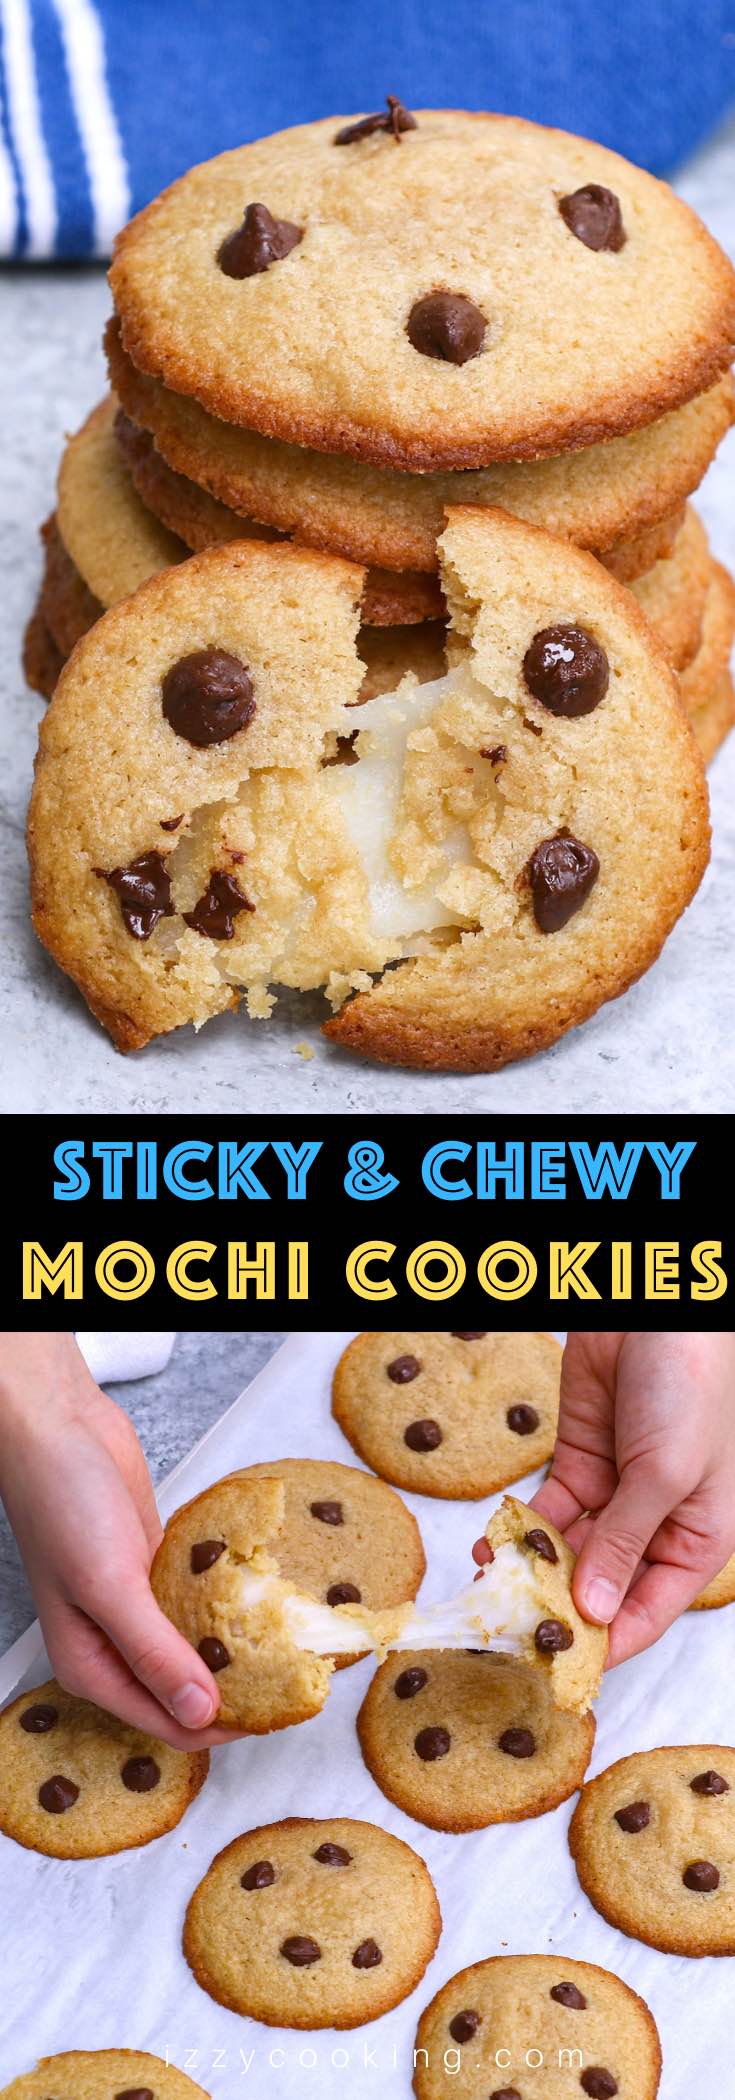
Chocolate Chip Mochi Cookies
on Dec 14, 2020, Updated Mar 31, 2021
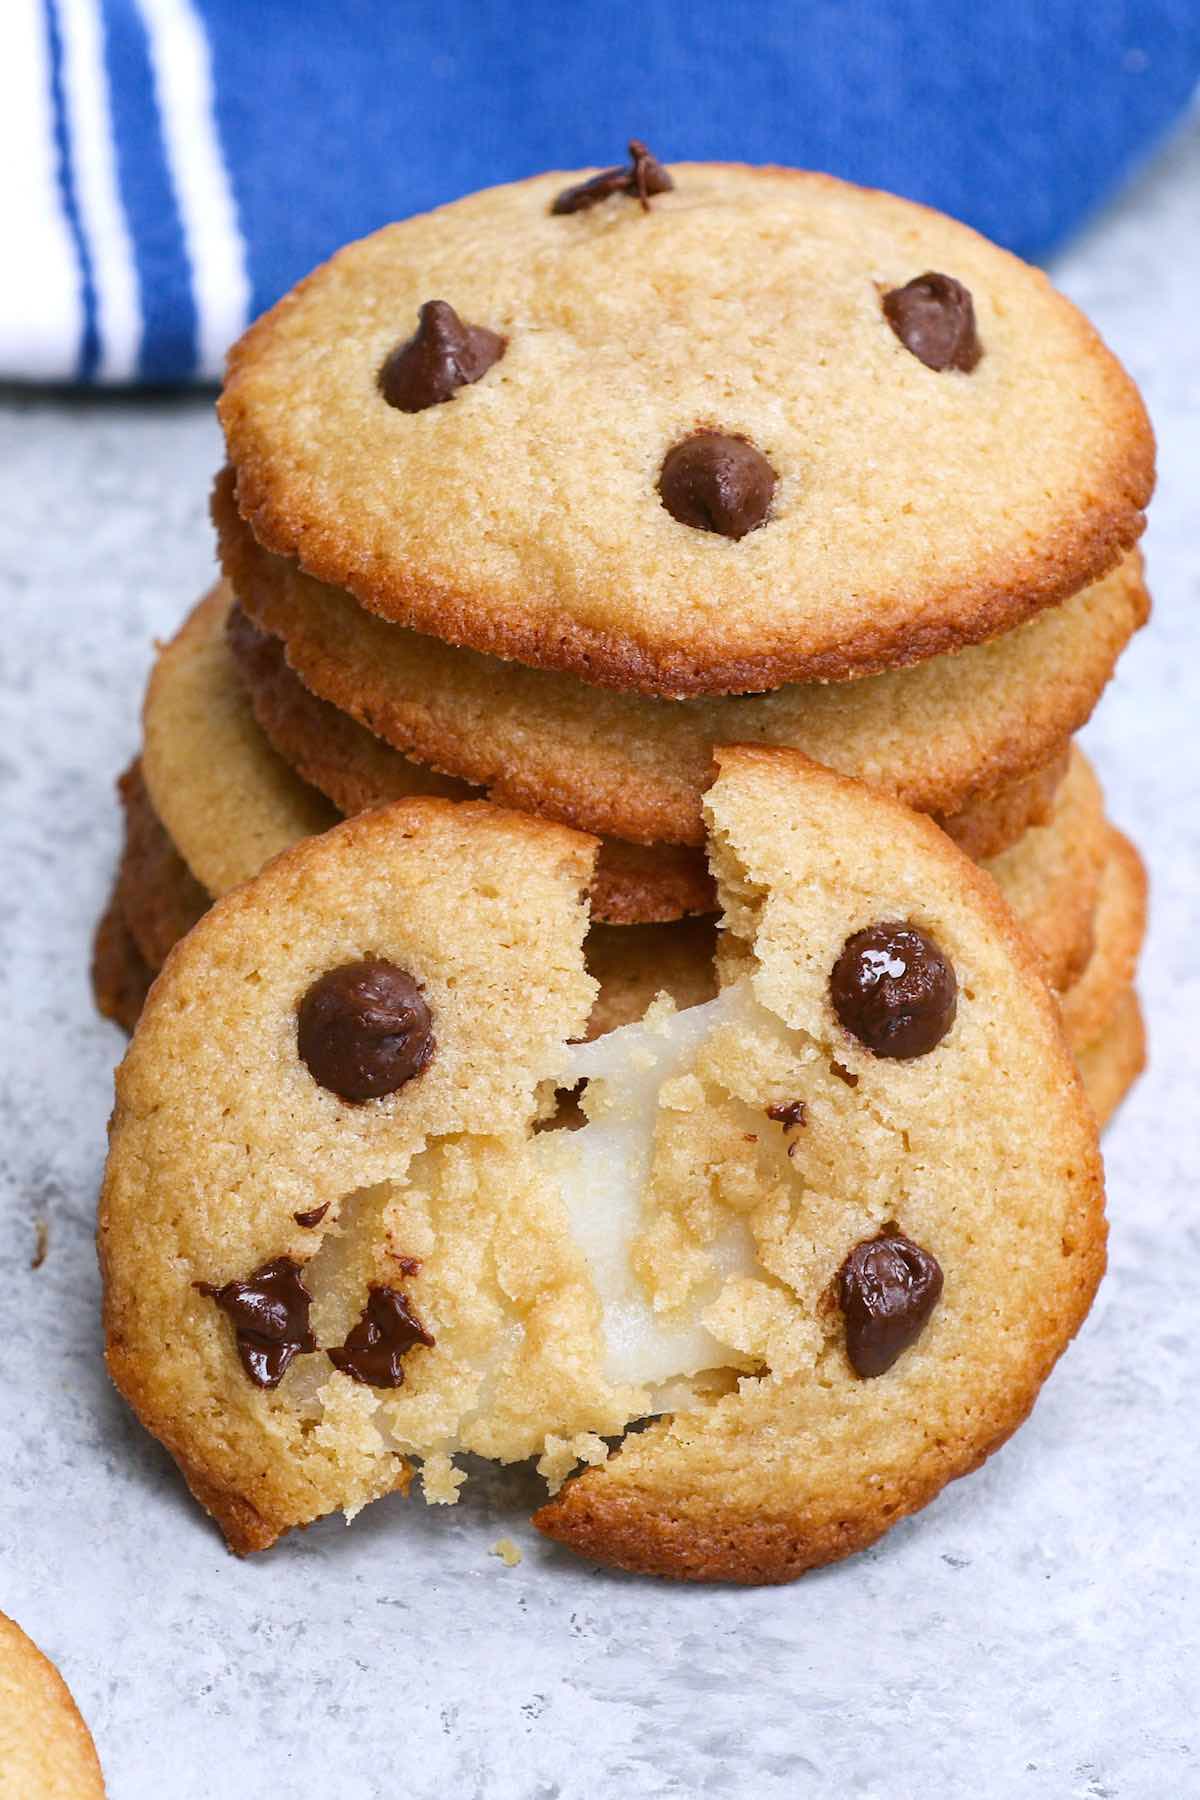
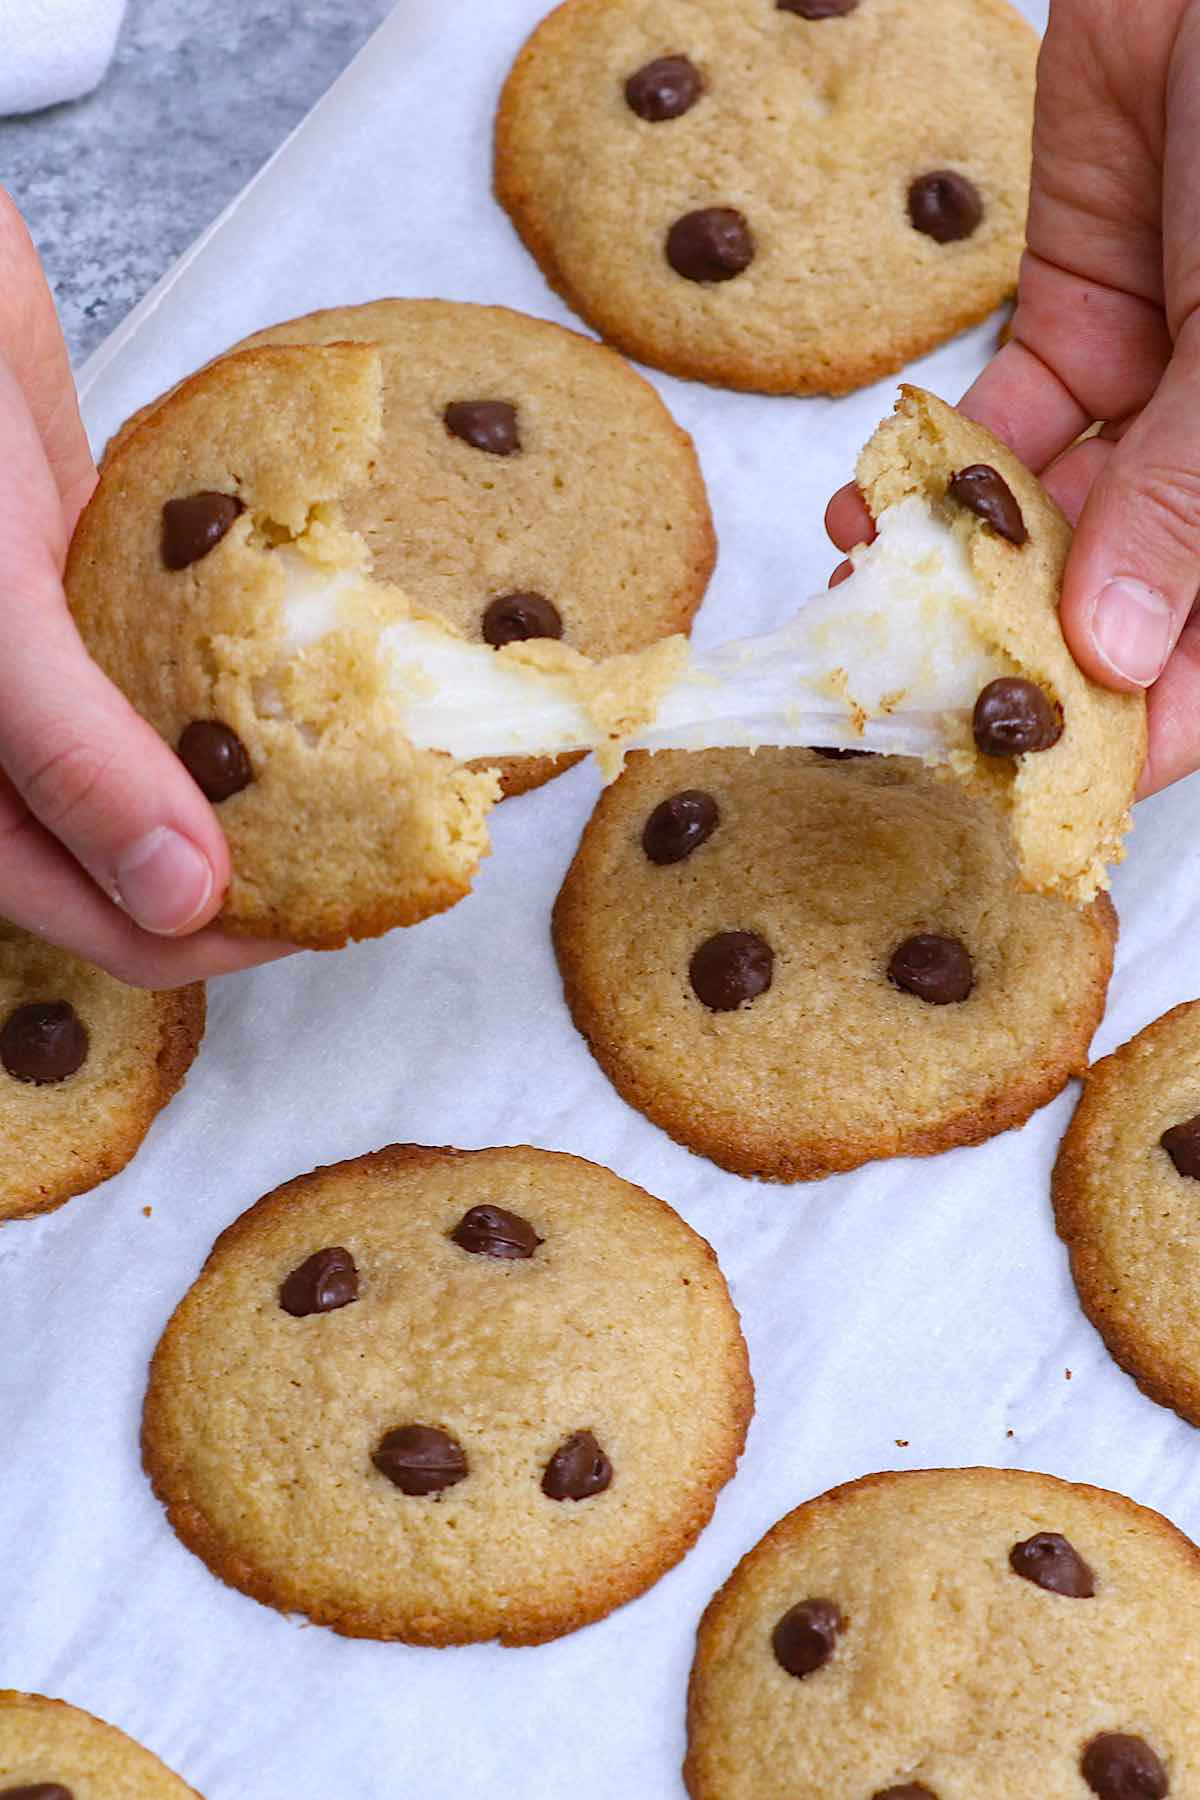
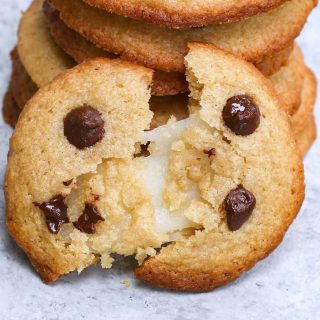
Mochi Cookies, who could resist them? Sweet and sticky mochi dough on the inside; soft and chewy cookies on the outside, packed with chocolate flavor! These mochi stuffed chocolate chip cookies are quite easy to make, and you can customize the cookie dough with different flavors like Matcha green tea or peanut butter.
I’ve loved mochi cookies since the first time I tried them when I was living in Japan. You’ll get the sticky mochi cake and chewy cookie texture in every single bite – heavenly delicious! It may seem intimidating to make this beautiful and delicate treat, but it’s actually quite easy to prepare with a few simple tips.
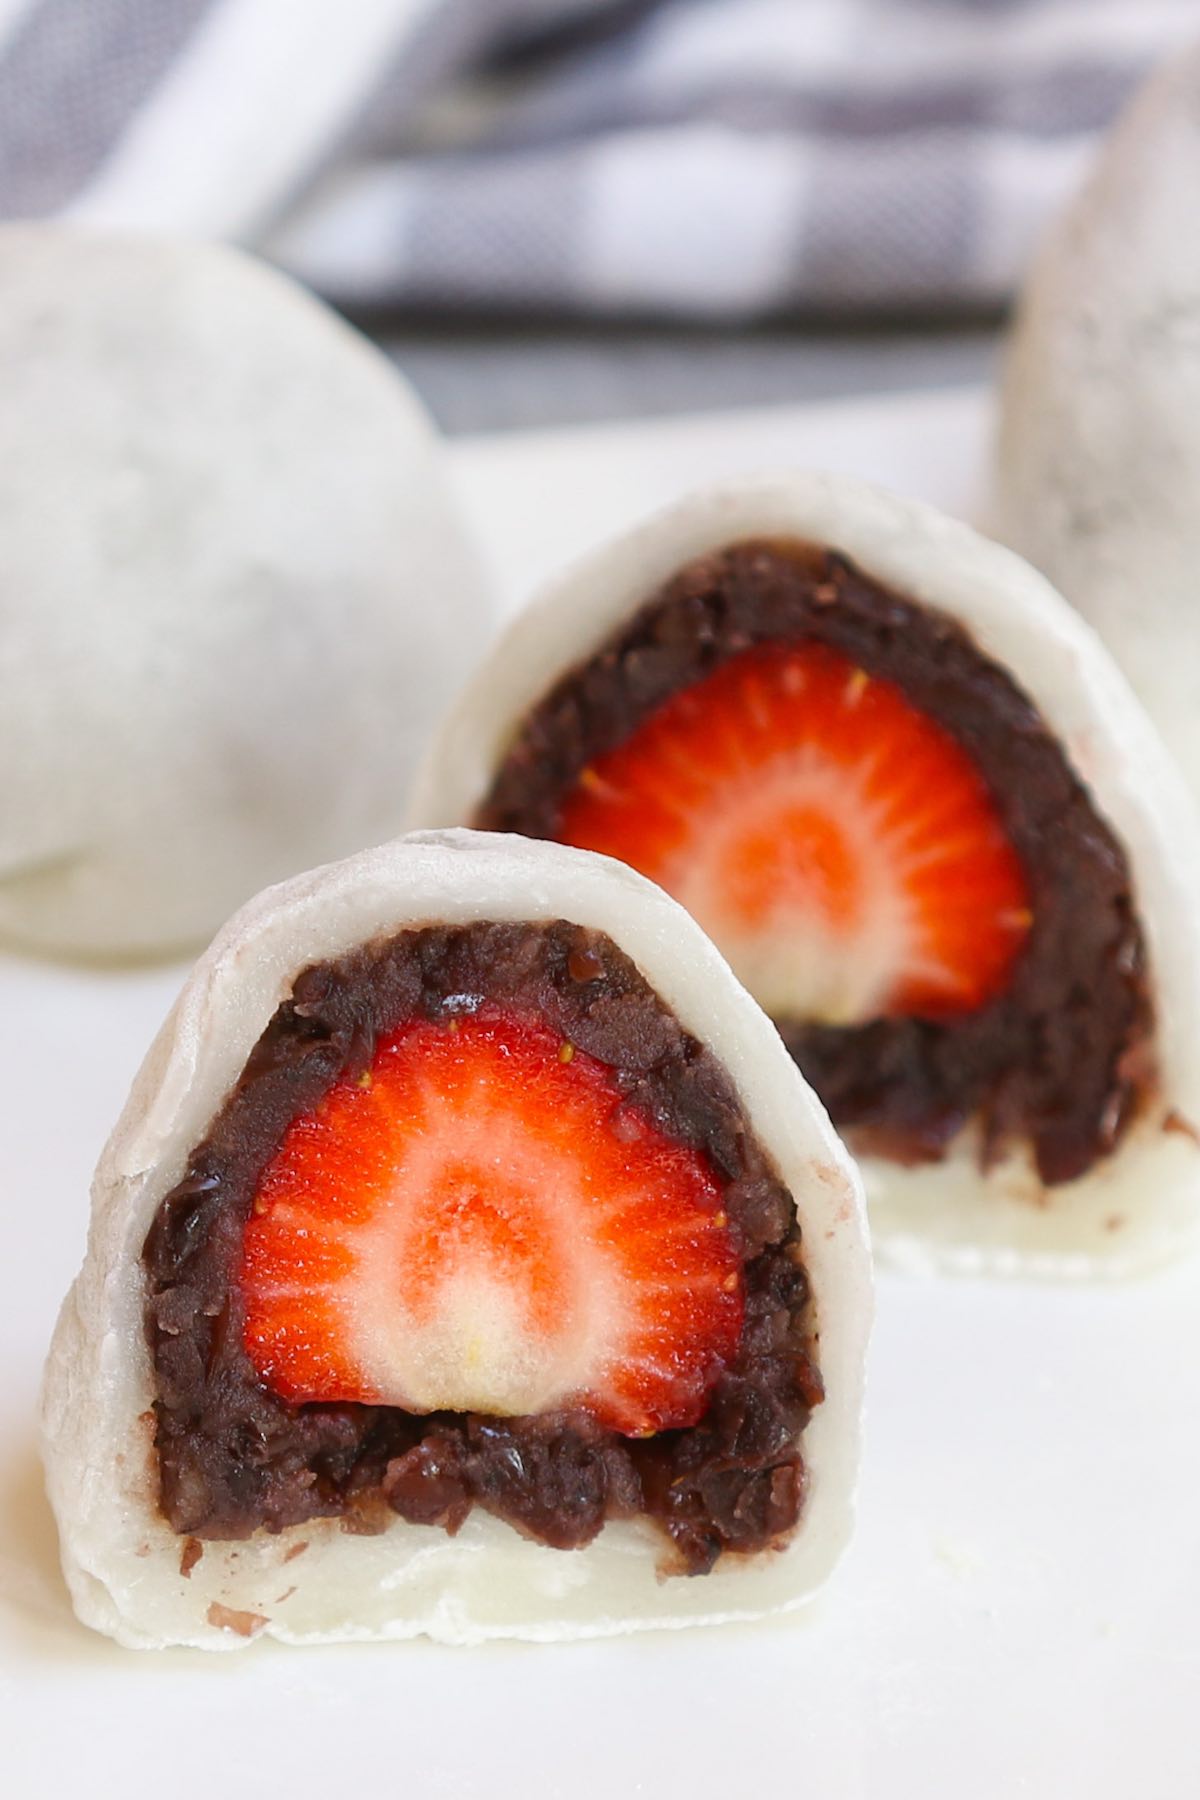
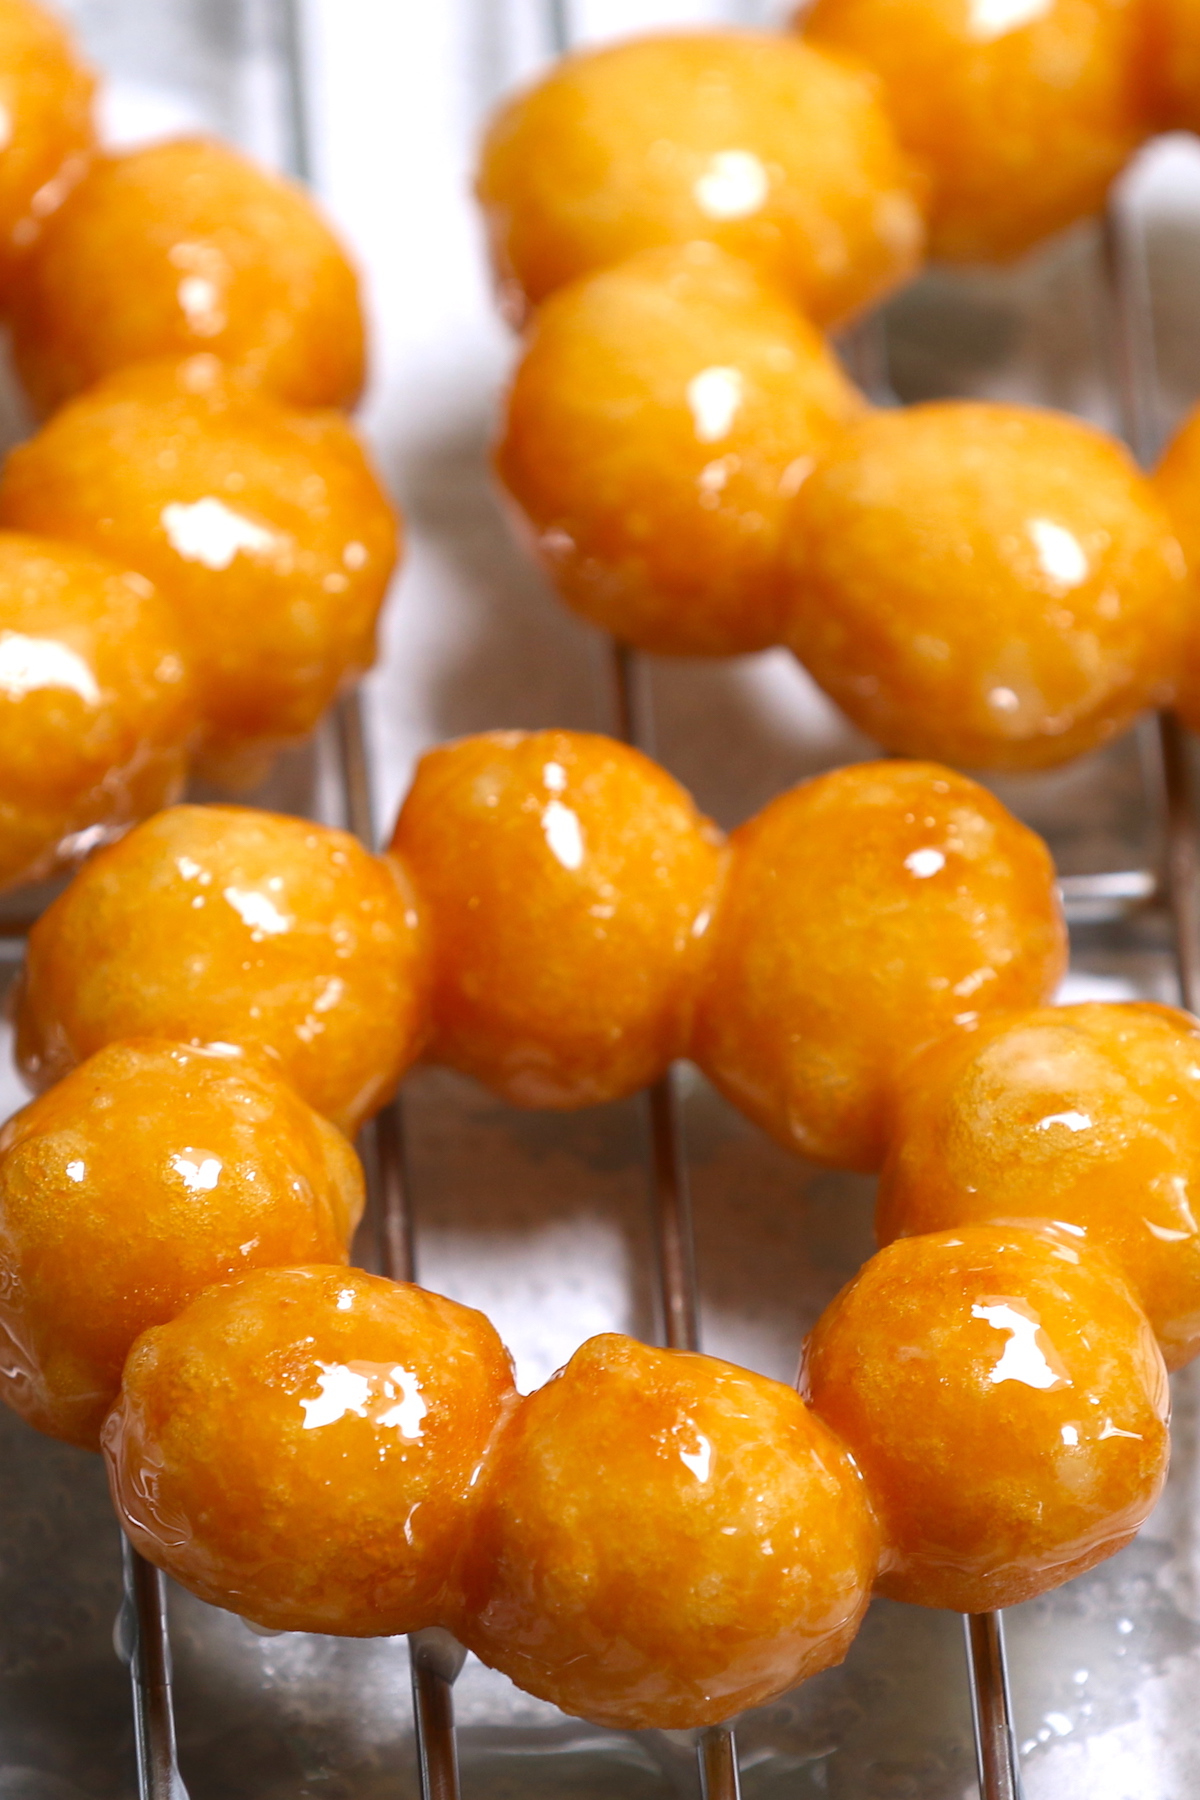
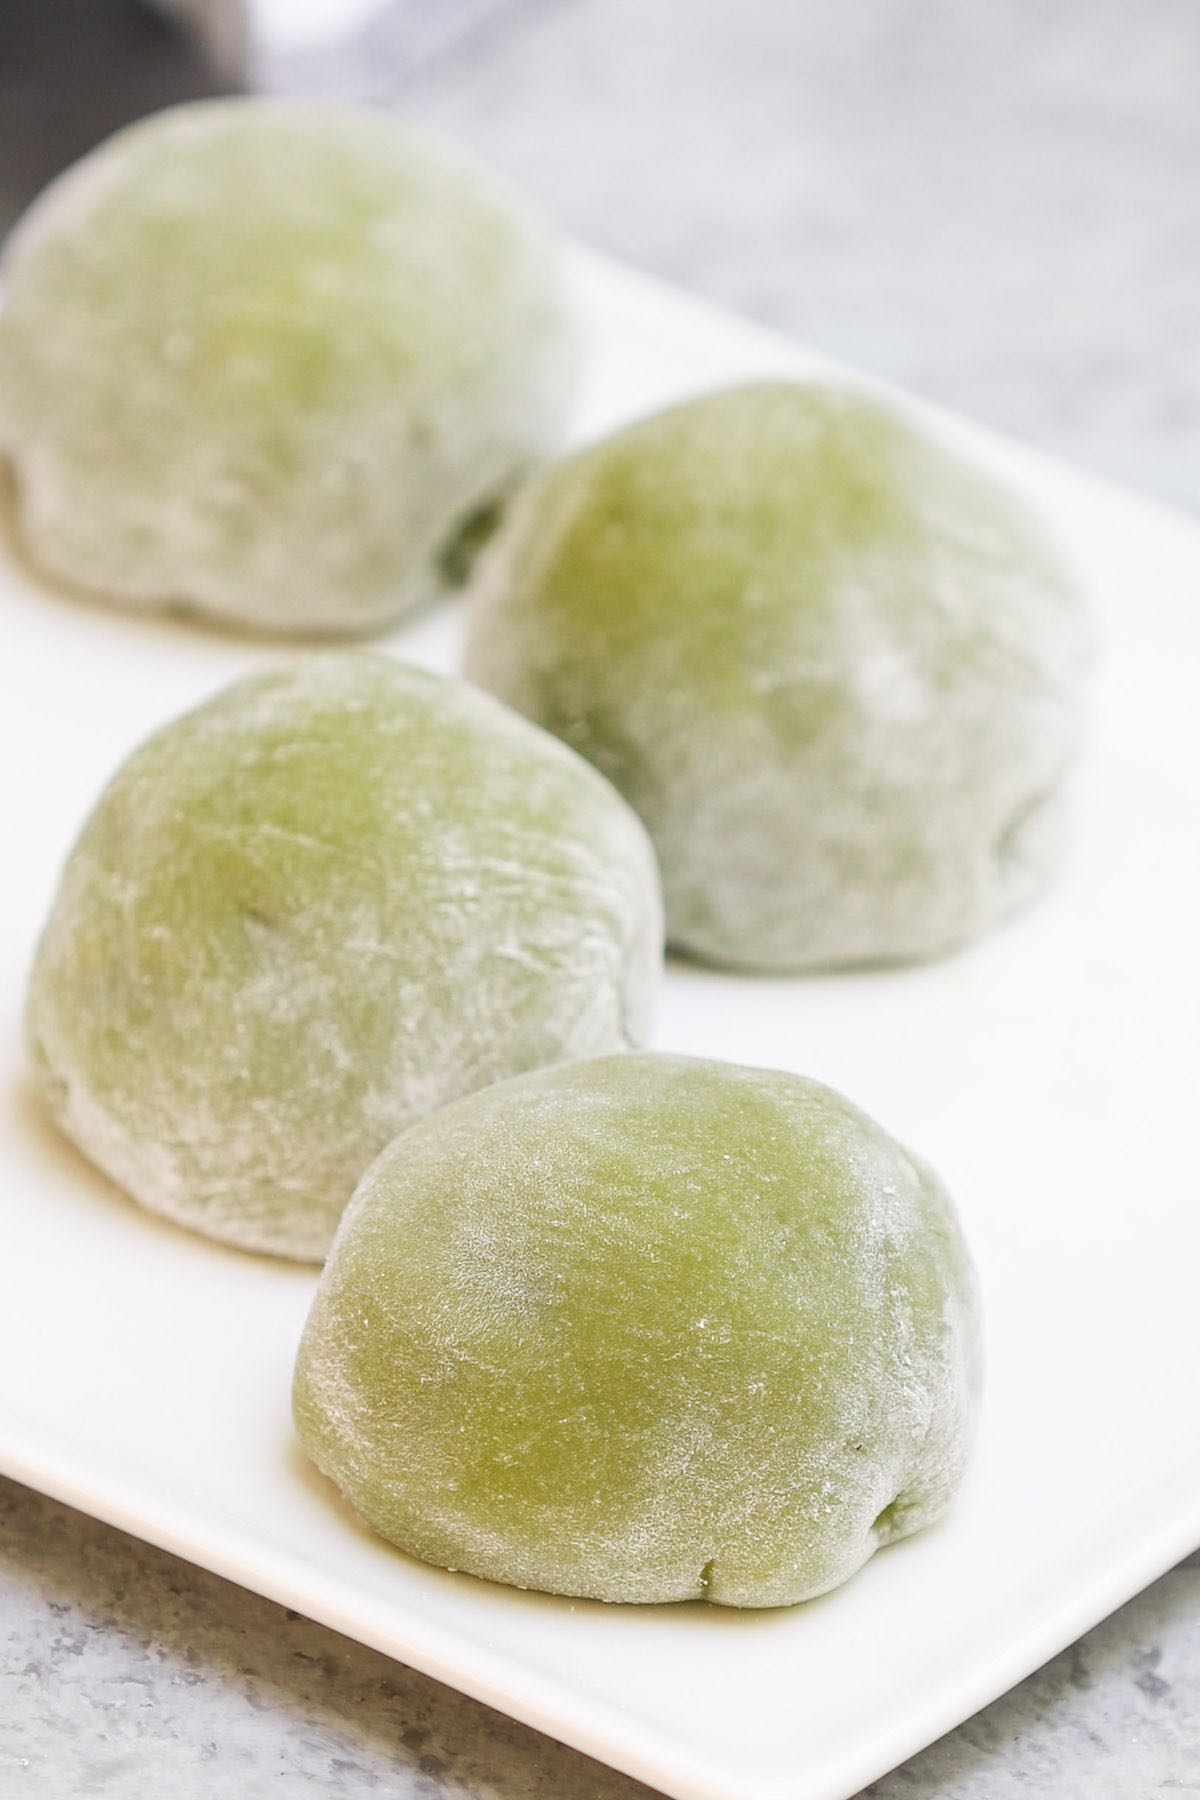
Traditional Japanese mochi desserts like Mochi Ice Cream, Matcha Mochi, or Mochi Donuts are made with special glutinous rice flour: Mochiko or Shiratamako. The good news is that this Mochi Cookie recipe uses the regular glutinous rice flour that’s widely available.
Watch Recipe Video
Ingredients and Substitutes
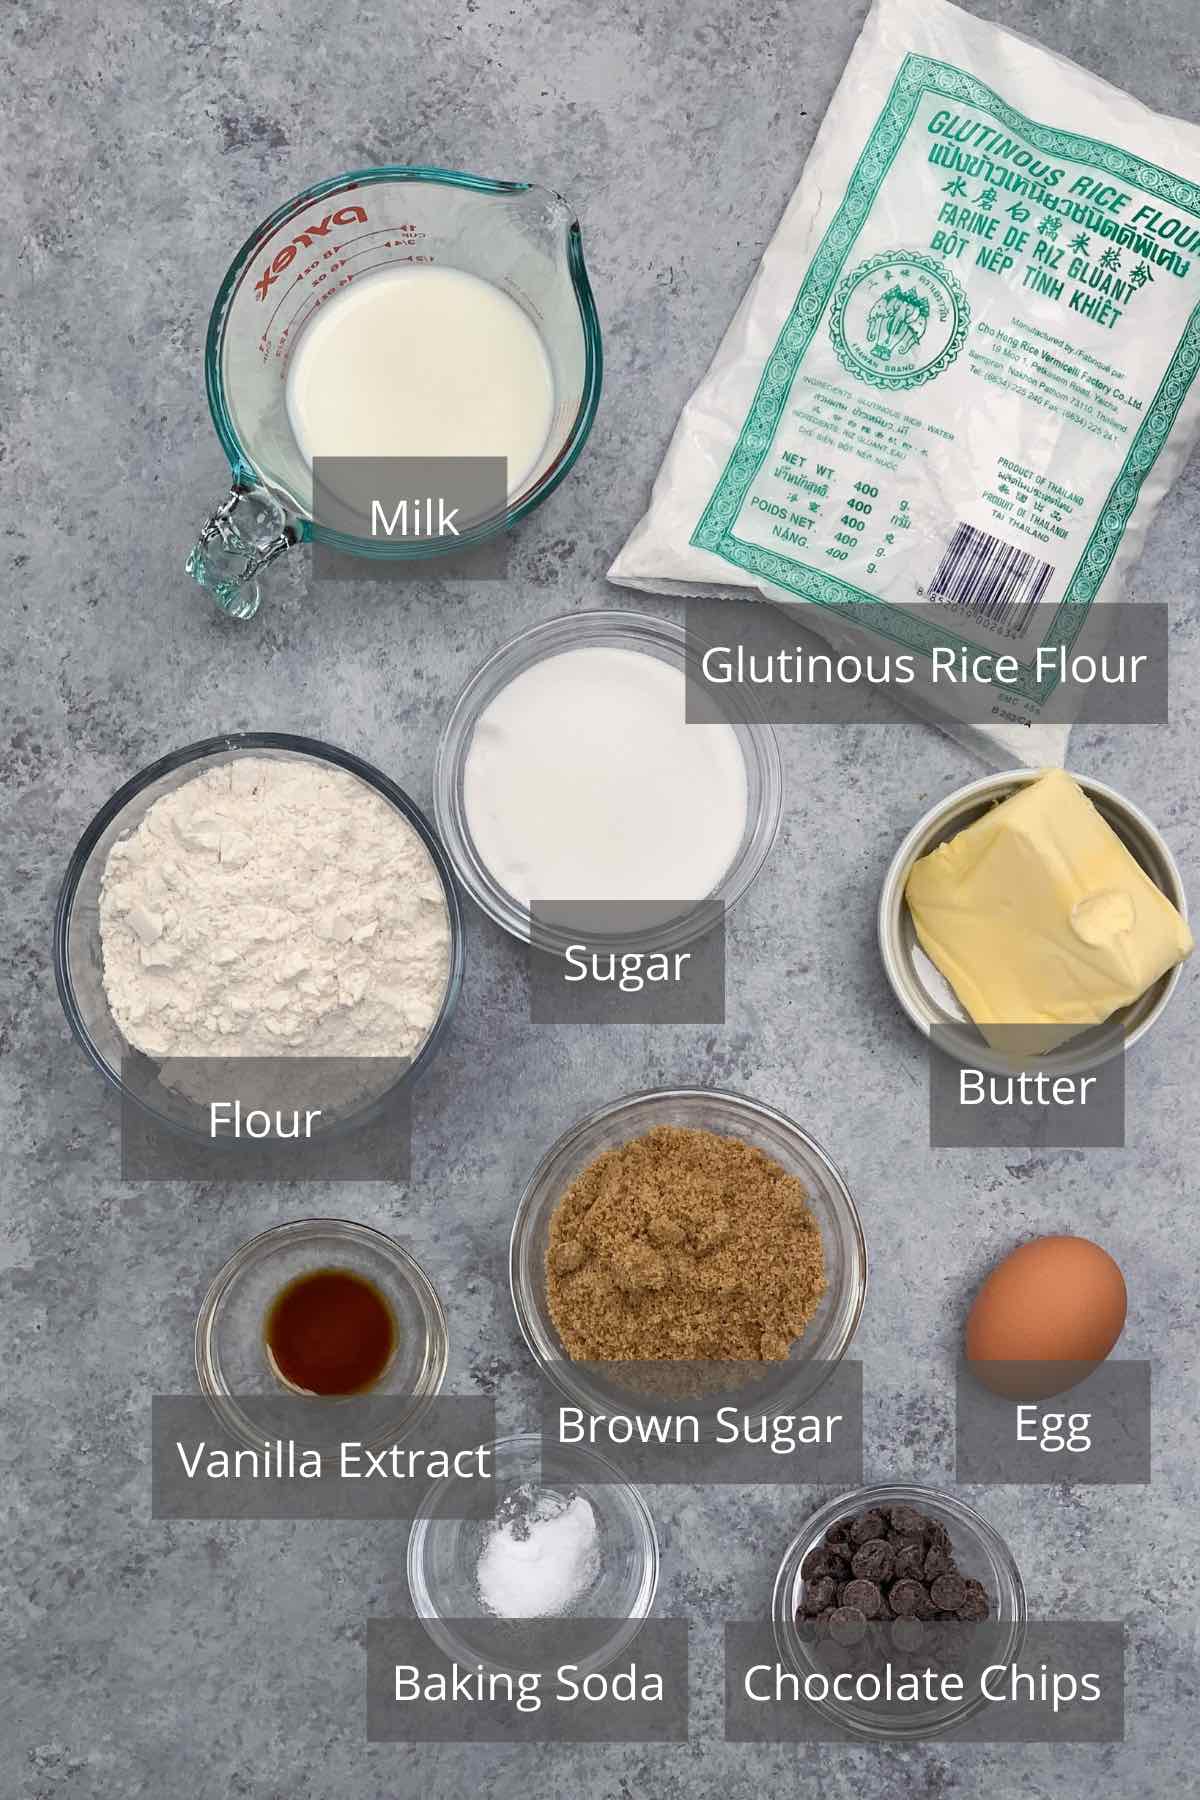
- Glutinous Rice Flour – Also called sticky rice flour or sweet rice flour. You can find it at most Asian grocery stores or order it online from Amazon.
- Sugar – I used the regular granulated sugar for the mochi cake. You’ll also need it for making the cookie dough.
- Milk – I used whole milk, but you can also use fat-free milk or water.
- Butter – Use unsalted butter for this recipe. Make sure to bring it to room temperature for easy mixing.
- Brown Sugar – Adds a deeper and richer flavor to the cookies. You can use light or dark brown sugar.
- Egg – I used a large egg for this recipe. It’s best to bring it to room temperature before adding it to the dough.
- Vanilla Extract – Adds the subtle and delicious flavor of vanilla, and also enhances the flavor of other ingredients.
- All-purpose flour – You can also use cake flour.
- Baking Soda – Helps to leaven the dough, creating soft and fluffy cookies.
- Chocolate Chips – I added them after wrapping the mochi cake. You can use dark or white chocolate chips.
How to Make Mochi Cookies
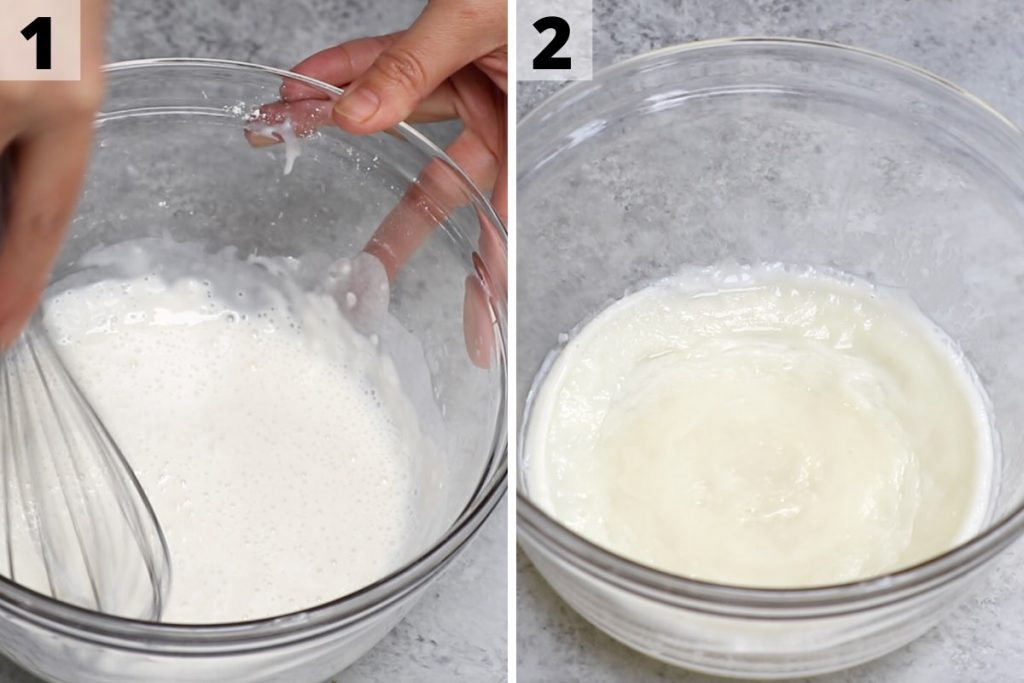
1. In a large microwave-safe bowl, add glutinous rice, sugar, and milk. Mix until everything is dissolved completely. (It’s important to make sure the mixture is smooth without any lumps.)
2. Microwave at HIGH for 2.5 minutes. Then mix with a wet spatula.
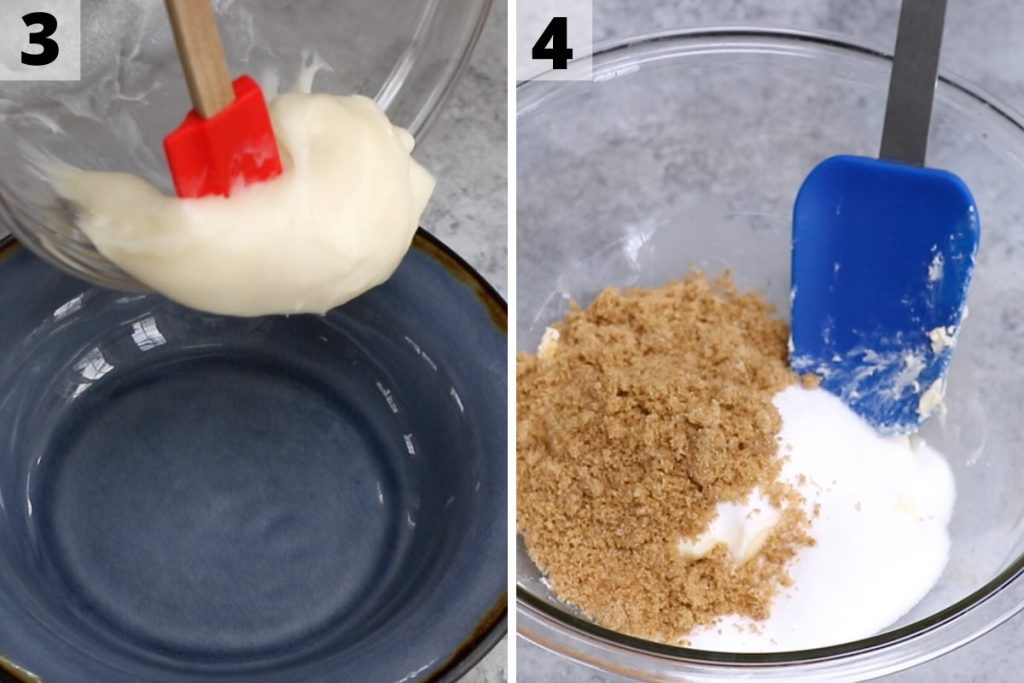
3. Transfer the mochi dough to a cold plate, cover with plastic wrap, and let it cool. In the meantime, preheat the oven to 350°F (177°C). Line a large baking sheet with parchment paper.
4. Add butter, white sugar and brown sugar to a large bowl. Mix until fully combined. (You can use a wooden spoon or a hand mixer on medium speed. Beat until combined and creamy). Add the egg and vanilla. Mix well.
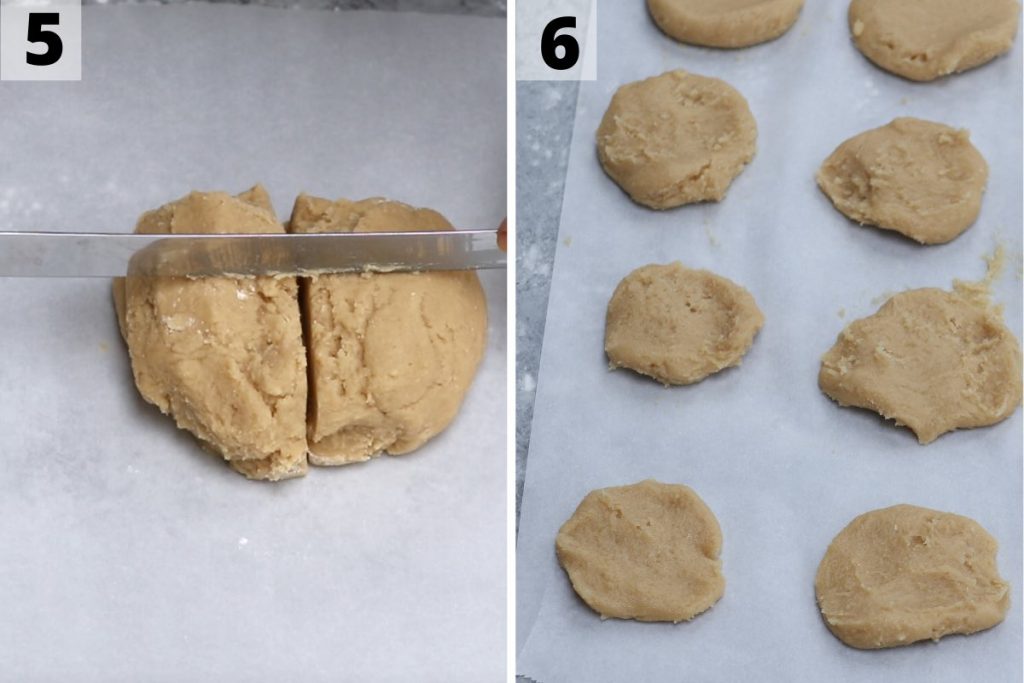
5. Add flour and baking soda to the mixture. Mix until combined. Cut the cookie dough into 16 pieces. Wet your hands with water and divide the mochi dough into 16 pieces.
6. Flatten the cookie dough into a circular shape using your hands.
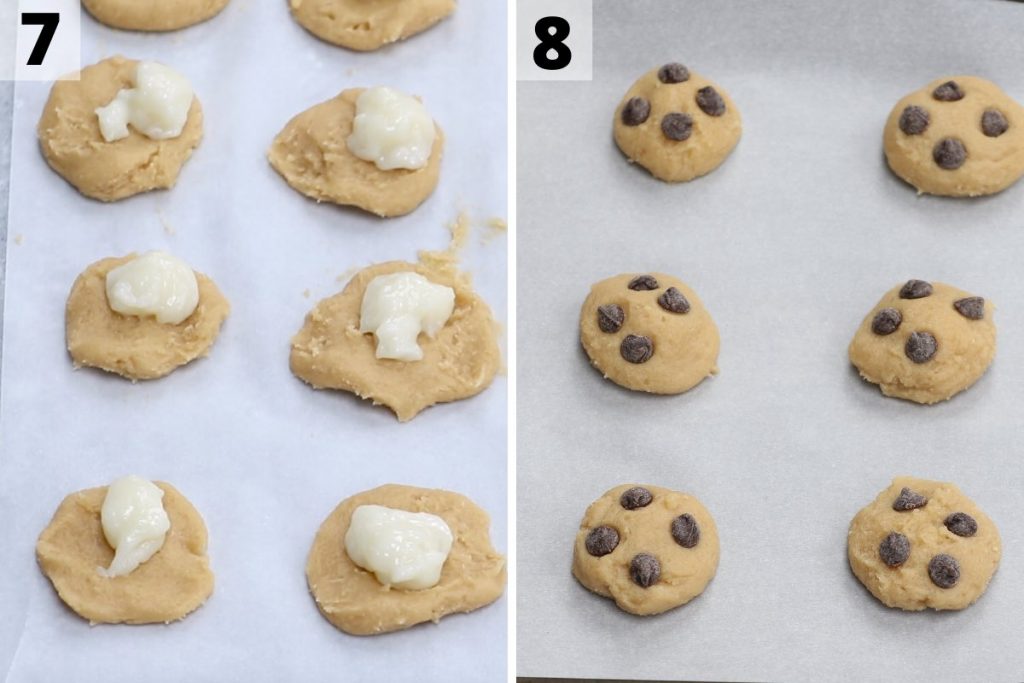
7. Place a piece of mochi dough in the center of the cookie dough. Pinch the four corners of the cookie dough, and then pinch the remaining corners together. Place the cookies on the baking sheet.
8. Flatten the cookies and press a few chocolate chips on top of each cookie. Bake the cookies at 350F for 10-12 minutes, until barely golden brown around the edges. Let it cool for 5 minutes on the baking sheet.
Tips for the Best Chocolate Chip Mochi Cookies
- Make sure to use regular glutinous rice four for this recipe. If you only have Mochiko flour or Shiratamako flour on hand, follow the instructions from this post on how to make the mochi dough.
- It’s very important to mix all mochi dough ingredients thoroughly before cooking it in the microwave. Otherwise, your mochi cake won’t have a smooth texture.
- Cover the cooked mochi dough with plastic wrap when it’s resting. Otherwise, the surface of the dough will dry out.
- To avoid mochi dough from sticking to your hands, you can wet your hands with water before handling the mochi cake.
Mochi Cookies Variations
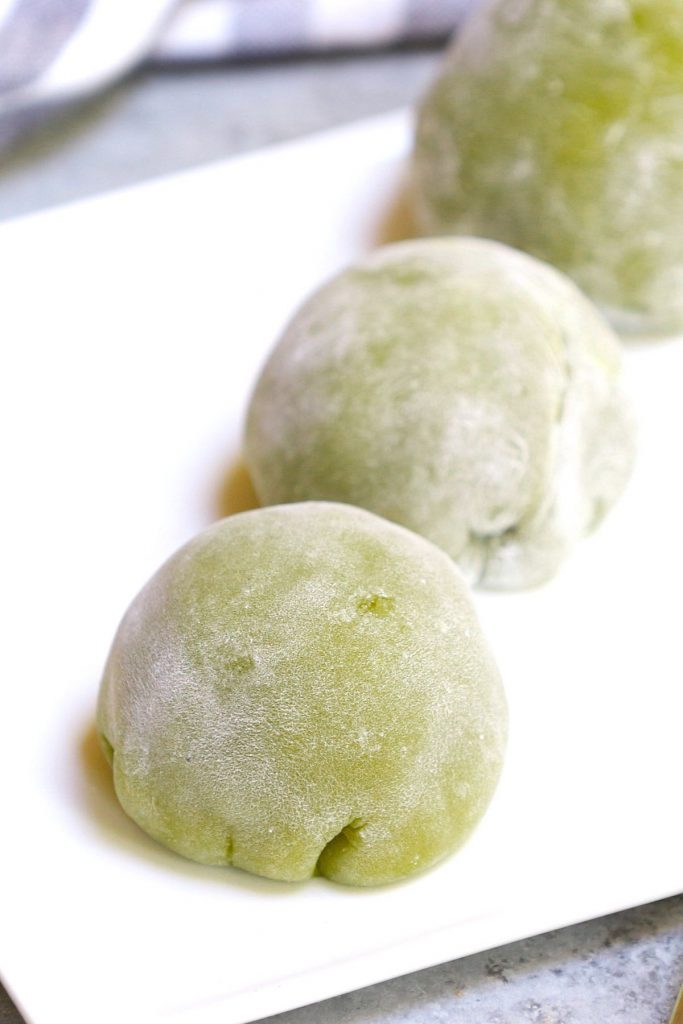
- Matcha Mochi Cookies: Add matcha green tea powder to the mixture to make green tea mochi cookies.
- Peanut Butter Mochi Cookies: You can use peanut butter dough instead of chocolate chip cookie dough.
- Vegan Mochi Cookies: Use water instead of milk for the mochi dough. Replace the egg with half of a banana. You’ll also use vegan butter and vegan chocolate chips.
How to Store Mochi Filled Cookies and how Long Do They Last?
Make sure to let them cool completely before storing. Store them in an air-tight container at room temperature and they can last for 2 days. These match mochi cookies taste the best on the day they’re made.
What Do Mochi Cookies Taste Like?
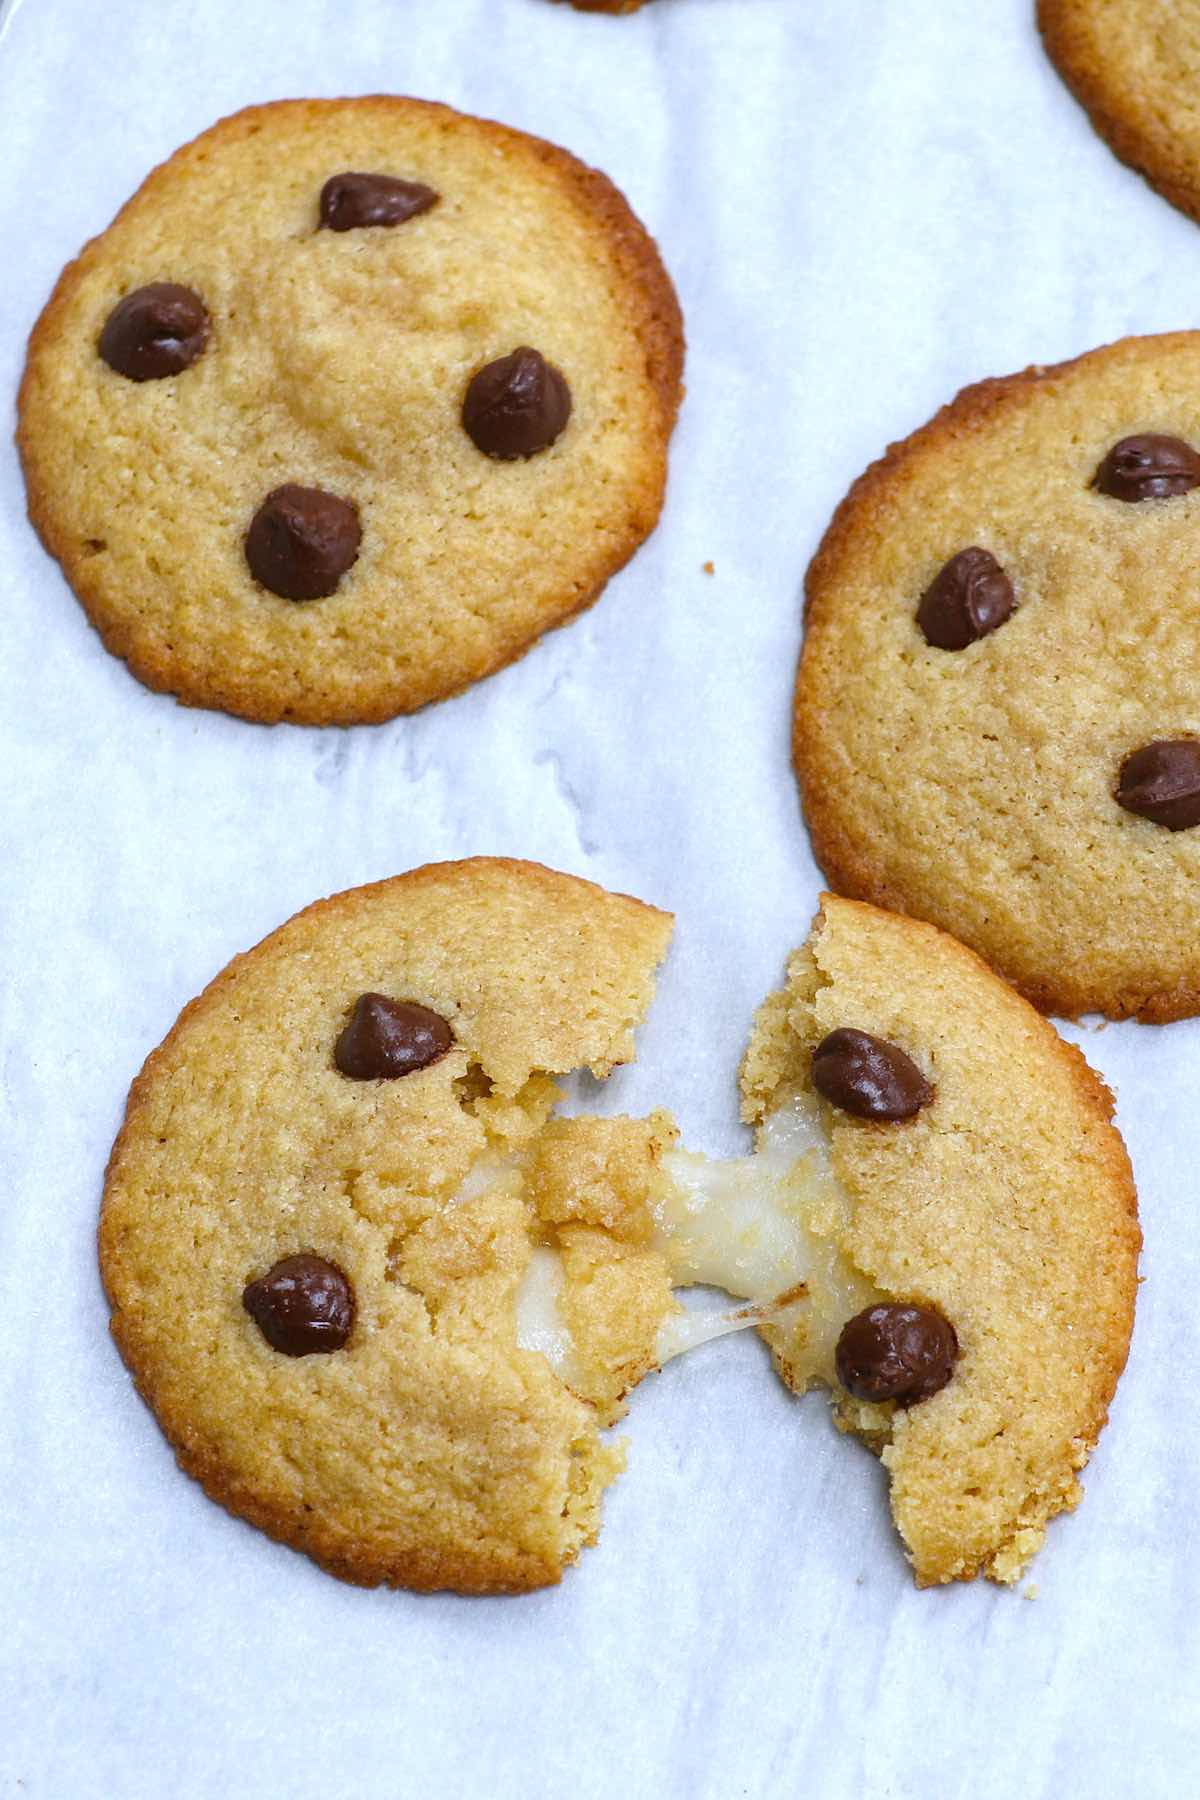
The cookies are soft and chewy with a nice chocolate flavor. The mochi filling is sweet and sticky. Once combined, they are melt-in-your-mouth delicious.
If You Like This Recipe Try These Out

If you tried this recipe, let me know how your Mochi Cookes turn out in the comments below!
Mochi Cookie Recipe (+VIDEO)
Equipment
Ingredients
For the Mochi
- 1/3 cup glutinous rice flour
- 1 1/2 tablespoons sugar
- 1/3 cup milk
For the Cookie Dough
- 1/2 cup unsalted butter, make sure the butter is at room temperature and very soft before mixing
- 1/2 cup white sugar
- 1/2 cup dark brown sugar
- 1 egg
- 1 teaspoon vanilla
- 1 1/3 cups all-purpose flour
- 1/2 teaspoon baking soda
- a handful chocolate chips
Instructions
Make the Mochi
- In a large microwave-safe bowl, add glutinous rice, sugar, and milk.
- Mix until everything is dissolved completely. (It’s important to make sure the mixture is smooth without any lumps.)
- Microwave at HIGH for 2.5 minutes. Then mix with a wet spatula. (Discard the liquid on top of the mochi dough)
- Transfer the mochi dough into a cold plate, cover with plastic wrap, and let it cool. In the meantime, preheat oven to 350°F (177°C). Line a large baking sheet with parchment paper.
Make the Cookie Dough
- Add butter, white sugar and brown sugar to a large bowl. Mix until fully combined. (You can use a wooden spoon or a hand mixer on medium speed. Beat until combined and creamy). Add the egg and vanilla. Mix well.
- Add flour and baking soda to the mixture. Mix until combined.
Wrap the Mochi with Cookie Dough
- Cut the cookie dough into 16 pieces. Wet your hands with water and divide the mochi dough into 16 pieces.
- Flatten the cookie dough into a circular shape using your hands.
- Place a piece of mochi dough in the center of the cookie dough.
- Pinch the four corners of the cookie dough, and then pinch the remaining corners together. Place the cookies on the baking sheet.
Bake Mochi Cookies
- Flatten the cookies and press a few chocolate chips on top of each cookie.
- Bake the cookies for 10-12 minutes, until barely golden brown around the edges. Let it cool for 5 minutes on the baking sheet.
Video
Notes
- Make sure to use regular glutinous rice four for this recipe.
- It’s very important to mix all mochi dough ingredients thoroughly before cooking it in the microwave.
- Cover the cooked mochi dough with plastic wrap when it’s resting. Otherwise, the surface of the dough will dry out.
- Wet your hands with water before handling the mochi cake.
Nutrition
Nutrition information provided is an estimate only and will vary based on ingredient brands and cooking methods used.
This post may contain affiliate links. Please read my disclosure policy.

These cookies look so good! I absolutely love that mochi filling. Such a wonderful contrast in texture. Yum!
This is such a unique and delicious chocolate chip cookie recipe! The mochi really makes them something special!
Made this for our anniversary and they turned out just perfect! Thank you so much for this recipe
These mochi cookies are genius! I never would have thought to put mochi inside a cookie. So creative!
Hi Agnieszka, glad you like the recipe. Thanks for letting me know. Izzy
These will definitely be a big hit here! My son is going to love this recipe! Can’t wait to make these with my daughter!
Thank Beth, Glad that you like this recipe.
Hello, my mochi never “melted”, it stayed in a glop. What am I doing wrong 🙁
The cookie itself is AMAZING though (I did reduce a little sugar) This is my top fav cookie now!
Did you use Mochiko flour for your mochi? If you use the exact measurement, your mochi cake should be nice and gooey.
Hi Izzy, I have made these before. They were delicious. Just wondering if I can make the mochi and refrigerate the night before?