Grilled Corn In The Husk
on Sep 05, 2022
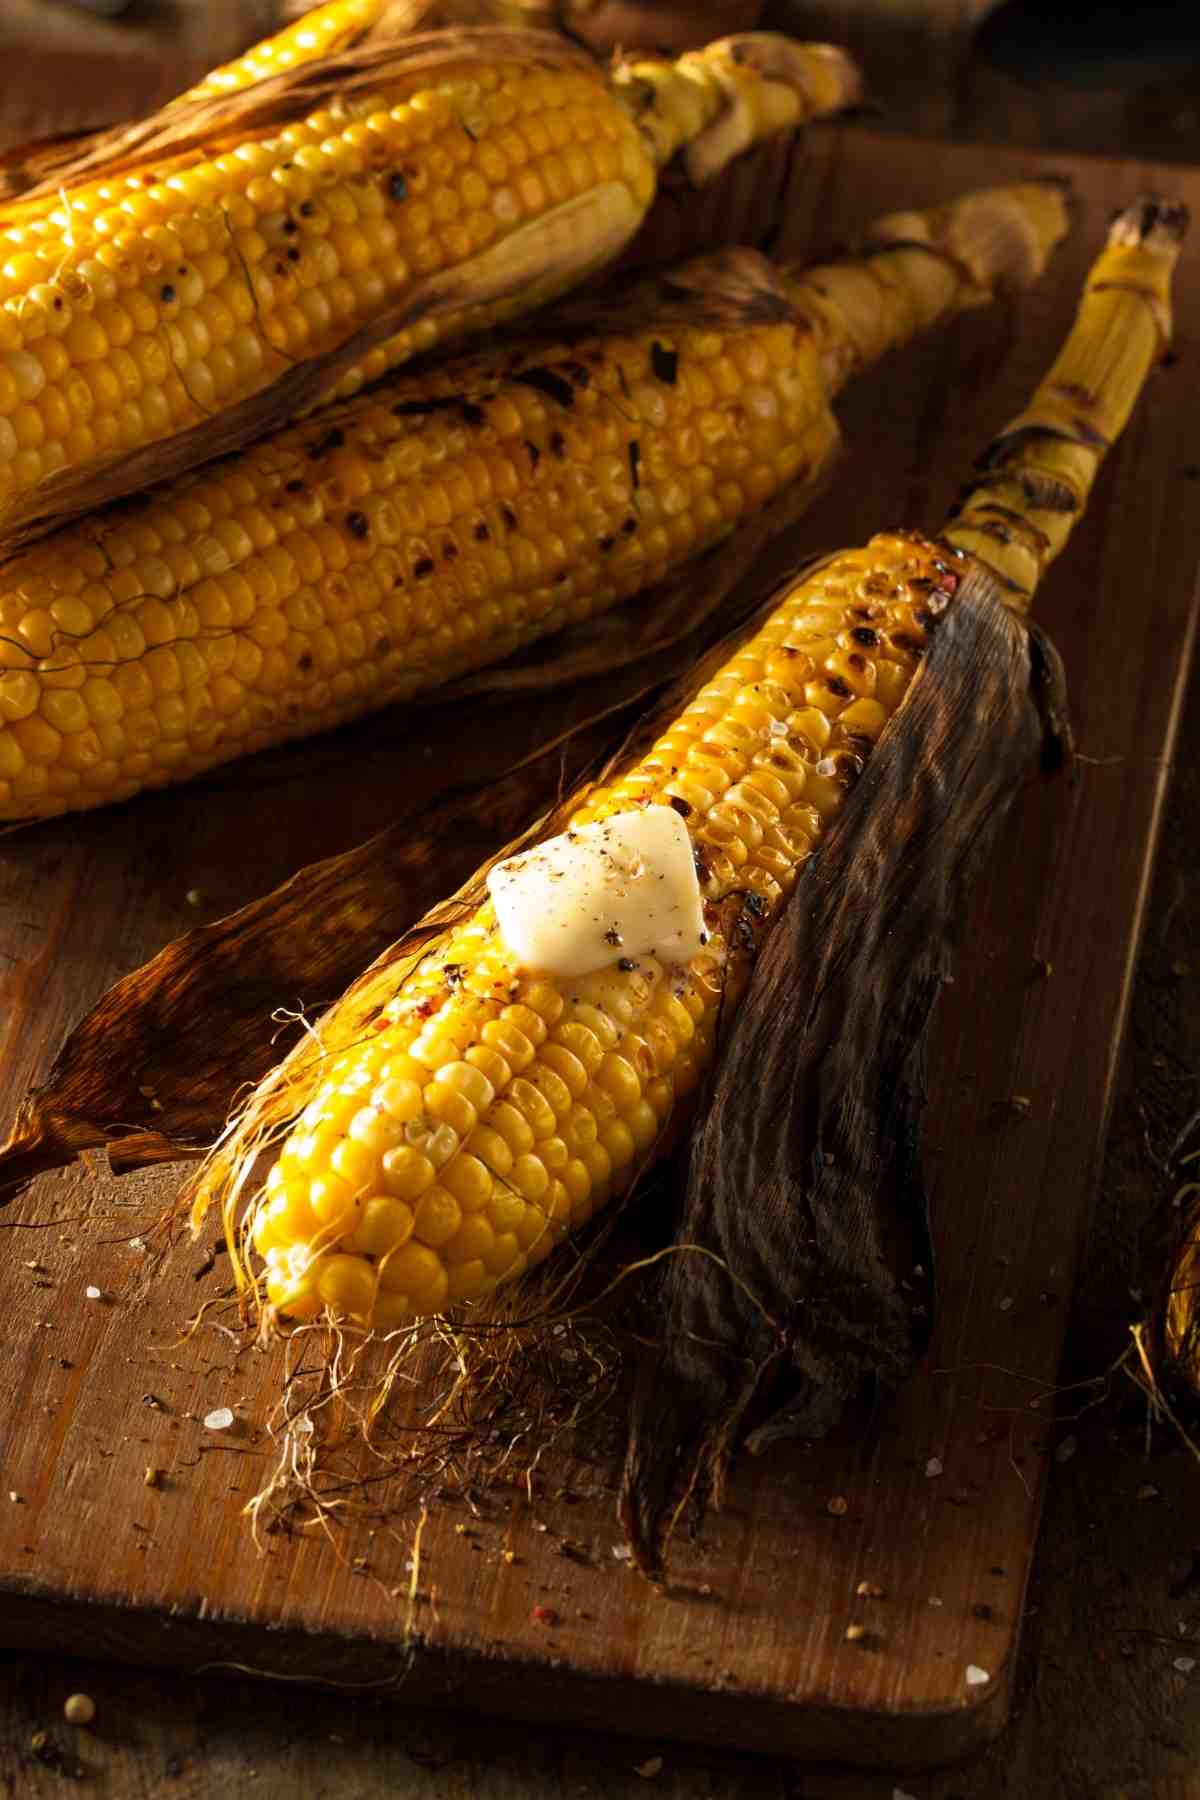
Leaving the husks on grilled corn produces corn that’s perfectly plump, tender, and sweet. The next time corn is on the menu, give this method a try. You’ll love the results!
When you taste how tender and delicious the corn grills up, this is sure to become your go-to method for perfect grilled corn.
Ingredients You’ll Need
- corn
- softened butter and salt
(Note: Full recipe is at the bottom of the post)
How to Grill Corn In The Husk
- Start by removing any loose husks from the corn. Gently peel back the outside layers of the husk, leaving the bottom attached to the corn. Remove the silk, then pull the husks back to cover the corn. Repeat with all of the corn cobs.
- Soak the corn cobs in a large bowl of cool water for at least 20 minutes. This will prevent the husks from scorching on the grill.
- Heat the grill to medium-high or between 375°F and 450°F.
- Place the corn directly on the grill and cook until the husk begins to blacken. Turn the corn and continue to grill for a total of 20-22 minutes. The outside of the husks will be charred. Peel back the husk on one cob to check for doneness. The corn should be bright yellow and the niblets tender to the bottom of the cob.
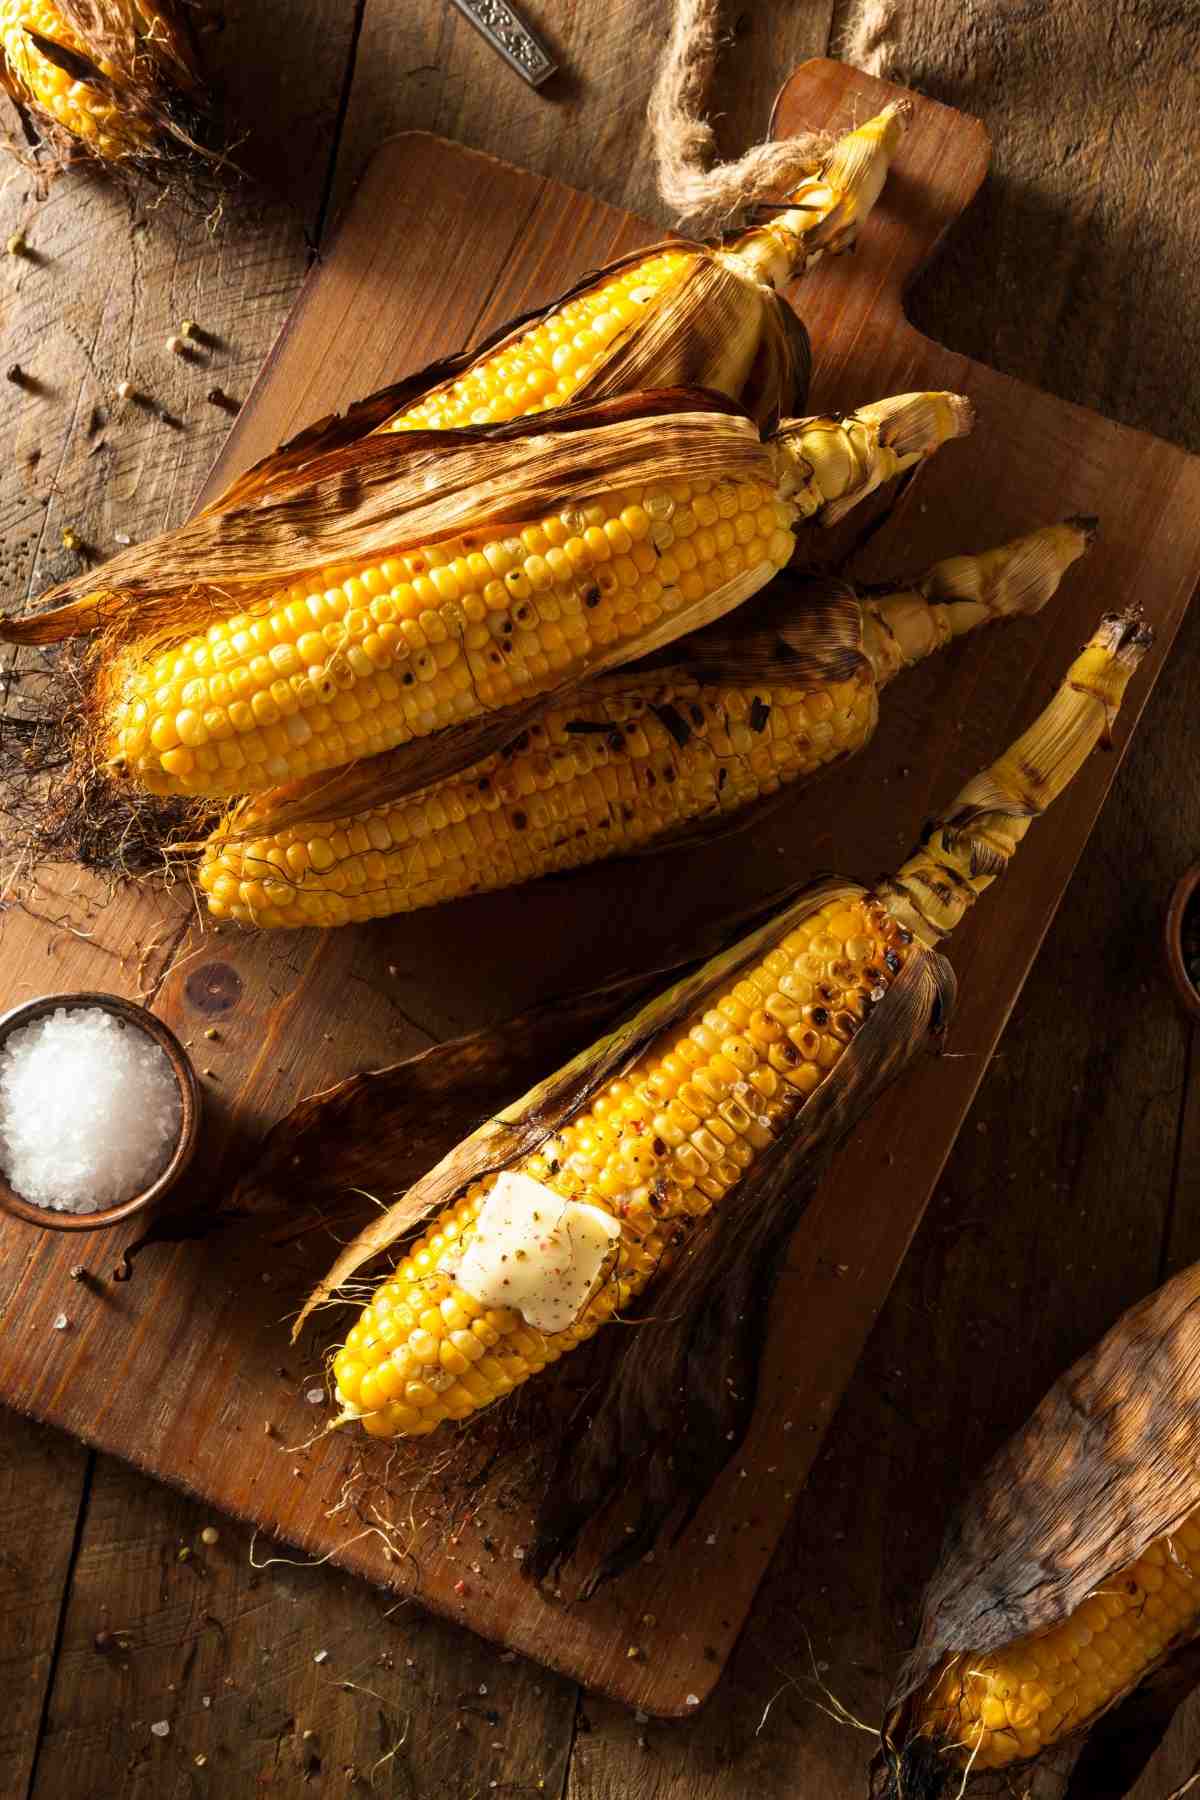
- Serve warm with salt and softened butter.
Tips And Tricks
- There’s no need to boil the corn before grilling. Cooking the corn in the husk keeps it moist while it’s grilling.
- Add fresh herbs to softened butter for additional flavor.
How Long Do You Cook Grilled Corn In The Husk?
After soaking the cobs in water for about 20 minutes, it takes about another 20 minutes to grill the corn. The corn cooks up perfectly tender and juicy.
How To Store Grilled Corn In The Husk
Leftovers should be cooled to room temperature, placed in an airtight container, and stored in the fridge for up to 4 days.
Can You Freeze Grilled Corn In The Husk?
Yes. The corn can be frozen on the cob or you can remove the kernels first. Place the leftover corn in a freezer-safe container and freeze for up to 1 month.
How To Reheat Grilled Corn In The Husk
Frozen corn can be reheated straight from the freezer. For corn on the cob, place it in a large pot and cover it with water. Heat on high and cover with a lid when the water comes to a boil. Reduce the heat to low and cook for about 5-8 minutes until the corn is hot.
Corn can also be reheated in a 350°F oven. Place the corn on a parchment paper-lined baking sheet and heat for 4 minutes. Flip the corn to the other side and continue to heat until warm throughout.
For corn kernels, place a pat of butter in a small saucepan over medium-low heat. Add the corn and stir occasionally until heated through. Add a tablespoon or so of water if the corn seems dry. Corn kernels can also be reheated in the microwave at reduced power until heated through.
How To Serve Grilled Corn
Grilled corn is a treat for everyone! Serve it alongside your favorite grilled meats and veggies or with a fresh garden salad. Grilled corn is also a delicious side dish for burgers and hot dogs. Be sure to have salt and softened butter on hand!
Does Corn In The Husk Need To Soak Before Grilling?
Yes. This is an important step. Soaking the corn helps to prevent the husks from scorching on the grill. It also adds moisture to the corn and helps to create steam.
Does Grilled Corn In The Husk Need To Be Boiled Before Grilling?
No. The combination of soaking the husks before grilling and cooking the corn in the husk produces sweet, tender, and flavorful corn.
Do The Silks Have To Be Removed Before Grilling?
This step is optional but recommended. Removing the silks beforehand reduces the chances of the husk catching fire on the grill and also makes it faster and easier to dive in and eat the corn while it’s still warm.

Grilled Corn In The Husk Recipe
Ingredients
- 8 ears corn
- softened butter and salt, for serving
Instructions
- Start by removing any loose husks from the corn. Gently peel back the outside layers of the husk, leaving the bottom attached to the corn. Remove the silk, then pull the husks back to cover the corn. Repeat with all of the corn cobs.
- Soak the corn cobs in a large bowl of cool water for at least 20 minutes. This will prevent the husks from scorching on the grill.
- Heat the grill to medium-high or between 375°F and 450°F.
- Place the corn directly on the grill and cook until the husk begins to blacken. Turn the corn and continue to grill for a total of 20-22 minutes. The outside of the husks will be charred. Peel back the husk on one cob to check for doneness. The corn should be bright yellow and the niblets tender to the bottom of the cob.
- Serve warm with salt and softened butter.
Nutrition information provided is an estimate only and will vary based on ingredient brands and cooking methods used.
This post may contain affiliate links. Please read my disclosure policy.