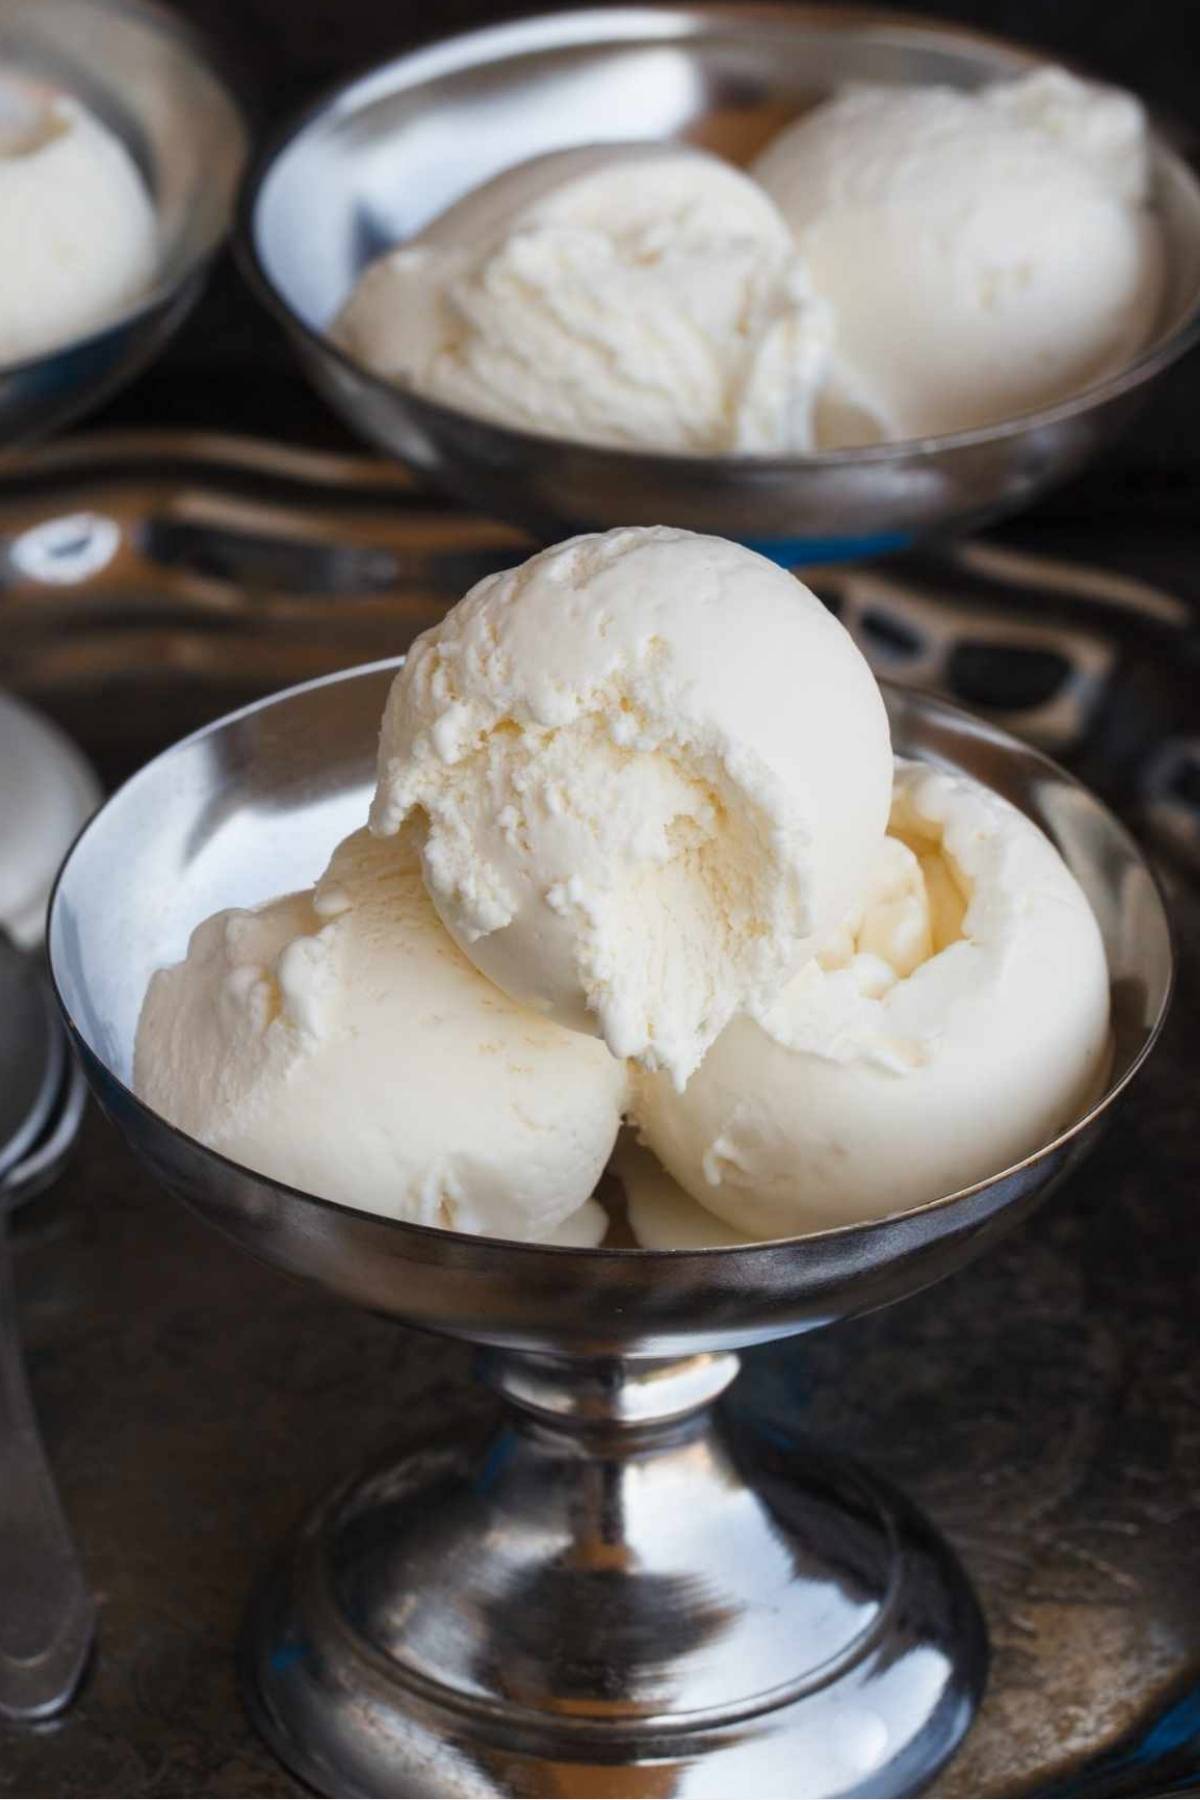
How to Make Ice Cream in A Bag
on Feb 03, 2022
You don’t need a fancy ice cream maker to enjoy homemade ice cream. We’ll show you how easy it is to make ice cream in a bag! All you need are just 3 ingredients and two Ziploc bags. Ready in 15 minutes, this homemade treat will be perfect for those hot summer days.
Everyone loves ice cream. Making it at home within minutes is a dream come true. There’s a lot of shaking to do so get those arms ready! We promise it will be worth the effort in the end.
You can also think of this as a fun, kid-friendly activity. Your kids will be thrilled to know that ice cream can be made in a bag! You just might find yourself making this recipe again and again.
How Does Homemade Ice Cream in a Bag Work?
There’s a lot of science behind this fun ice cream making technique. The ice cream mixture is added to one bag and inserted into a larger bag filled with ice and salt. The salt allows the ice to start melting at a lower temperature. As the ice melts, it constantly pulls heat from its surroundings, in this case, the bag with the ice cream mixture. This is what causes the ice cream to freeze rapidly.
Ingredients You’ll Need
- Half and Half Milk: This is a mixture of half whole milk and half heavy cream. You can buy it at a grocery store or mix the 2 ingredients at home. It’s what gives the ice cream its creamy and thick texture.
- Sugar: You can use brown or white sugar.
- Vanilla Extract: This adds an extra flavor boost to your ice cream. Feel free to experiment with different flavors as you wish.
Materials You’ll Need
- Rock Salt: This is typically used when making ice cream due to its large grains which are evenly distributed in the ice, and won’t melt as fast as table salt.
- Ice: You’ll need enough to fill ⅓ of a large Ziploc bag.
- A Large Ziploc Bag: The larger bag will contain the ice and salt, and hold the smaller bag with the ice cream ingredients.
- Two Small Ziploc Bags: This will be used for the ice cream ingredients. Why two? It’s important for you to double the bag.
How to Make Ice Cream in a Bag
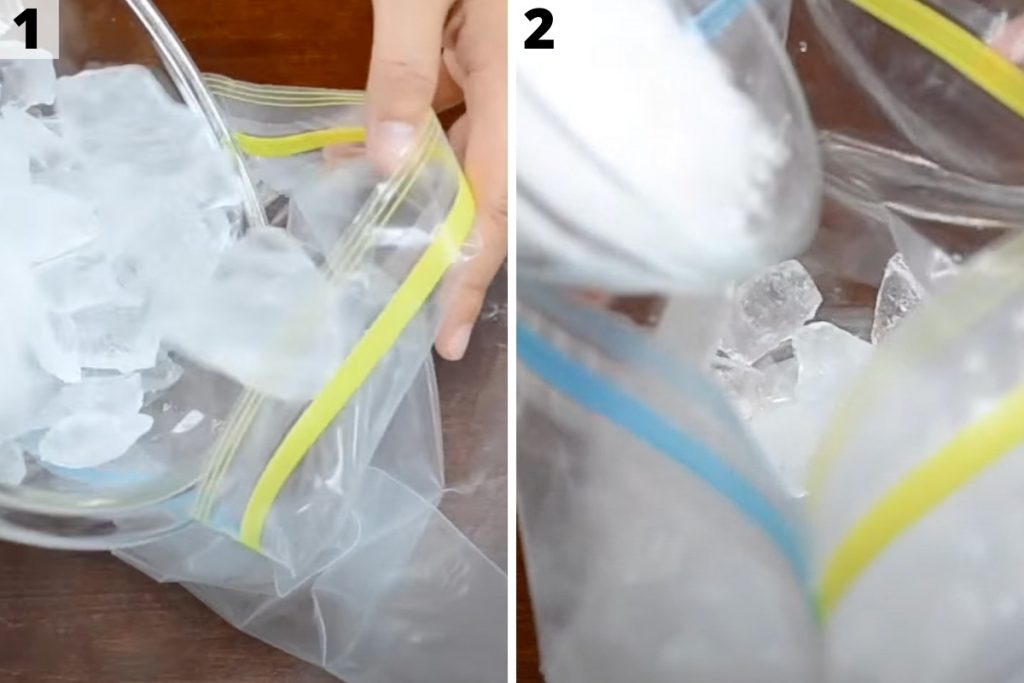
1. Fill a large Ziploc bag ⅓ full of ice.
2. Into the same large bag, add the rock salt.
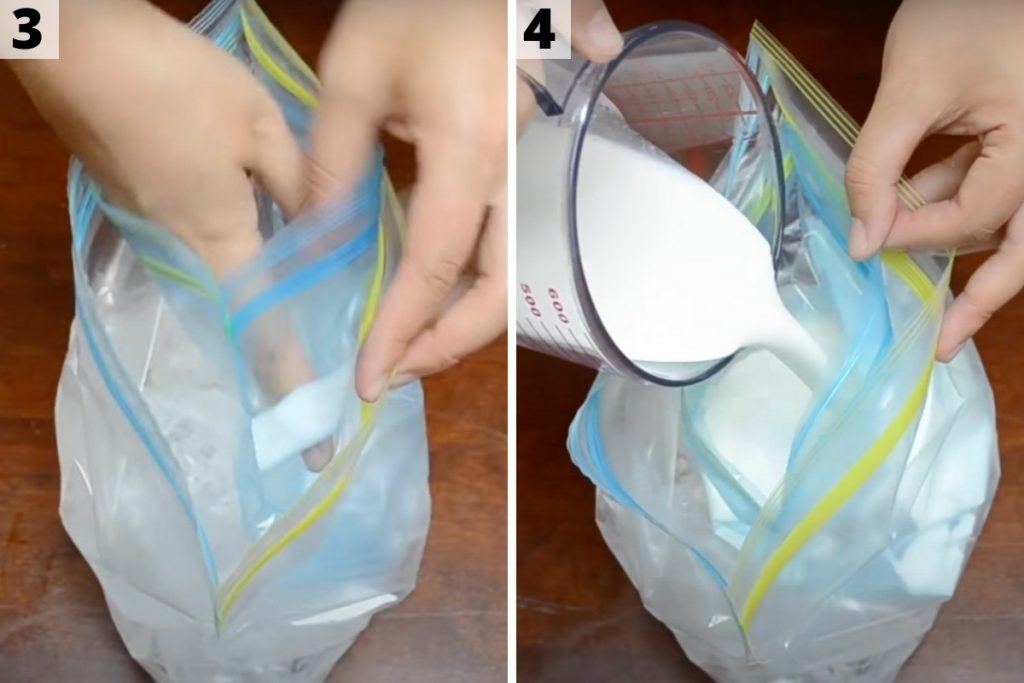
3. Carefully place a small Ziploc bag into the large one, on top of the ice and rock salt mixture.
4. Hold it open while you pour in pour in the half and half.

5. Into the same small bag, add sugar.
6. Finally, add vanilla extract into the small bag, and seal it tightly. Use double bags if you must for extra sealing.
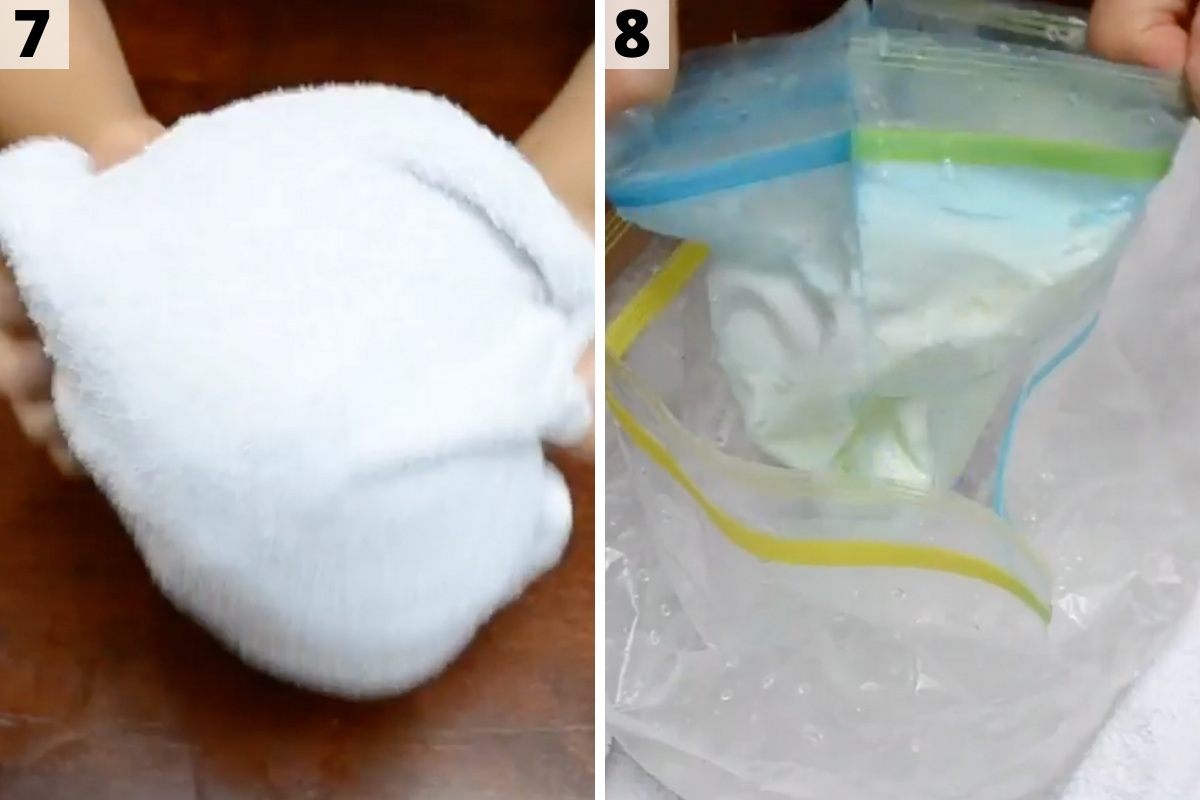
7. Seal the large Ziploc bag tightly over the sealed small bag, and cover with a towel or hold it using oven mitts while you shake it vigorously for 8 to 10 minutes.
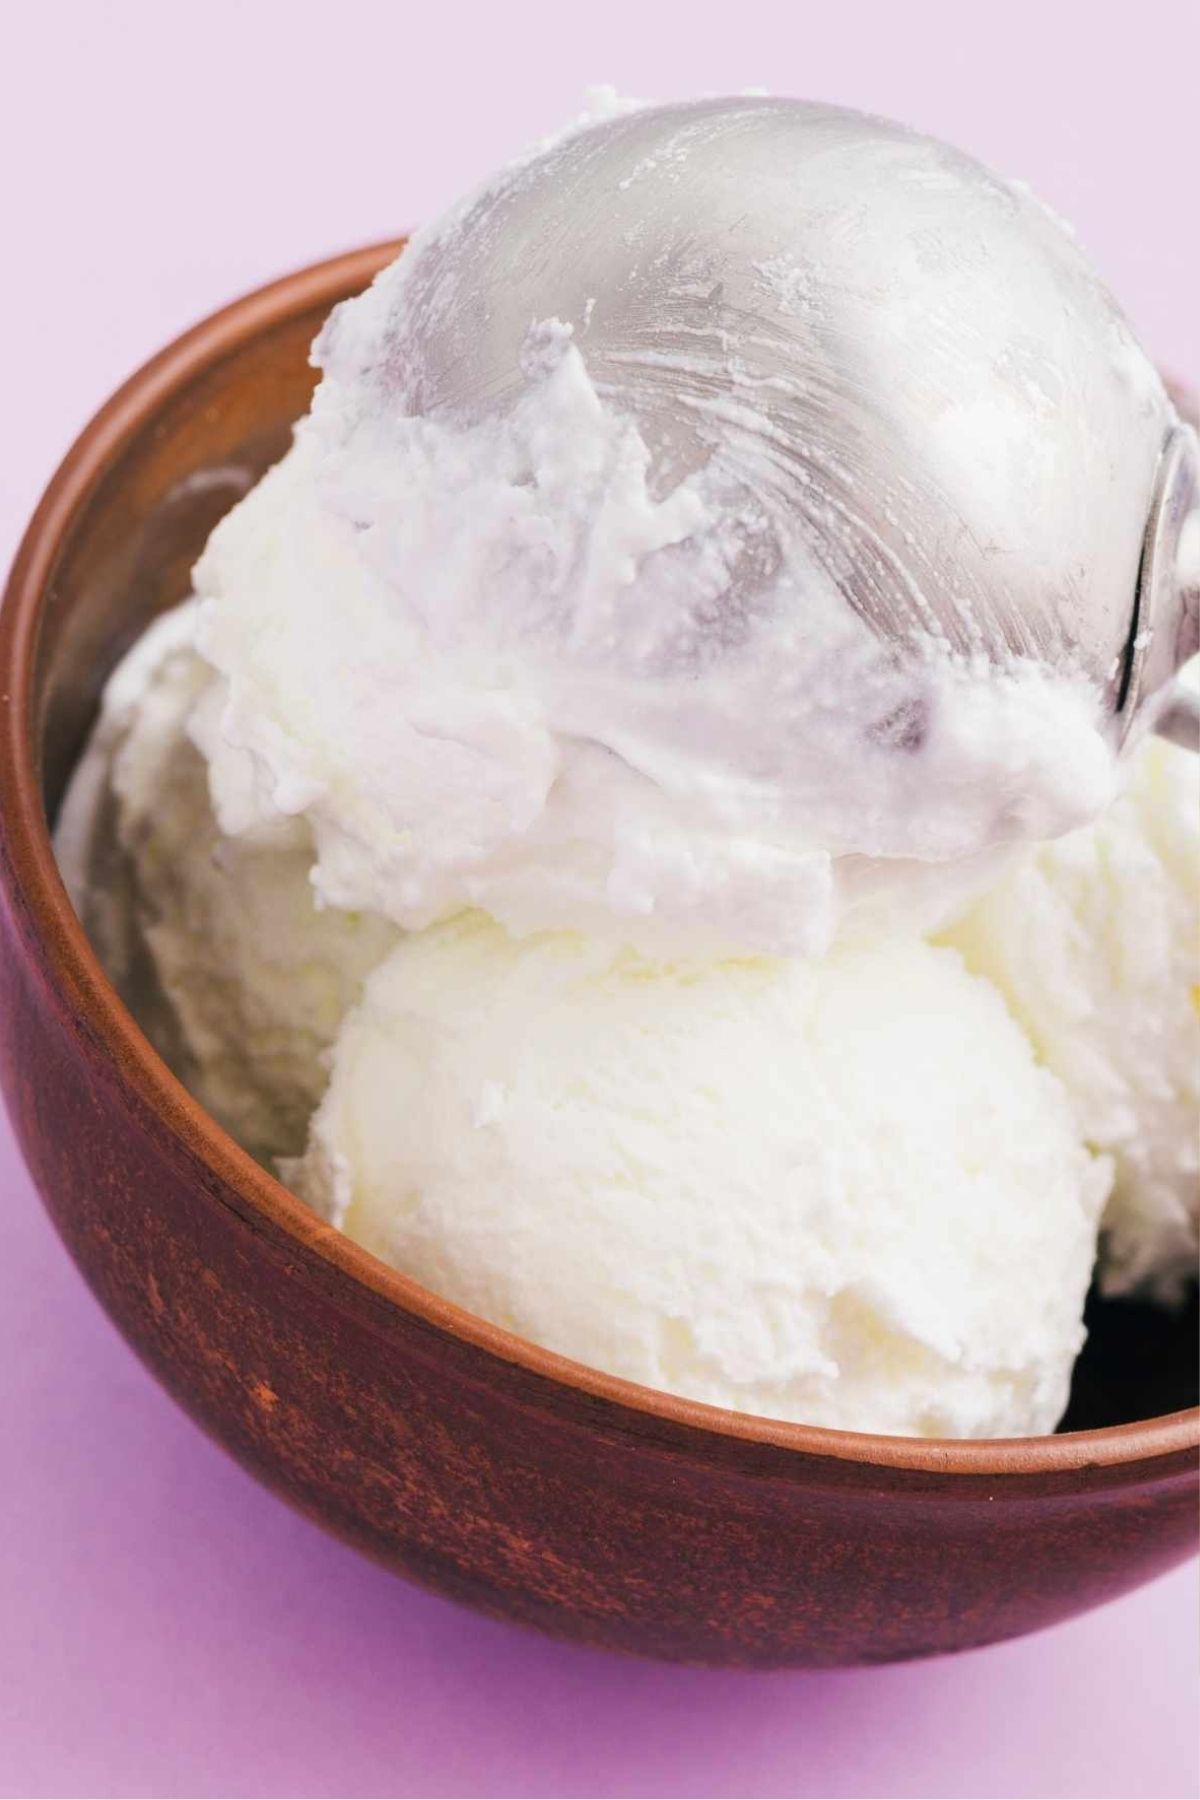
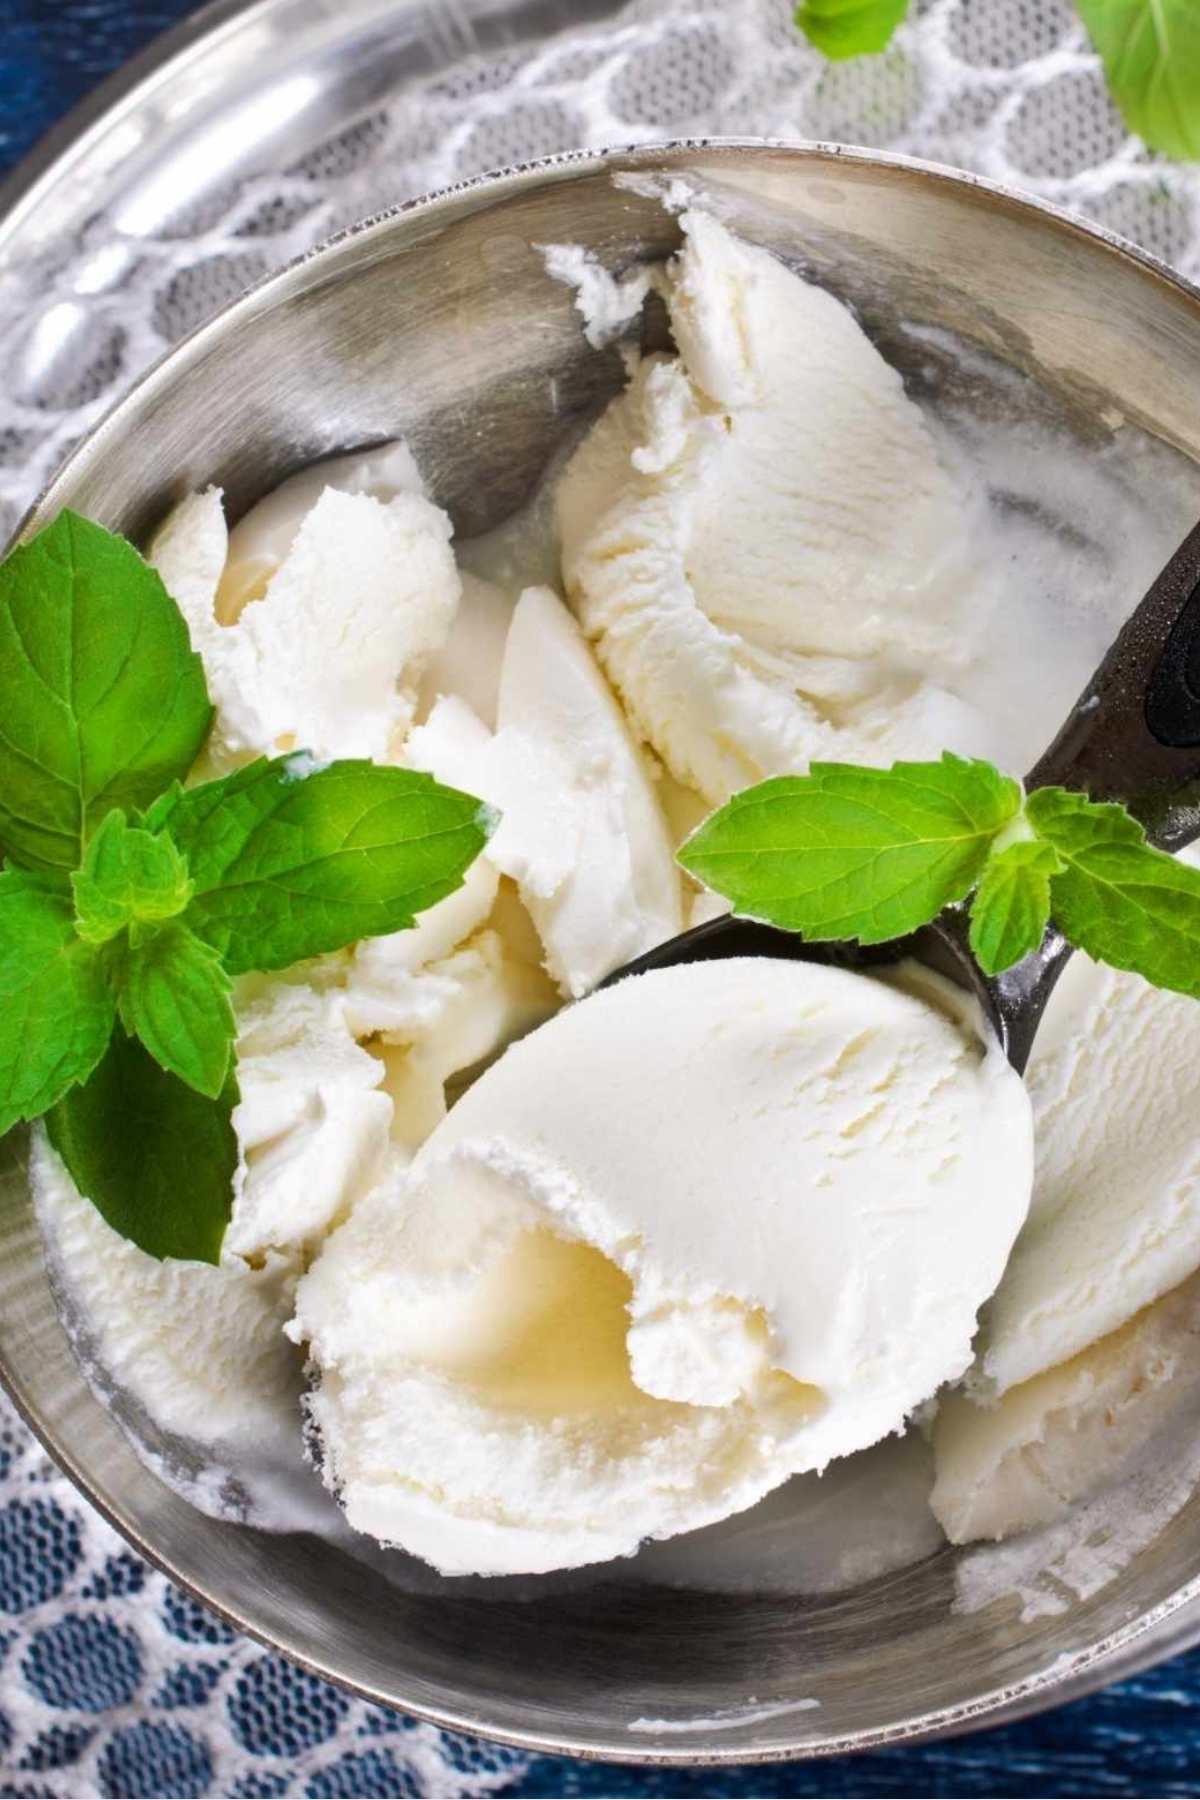
8. Carefully open up the larger bag, taking the smaller bag within and rinsing it to remove the salt. Open it to reveal your freshly made vanilla ice cream, and serve immediately!
Tips & Tricks
- Make sure to push out all of the excess air before sealing the small Ziploc bag: Achieving a ready-to-eat ice cream in a few minutes means it has to solidify quickly and be very cold. Having too much air in the bag will affect these results.
- Shake the bags vigorously: Along with the cold temperature, shaking vigorously helps to combine all of the ingredients. Take turns shaking with someone else if your arms get tired!
- It’s helpful to wrap the bag with a towel: The bag will quickly become too cold for you to hold so this step is a must. You can also use oven mitts if you prefer.
How to Avoid Salty Ice Cream?
- Use chunky salt to avoid getting it mixed into your ice cream: That’s why rock salt works best. If you only have table salt, ensure the bag is sealed tightly.
- Use double bags: Keep everything in its place. The last thing you’d want to end up with is salty ice cream.
- Be sure to seal the bags tight: With all the vigorous shaking, you don’t want the ice cream to seep out or the salt to get in. Check and double-check that the bags are tightly sealed.
- Rinse the small Ziploc bag before opening it: This will get rid of any salt on the outside of the bag so it doesn’t find its way into your ice cream.
Can I Make Ice Cream in A Bag without Half & Half Milk?
If you can’t find half & half milk or don’t have it at home, you can use evaporated milk, whole milk, or heavy whipping cream instead. However, your ice cream won’t be as thick and creamy.
Can I Make Ice Cream in A Bag without Sugar?
If you can avoid it, don’t eliminate the sugar. Eliminating it will affect the characteristic rich taste and creamy texture we’ve grown to love. If you must exclude the sugar, use your preferred substitute. However, keep in mind that sugar is a key ingredient in ice cream.
Can I Make Ice Cream in A Bag without Rock Salt?
You definitely can! Feel free to use table salt as a substitute. Rock salt is recommended because the grains are larger which means they are distributed more evenly among the ice. They also don’t melt as quickly.
You May Also Like
- How to Make Ice Cream in a Blender
- Rolled Ice Cream (Thai Stir-Fried Ice Cream Recipe)
- Best Ice Cream Float (Easy Coke Float)

Homemade Ice Cream in a Bag Recipe
Ingredients
- 1 cup half and half milk
- 2 tablespoons sugar
- 1/2 teaspoon vanilla extract
- 1/2 cup rock salt
Instructions
- In a small Ziploc bag, add milk, sugar, and vanilla.
- Push out excess air and seal tight. Set aside. (It’s best to use double bags to avoid salty ice cream)
- Fill a large Ziploc bag 1/3 full with ice. Then add in rock salt.
- Place the small Ziploc bag on top of the ice and salt inside of the large Ziploc bag.
- Seal the big Ziploc bag. Make sure that both bags are sealed tightly.
- Wrap the large Ziploc with a towel. (Otherwise, it will be too cold for your hands)
- Shake vigorously for 8-10 minutes or until the mixture has hardened.
- Take the small Ziploc bag out and rinse it thoroughly with cold water.
- Open the bag and scoop out the ice cream. Serve and enjoy!
Nutrition information provided is an estimate only and will vary based on ingredient brands and cooking methods used.
This post may contain affiliate links. Please read my disclosure policy.


is was so good. it turned out do well