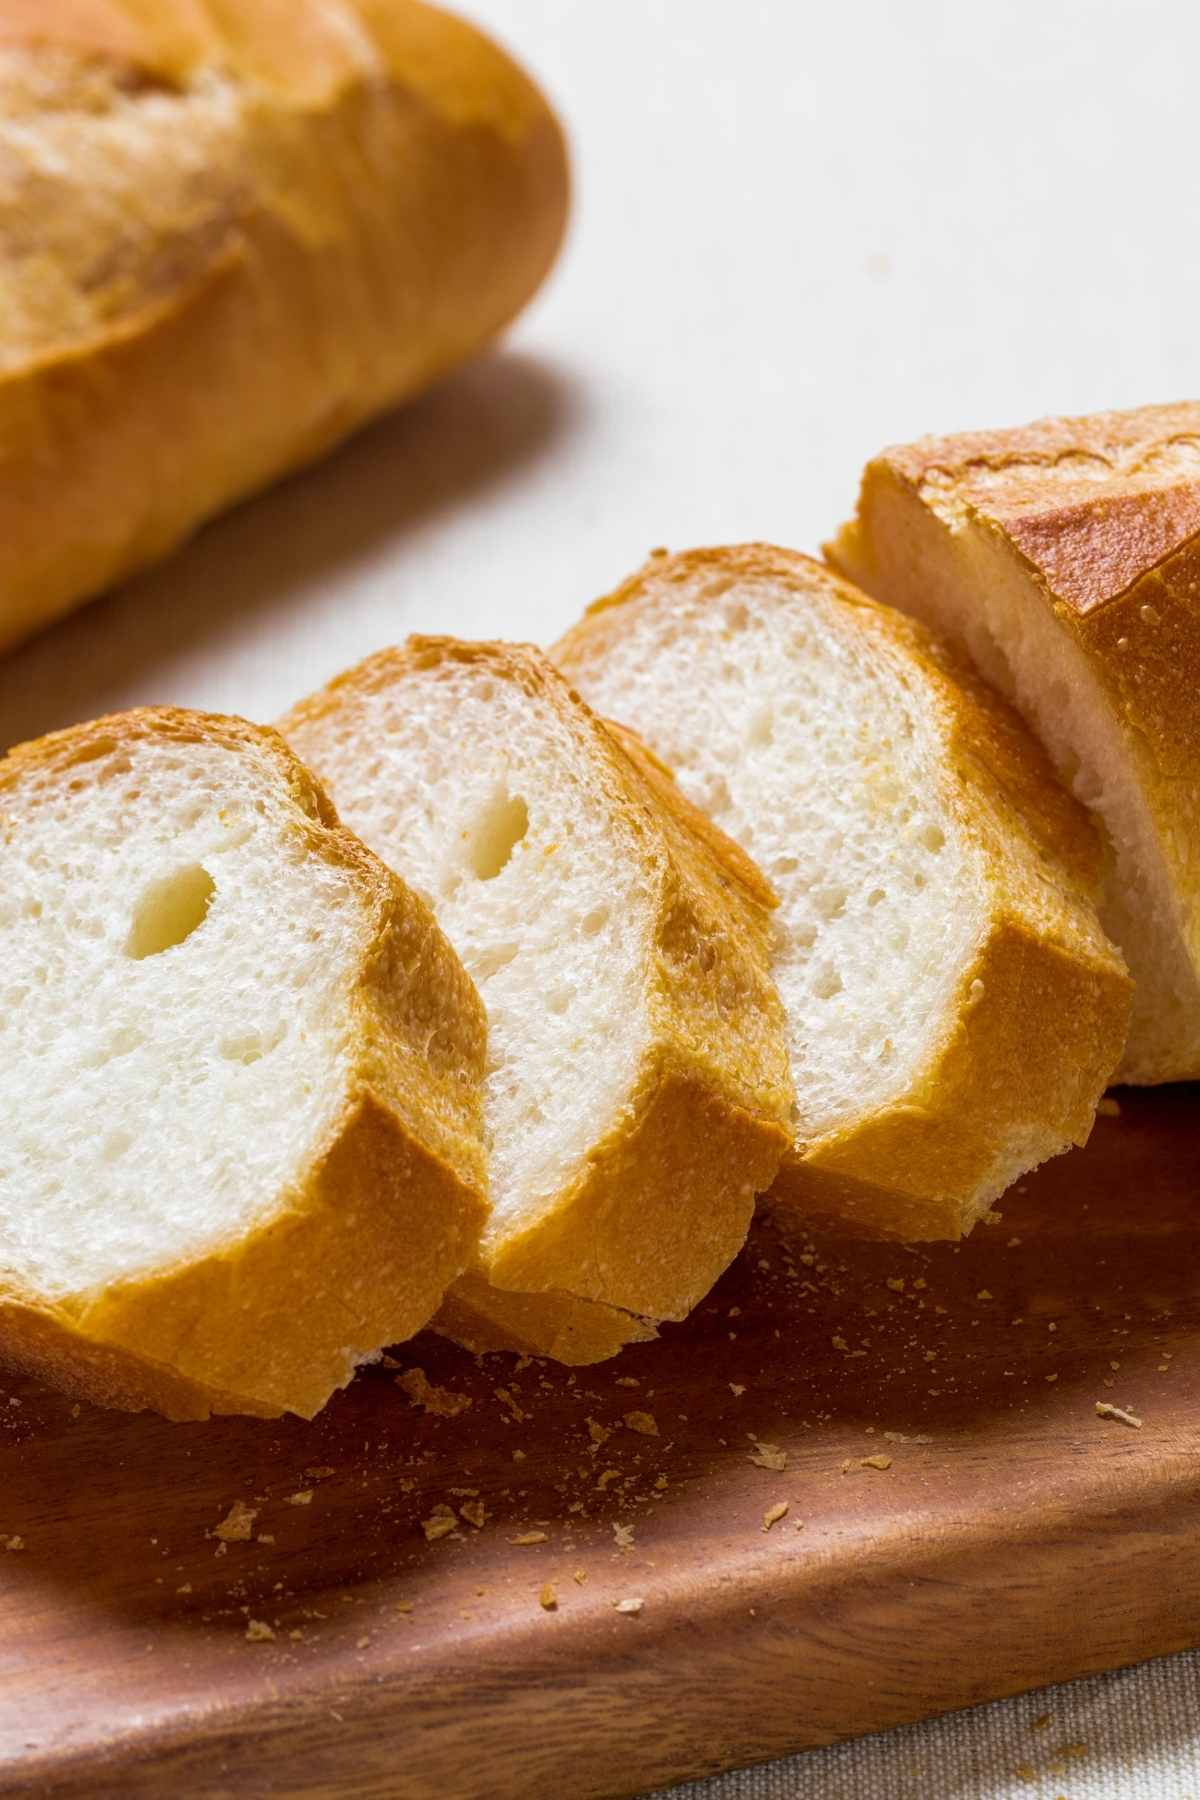
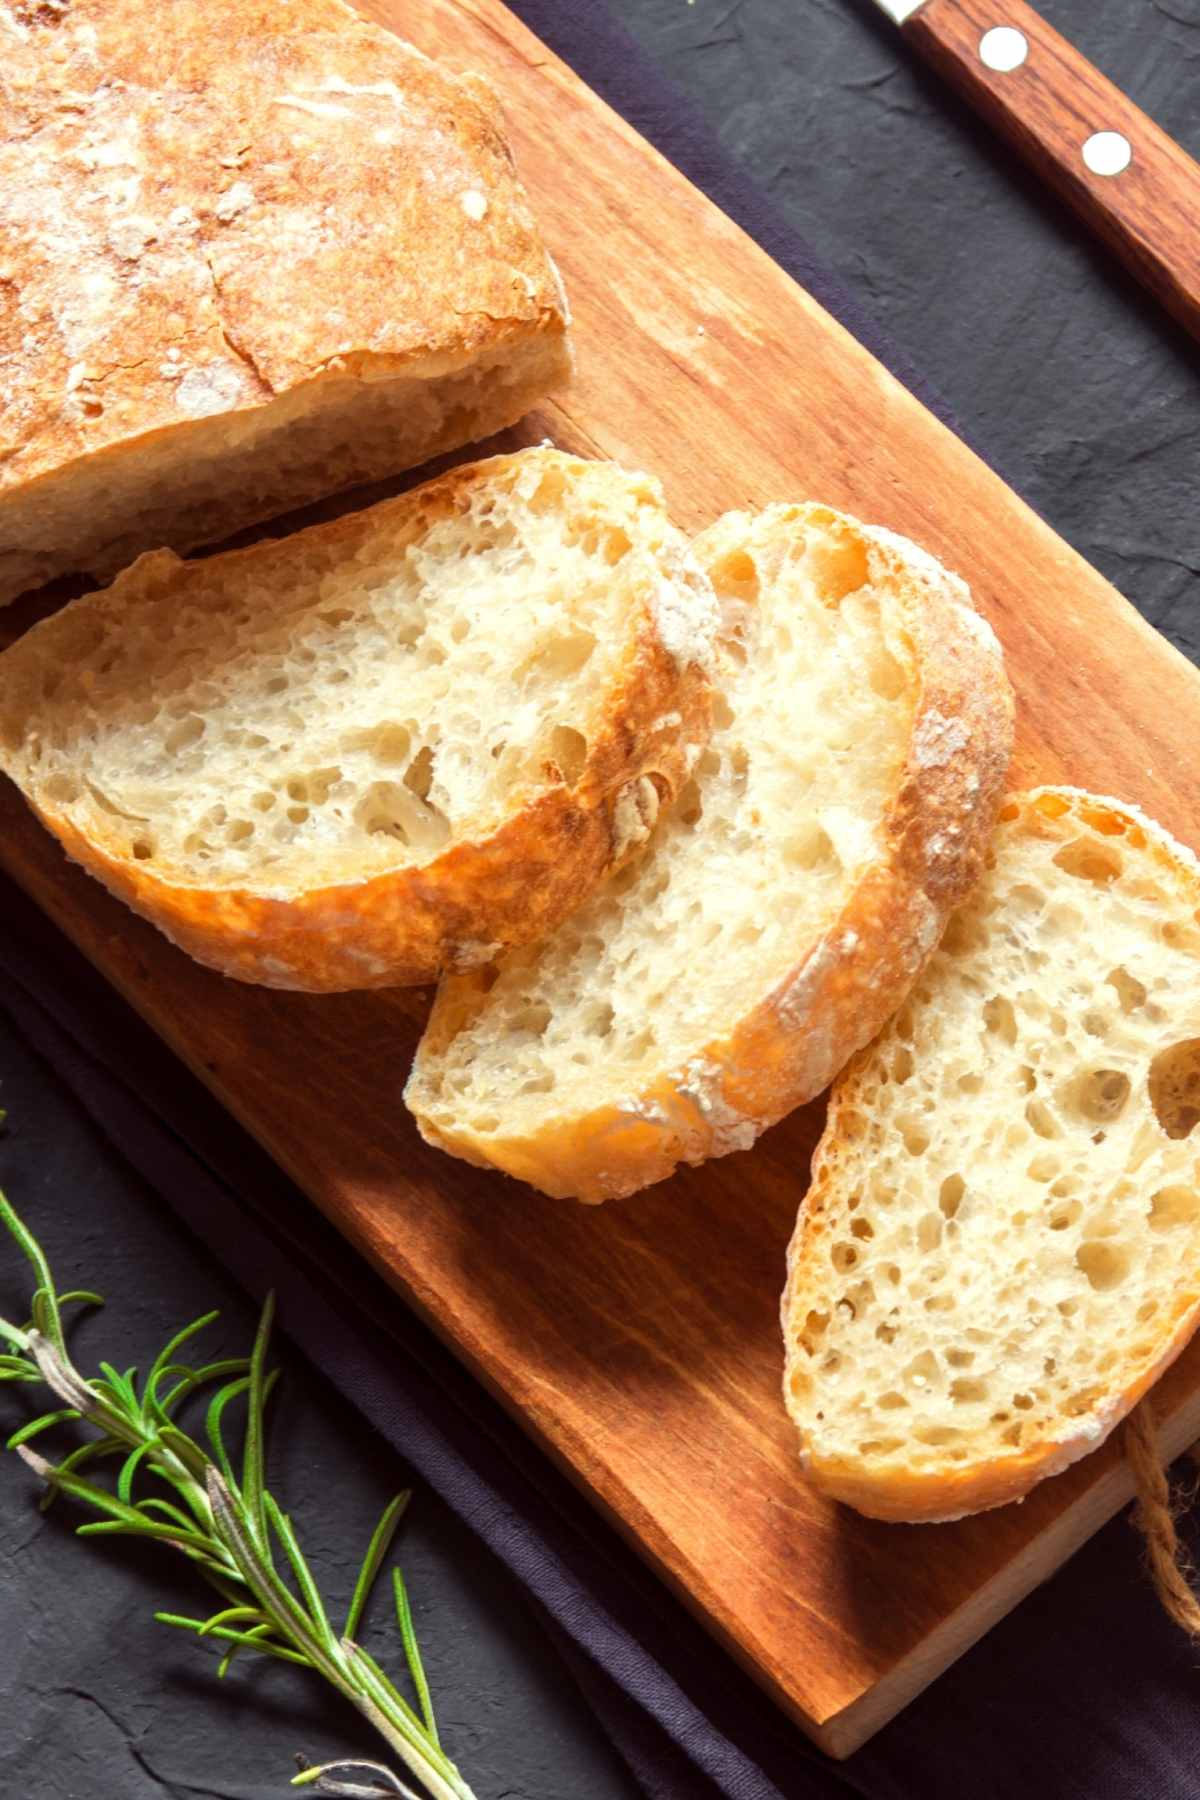
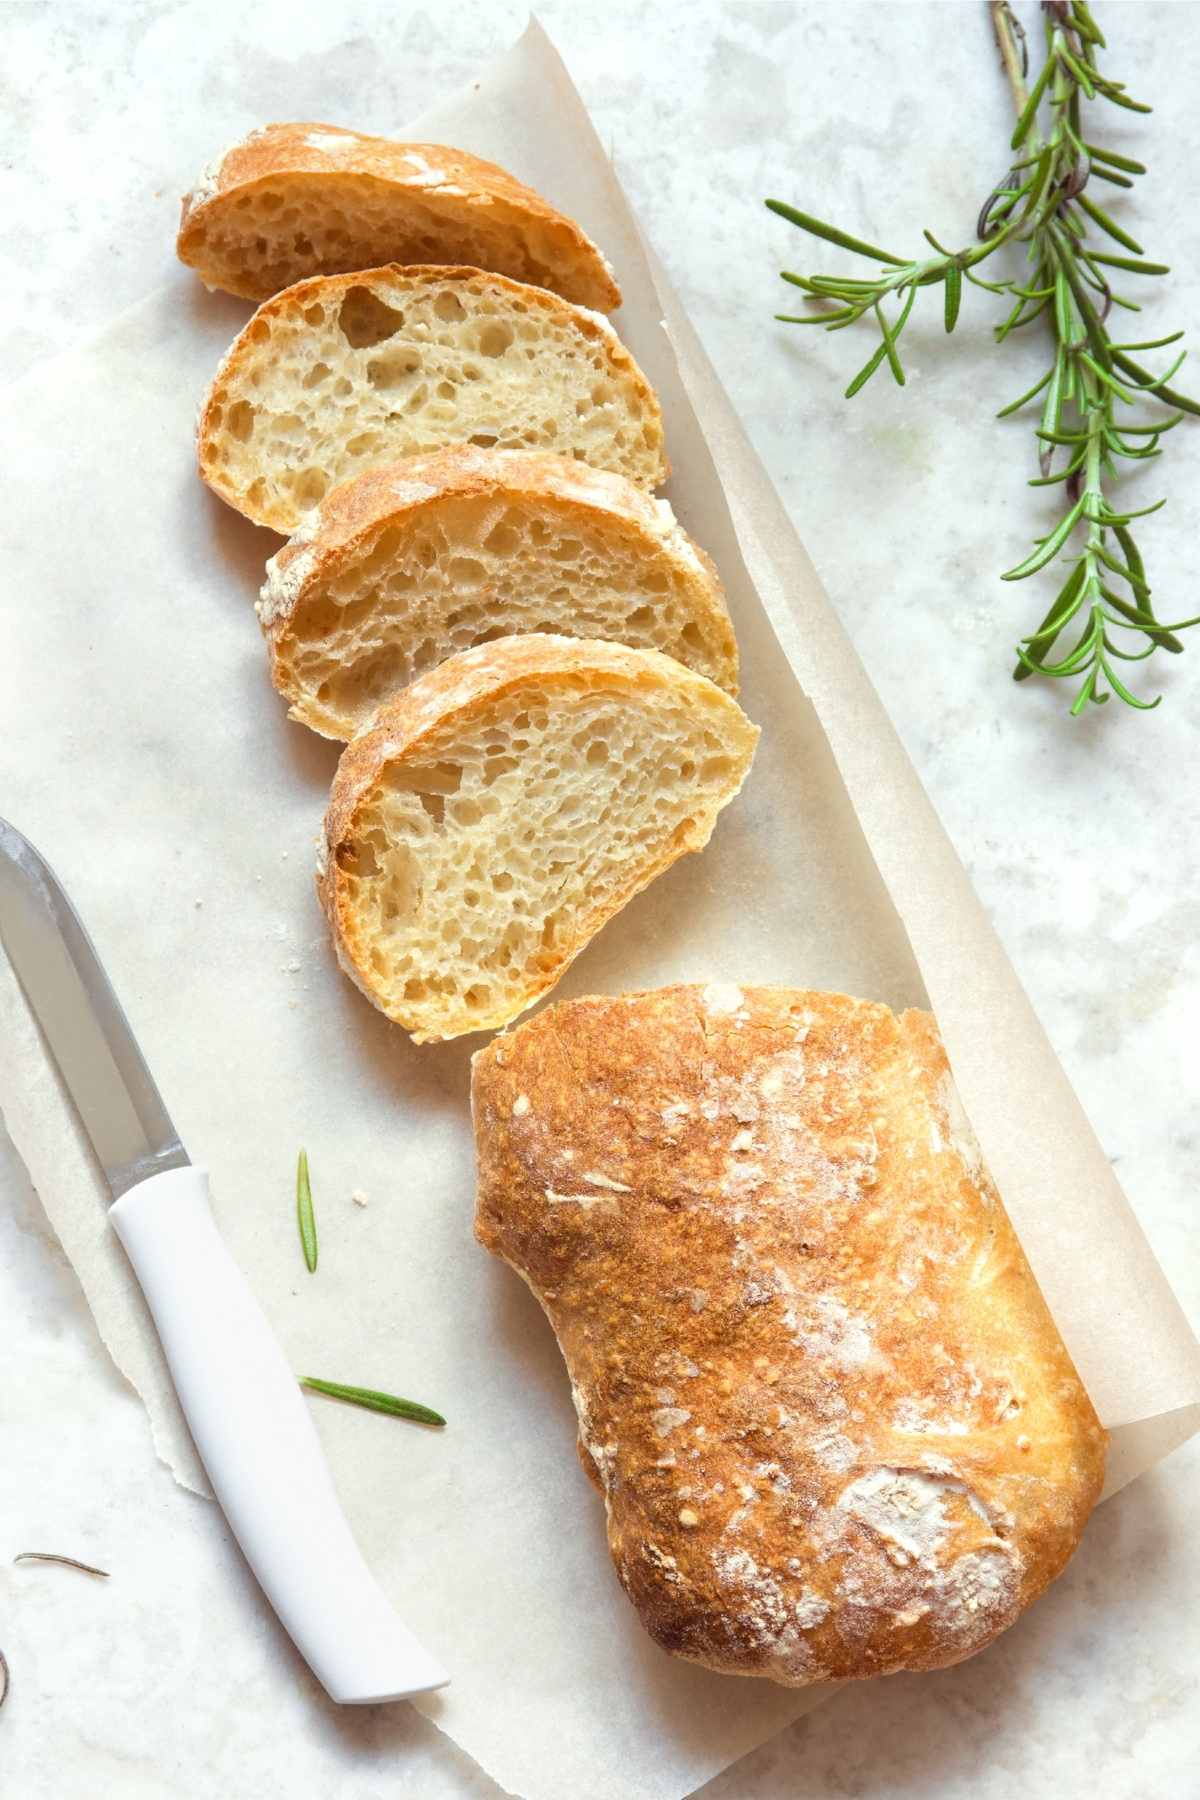
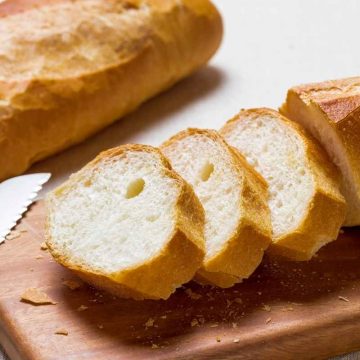
Homemade Cuban Bread (Pan Cubano)
on May 13, 2022
This post may contain affiliate links. Please read my disclosure policy.
Here’s your chance to get started with bread making. This homemade Cuban Bread doesn’t require a mixer or any special pans, and uses a handful of basic ingredients.
This easy Cuban bread recipe is perfect for new bakers. Follow the steps for a loaf that’s perfectly light and fluffy.
What is Cuban Bread?
Cuban bread is a simple white bread that’s similar to Italian or French bread. The baking method is slightly different and it’s typically shaped into baguette-style loaves.
What’s Special About Cuban Bread?
The main difference between Cuban bread and other breads is the addition of lard. It creates a bread that has excellent texture and is more flavorful. Cuban bread can be enjoyed as soon as it cools.
Ingredients You’ll Need
- bread flour
- fast-action yeast
- lard
- water
- granulated sugar
- salt
- cornmeal or semolina
How to Make Cuban Bread (Pan Cubano)
Step 1: Make the Dough
- Sift the bread flour into a bowl and set aside. Melt the lard.
- Mix together the water, yeast, and sugar.
- Add the melted lard and half of the flour to the mixture. Mix until a wet paste has formed, then add in the salt and enough flour to make a somewhat sticky dough.
- Knead the dough until the it is smooth, no longer sticky.
- Shape the dough into a ball, place it in an oiled bowl, and cover tightly with plastic wrap. Let the dough proof until at least doubled in size.
Step 2: Shape the Bread
- Lightly dust a cookie sheet with semolina or cornmeal, or line it with parchment paper.
- Place the dough onto a floured surface and punch it down all over to knock out any air pockets. Shape it into a rectangle and roll it up tightly from one of the long sides. Pinch the seam and ends to seal, then roll it gently with the palms of your hands to extend its length to about 18 inches.
- While the dough is proofing, select your scoring device. An oven-safe skewer, or a piece of baker’s twine can be used.
- Place the skewers diagonally along the prepared tray and place the loaf on top. Place the tray inside a large clean garbage bag. Inflate the bag and tuck the ends under the tray to seal. Let the dough proof for 45 minutes to 1 hour, until the loaf has almost doubled in size and the dough springs back quickly when lightly poked with a fingertip.
- About 10 minutes before the dough is finished proofing, preheat the oven to 400°F. Put a metal casserole dish on the lowest shelf of the oven to preheat.
Step 3: Bake the Bread
- Once the loaf is fully proofed, gently flip it over on the tray so the skewers or baker’s twine is on top. If the loaf deflates a little, that’s okay; it will rise in the oven.
- Slide the tray into the oven, pour a cup or two of water into the hot metal dish, and quickly shut the oven door.
- Bake the loaf for 25 minutes, or until the loaf is golden brown and has an internal temperature of 200°F on a meat thermometer. Remove the pan of water during the last 5 minutes.
- Let the loaf cool for 1 hour on a wire rack before slicing and serving. This allows the bread to finish cooking all the way through.
Tips and Tricks for Making The Best Cuban Bread
- Measure all ingredients accurately.
- Take the time to knead the bread. The dough should be smooth and no longer sticky. This will take about 10-15 minutes.
- Place the dough in a cold oven with a pan of boiling water on the shelf underneath. The humid steam from the pan of boiling water will create a warm environment for the yeast to work, resulting in a faster rise.
What Is Similar To Cuban Bread?
Cuban bread has a texture that’s similar to the soft Italian and French breads sold at grocery stores. It isn’t as crunchy as traditional French baguettes.
How Long Does Homemade Cuban Bread Last?
Cuban bread can be stored at room temperature in a resealable bag for up to 24 hours. It can also be stored in the freezer. Do not store bread in the fridge. It will become stale more quickly.
Can You Freeze Cuban Bread?
Yes, Cuban bread can be stored in the freezer for up to 3 months. Let the bread cool to room temperature and then slice. Place into a resealable freezer bag or a freezer-safe container. If using a freezer bag, be sure to remove as much excess air as possible before sealing. Frozen bread can be defrosted at room temperature or in a toaster.
You May Also Like
Homemade Cuban Bread Recipe
Ingredients
- 4 cups bread flour
- 2 ¼ teaspoons fast-action yeast
- ¼ cup lard, melted
- 1 ¼ cups room-temperature water
- 2 teaspoons granulated sugar
- 2 teaspoons salt
- cornmeal or semolina, for dusting
Instructions
Make the Dough
- Sift the bread flour into a bowl and set aside. Melt the lard on the stovetop or in the microwave ensuring that it does not get above 115°F.
- Stir together the water, yeast, and sugar in a mixing bowl until blended.
- Add the melted lard and half of the flour to the mixture. Mix until a wet paste has formed, then add in the salt and enough flour to make a somewhat sticky dough.
- Knead the dough on a floured surface for 10-15 minutes until the dough is smooth, no longer sticky, and passes the windowpane test. To do this, test the dough by breaking off a lump of dough and stretching it between the thumb and forefinger of each hand to create a windowpane. The dough should stretch until it’s translucent in places without breaking. If it does, the dough has been sufficiently kneaded. If not, continue kneading for another minute or so and test again.
- Shape the dough into a ball, place in an oiled bowl, and cover tightly with plastic wrap. Let the dough proof until at least doubled in size, about 1 to 1 ½ hours.
Shape the Bread
- Lightly dust an 11×17-inch cookie sheet with semolina or cornmeal, or line it with parchment paper.
- Place the dough onto a floured surface and punch it down all over to knock out any air pockets. Shape it into a rectangle and roll it up tightly from one of the long sides. Pinch the seam and ends to seal, then roll it gently with the palms of your hands to extend its length to about 18 inches.
- While the dough is proofing, select your scoring device. An oven-safe skewer, or a piece of baker’s twine can be used.
- Place the skewers or baker’s twine diagonally along the prepared tray and place the loaf on top. Place the tray inside a large clean garbage bag. Inflate the bag and tuck the ends under the tray to seal. Let the dough proof for 45 minutes to 1 hour, until the loaf has almost doubled in size and the dough springs back quickly when lightly poked with a fingertip.
- About 10 minutes before the dough is finished proofing, preheat the oven to 400°F. Put a metal casserole dish on the lowest shelf of the oven to preheat.
Bake the Bread
- Once the loaf is fully proofed, gently flip it over on the tray so the skewers or baker’s twine is on top. If the loaf deflates a little, that’s okay; it will rise in the oven.
- Slide the tray into the oven, pour a cup or two of water into the hot metal dish, and quickly shut the oven door.
- Bake the loaf for 25 minutes, or until the loaf is golden brown and has an internal temperature of 200°F on a meat thermometer. Remove the pan of water during the last 5 minutes.
- Let the loaf cool for 1 hour on a wire rack before slicing and serving. This allows the bread to finish cooking all the way through.
Nutrition information provided is an estimate only and will vary based on ingredient brands and cooking methods used.