Easy Butter Mochi Recipe (Hawaiian Style Mochi Cake)
on Sep 24, 2020
This post may contain affiliate links. Please read my disclosure policy.
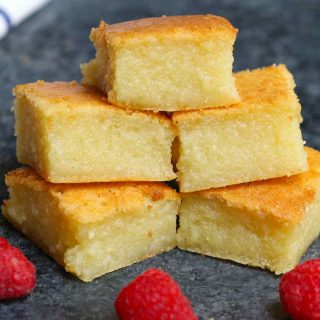
This classic Hawaiian Butter Mochi is soft, sticky, chewy, and buttery – melt-in-your-mouth delicious! A tropical treat made with mochiko glutinous rice flour and coconut cream, this mochi cake is incredibly easy to make. Here’s a step-by-step guide on how to make this dessert at home.
Along with our Matcha Mochi and Mango Mochi, this Butter Mochi dessert is always on our special must-make list. Can you tell we love our mochi recipes?!

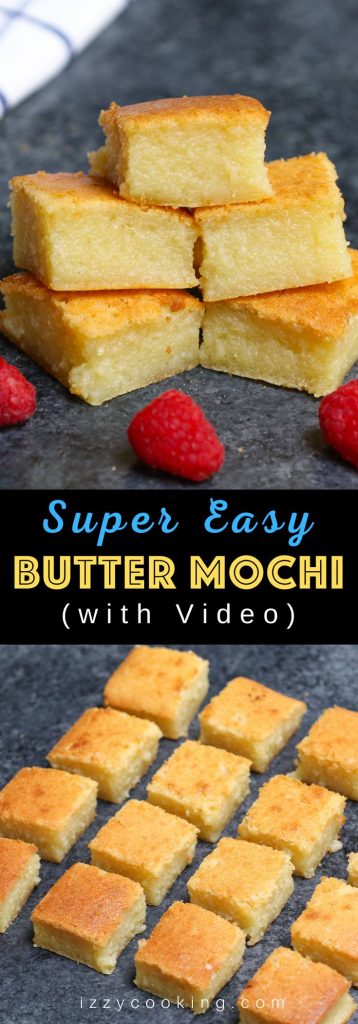
Hawaiian Butter Mochi
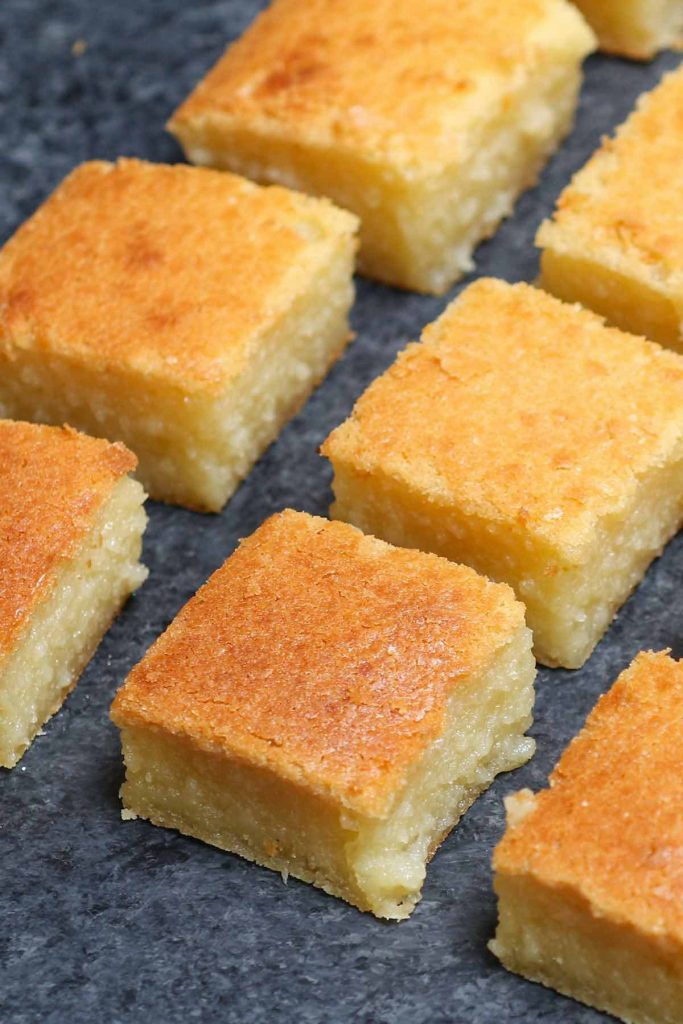
Butter mochi is a local Hawaiian treat, somewhat like a cross between a butter cake and Japanese mochi. It’s sweet and chewy, with a nice golden top. It’s usually baked in a tray and then cut into squares, like brownies. Butter mochi cake is very easy to make, and all you need to do is: Mix & Bake!
Butter Mochi Ingredients & Substitutions
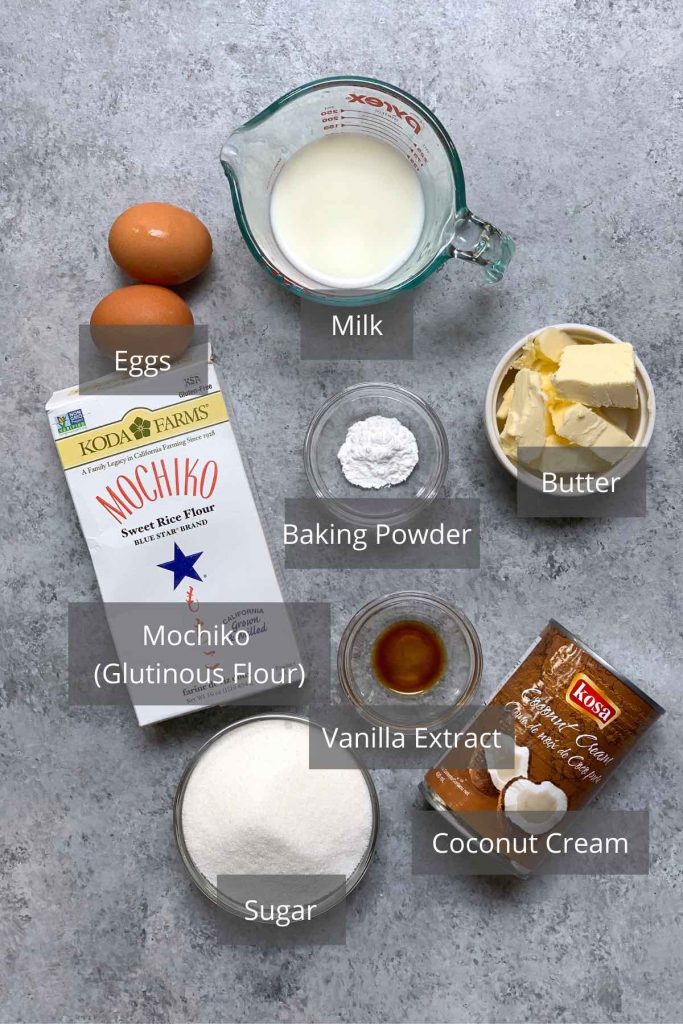
- Mochiko – or Glutinous Sweet Rice Flour. This recipe uses Mochiko flour. Note that it’s different from the regular glutinous rice flour. You can find them in most Japanese grocery stores, or order them online from Amazon.
- Butter – it adds a delicious flavor to the mochi cake. It’s best to use real butter (unsalted), and you’ll need to melt it first.
- Coconut Cream – I used unsweetened coconut cream in this recipe. You can sub canned coconut milk, but I find the coconut cream produces the butter mochi with a better and firmer texture. You will find it at most Asian grocery stores, or order online from amazon.
- Milk – I used skim milk, but you can sub whole milk if you prefer.
- Sugar – use the regular granulated sugar for this recipe.
- Baking Powder – this helps the mochi to puff up a little bit, so don’t skip it.
- Vanilla Extract – it adds a nice vanilla flavor and aroma to your mochi.
- Eggs – they add structure and stability to the cake.
How to Make Butter Mochi from Scratch
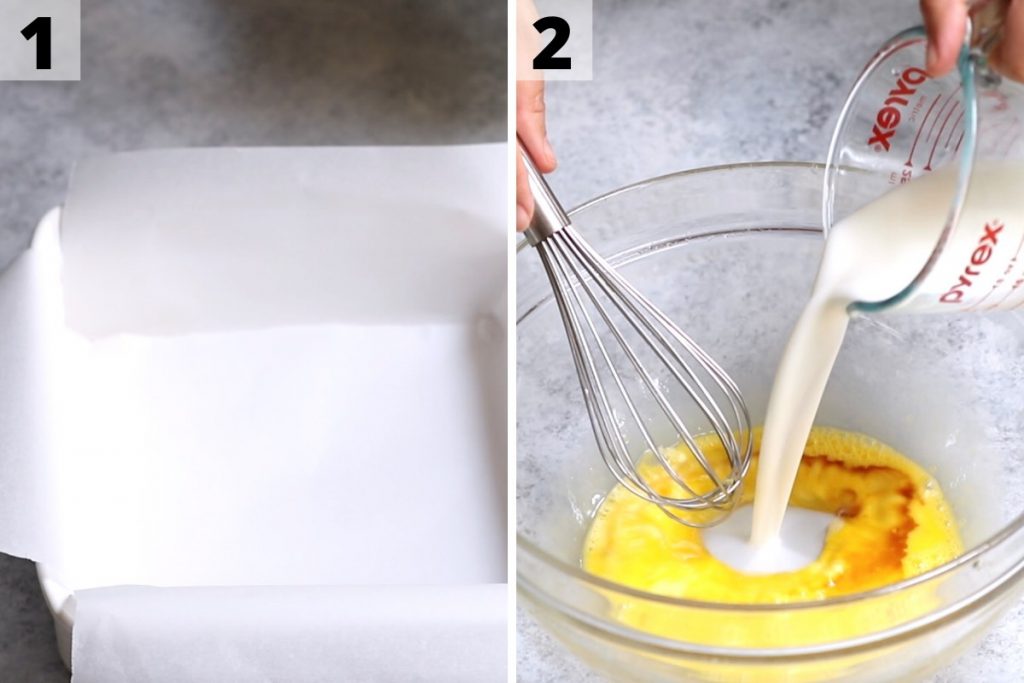
1. Preheat the oven to 350°F (177°C), and line an 8-inch square baking pan with parchment paper.
2. Beat the eggs, and then add vanilla and milk. Mix well.
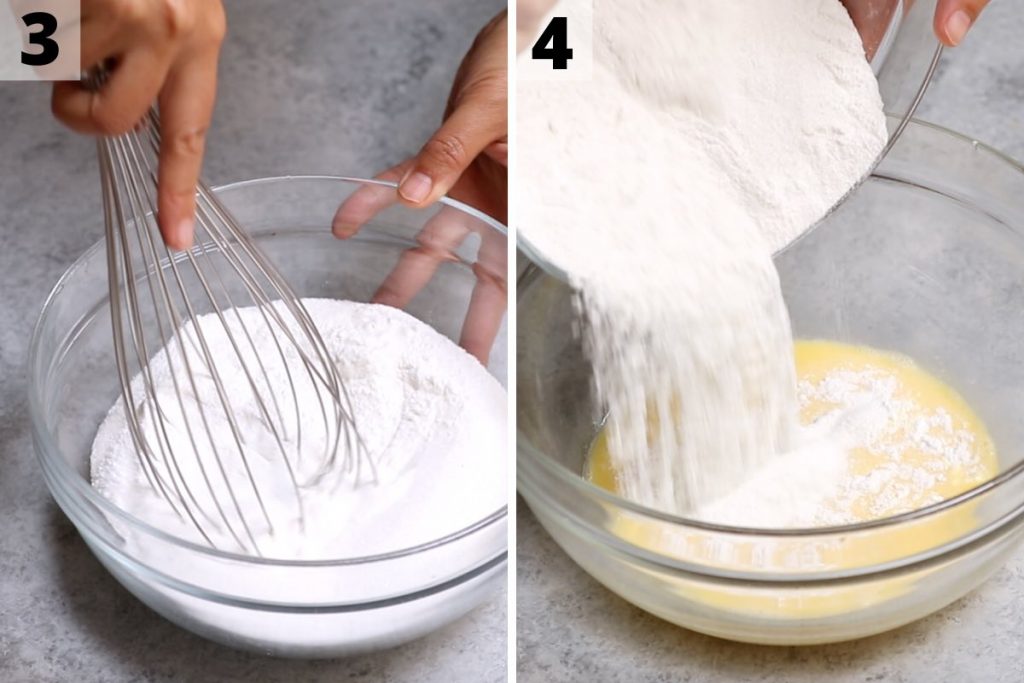
3. Whisk together mochiko, sugar, and baking powder.
4. Add the dry ingredients to the egg and milk mixture. Mix well.
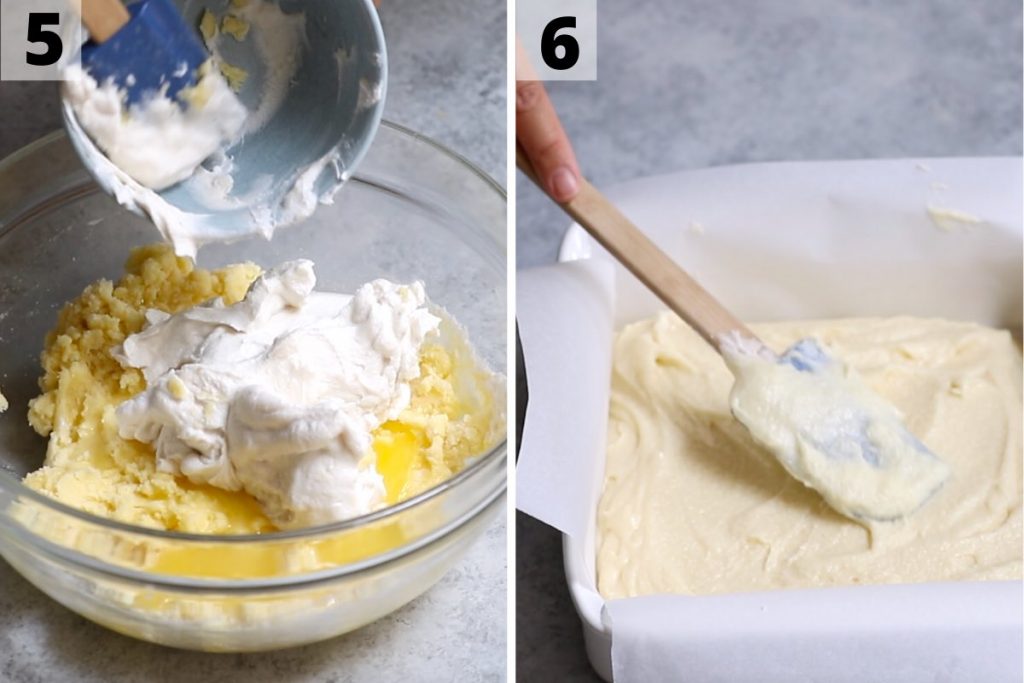
5. Add melted butter and coconut cream. Mix until the batter is completely smooth with no lumps.
6. Pour the batter into the baking pan, and bake for 1 hour or until the cake turns golden brown.
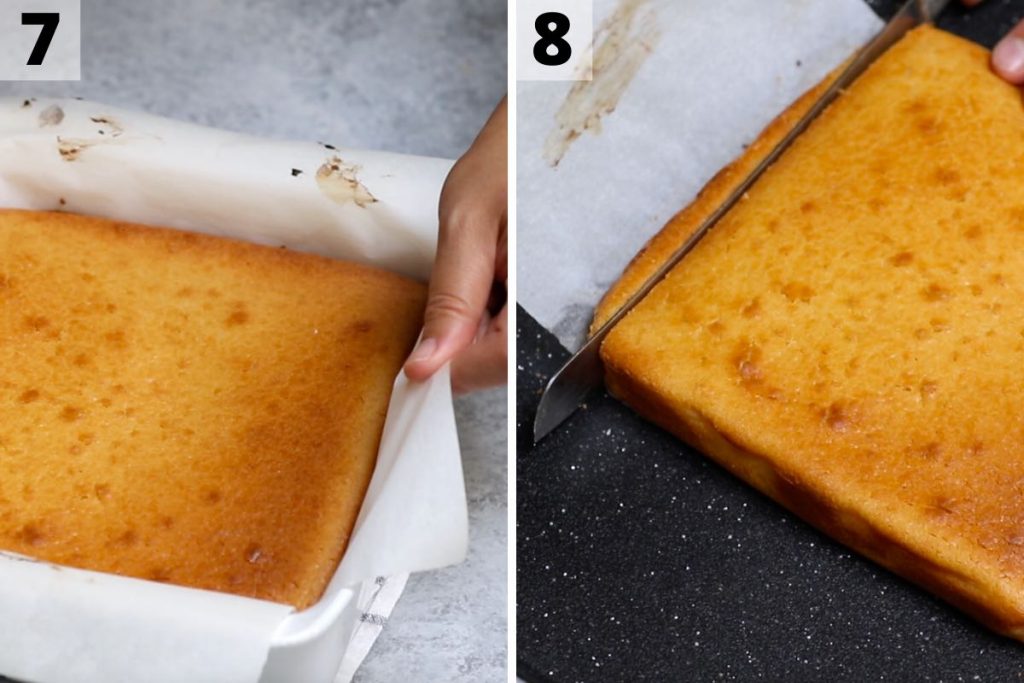
7. Remove the mochi cake from the oven and allow it to cool to room temperature. Then use the parchment to lift the cake out of the pan.
8. Use a sharp knife to cut into squares. (I like to cut off the edges and cut the cake into equal squares.)
Tips for Making the Perfect Mochi Cake
- Lining the baking pan with parchment paper will prevent the mochi cake from sticking to the pan.
- I used an 8”x8” baking pan, but you can double the recipe and use a 9”x13” baking pan.
- Make sure there are no lumps in the batter before baking. If there are bubbles on the surface, simply pop them out with a toothpick.
- The baking time may vary depending on your oven. I suggest checking after 50 minutes. If the surface is getting too dark but the inside hasn’t been cooked completely, you can cover with a piece of aluminum foil and keep baking.
- Let your cake cool down to room temperature before cutting.
Frequently Asked Questions
How Long Does Butter Mochi Dessert Last?
The butter mochi tastes the best on the day they’re made. Here are our tips for storing it for later use:
- Store in an airtight container at room temperature for up to 3 days.
- Store in an airtight container in the refrigerator for up to 2 weeks.
- Wrap tightly with plastic wrap and store in an airtight container for up to 1 month.
It’s better to heat them up after storing in the fridge or freezer. To reheat: Warm in microwave for 10 second increments until warm.
How Many Calories in Butter Mochi Cake?
I cut the mochi cake into 16 pieces, and each of them has about 166 calories.
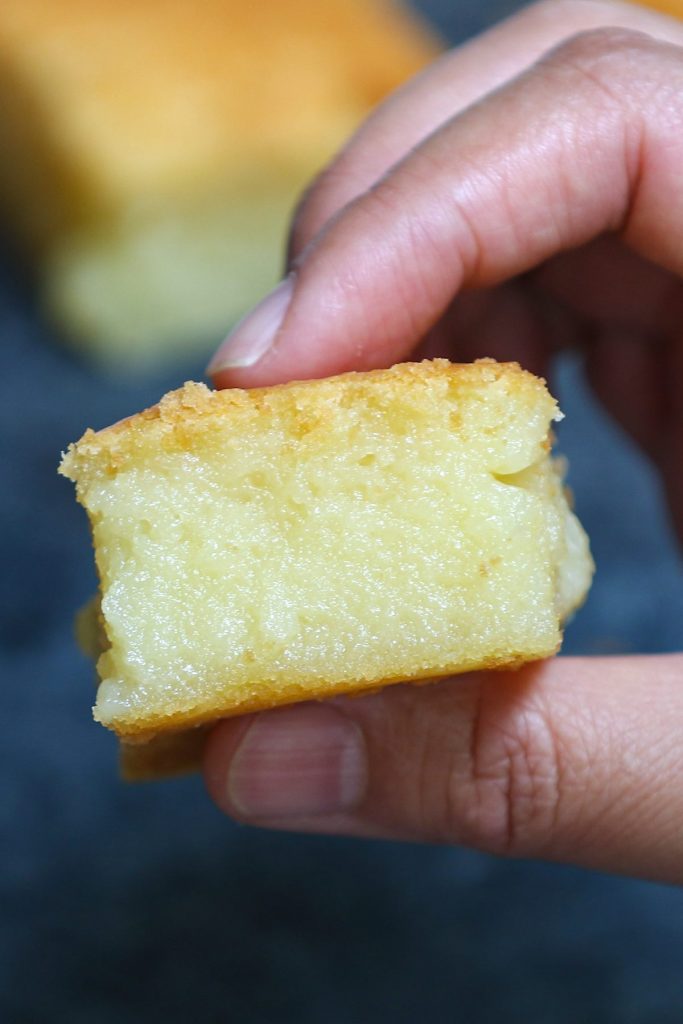
What Does It Taste Like?
This butter mochi cake is soft and chewy, with a bouncy texture. It’s also sweet and buttery, with coconut flavor. Heavenly delicious!
What’s the Difference Between Mochiko and Regular Glutinous Rice Flour?
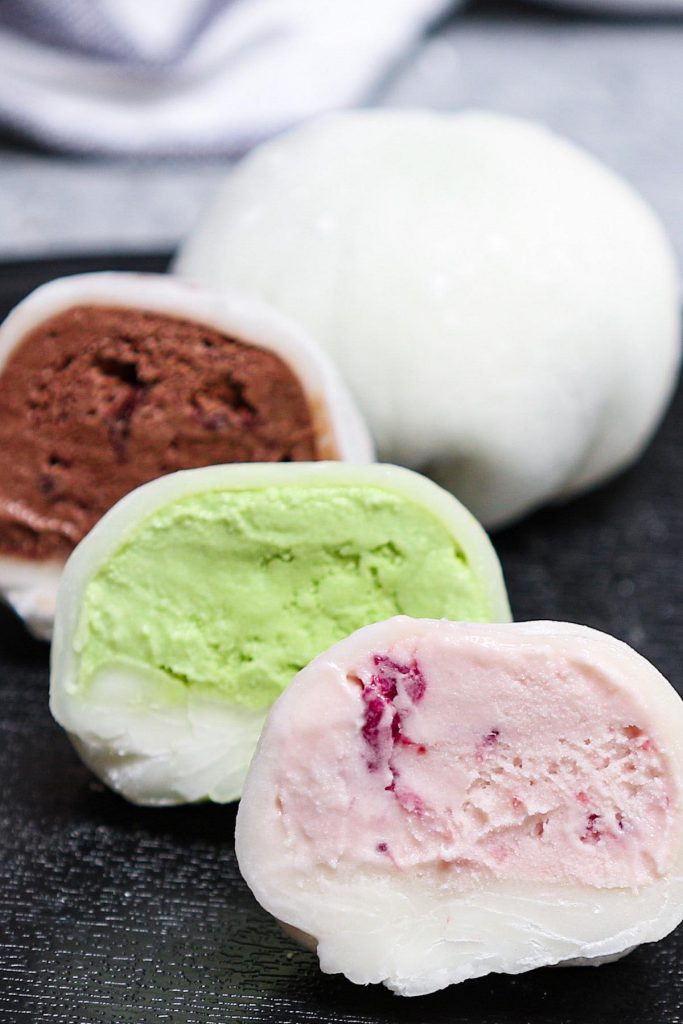
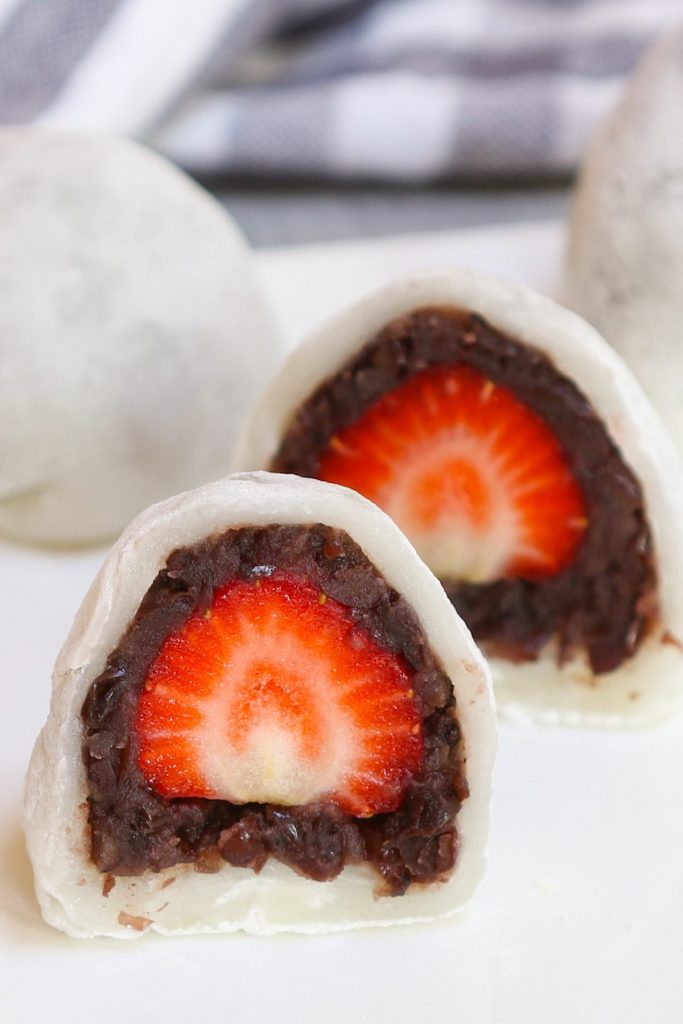
Unlike the regular glutinous rice flour, mochiko is made from short-grain glutinous rice. The production processes are also very different. Mochiko or Shiratamako are used in most mochi and daifuku recipes such as Mochi Ice Cream, Strawberry Mochi, and Green Tea Mochi.
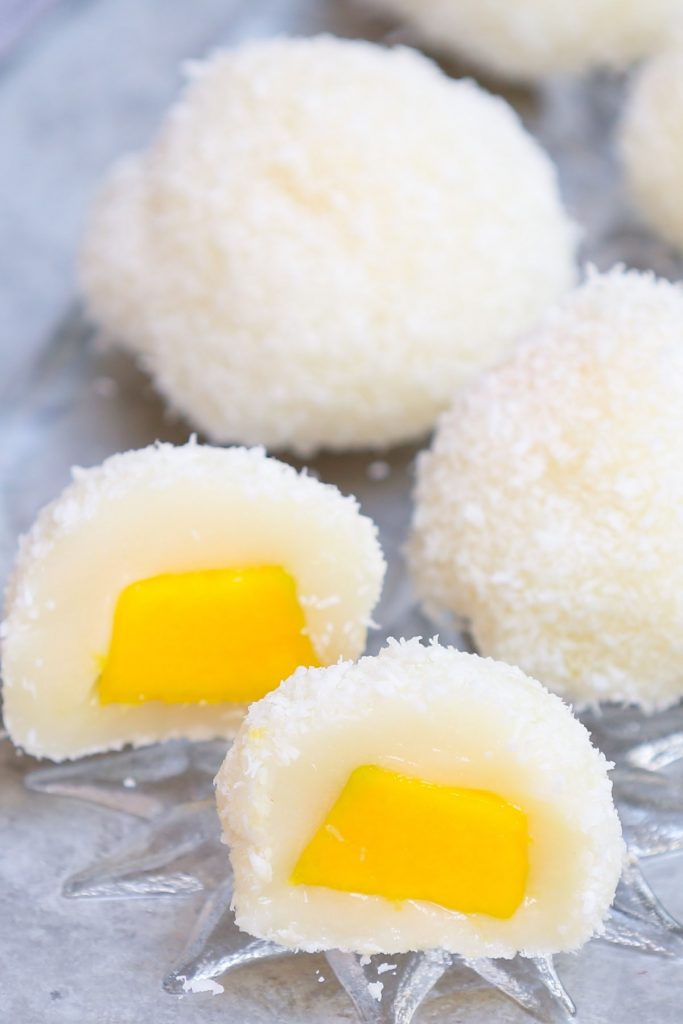
For this recipe, you’ll need to use mochiko. The regular glutinous rice flour won’t work well. If you only have glutinous rice flour at home, you can try out Mango Mochi, which is also a tropical style delicious dessert.
Butter Mochi Cake Variations
- Coconut flakes or other fillings like lemon and banana can be added for different flavored butter mochi.
- You can add ube extract for purple color ube mochi, or add matcha powder for green tea matcha butter mochi.
If You Love This Recipe Try These Out:
If you tried this recipe, let me know how your butter mochi turns out in the comments below!
Hawaiian Butter Mochi Recipe (+VIDEO)
Ingredients
- 2 cups Mochiko, glutinous sweet rice flour
- 1 cup sugar
- 1 teaspoon baking powder
- 2 eggs
- 1/2 cup milk
- 5 tablespoons unsalted butter, (melted)
- 1/2 teaspoon vanilla extract
- 1 can 14-oz coconut cream, (or canned coconut milk)
Instructions
- Preheat the oven to 350°F (177°C), and line an 8-inch square baking pan with parchment paper and set aside. (if double the recipe, you can use a 13*9-inch baking pan.)
- Beat the eggs, and then add vanilla and milk. Mix well.
- In a large bowl, combine all the dry ingredients: mochiko, sugar, and baking powder.
- Add the dry ingredients to the egg and milk mixture. Mix well. (It’s better to use a spatula as the mixture is relatively thick.)
- Add melted butter and coconut cream. Mix until the batter is completely smooth with no lumps.
- Pour the batter into the baking pan. Use a spatula to smooth the surface.
- Bake for 1 hour or until the cake turns golden brown.
- Remove from the oven and allow the mochi cake to cool to room temperature. Then use the parchment to lift the cake out of the pan.
- Use a sharp knife to cut into squares. (I like to cut off the edges and cut the cake into equal squares.)
Video
Notes
- It’s important to line the baking pan with parchment paper as this will prevent the mochi cake from sticking to the pan.
- Make sure there are no lumps in the batter before baking. If there are bubbles on the surface, simply pop them out with a toothpick.
- The baking time may vary depending on your oven. I suggest checking after 50 minutes. If the surface is getting too dark but the inside hasn’t been cooked completely, you can cover with a piece of aluminum foil and keep baking.
- Make sure to let your cake cool down to room temperature before cutting.
Nutrition
Nutrition information provided is an estimate only and will vary based on ingredient brands and cooking methods used.

I made it for the first time last night! Now I want to make it Ube and Matcha flavors.
How much of Ube flavoring or Matcha powder is recommended for this recipe?
Can I substitute evaporated milk instead of milk?
just use same amount of evaporated milk, BUT NOT “sweetened condensed milk” which has tons of sugar added to the milk.
Can I use almond milk?
Can you please tell me if this can be stored in fridge or left out at room temperature for how many days
Thank you
I made this cake 3 days in a row lol
1 for my family since my son has celiac. This recipe was so delicious I decided to make my in laws one and taking one to my parents house tomorrow for Sunday dinner. Only thing I did differently was pour a thin layer of my homemade caramel sauce on top for a little extra sweetness 😍 I am thinking of sprinkling some coconut on top as well!!! This recipe is a hit and game changer in our home. Thank you!